DIY Cards: Creative Ideas and Trends


There are plenty of creative ideas that will take your handmade cards to the next level and make them look well-thought-out, polished, and—dare we say—professional! We’ve pulled together some of our latest DIY card samples to get your creative juices flowing! Let’s check out some of our classic and trendy paper crafting topics and tools.
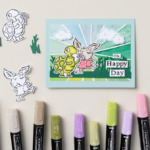
Stamping
Stamping can be as simple or as complex as you want it to be, and we love that about it! It’s a truly versatile technique that can create anything from a basic greeting stamped on plain paper to multiple stamps layered with several colors and patterns.
When doing this, stamp sets specifically designed for this purpose will help ensure well-aligned layers. But one great tip if you don’t have that kind of stamp set? Use the same coordinating cardstock and ink color to get a tone-on-tone look.
Embossing
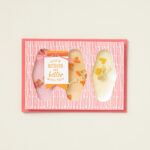
Heat embossing is a more advanced version of stamping. It requires a special and stickier type of ink called VersaMark®, which you then pour embossing powder over before carefully heating to melt and cure into a dimensional image. Embossing is also a great idea for adding metallic flair to your design or making sure an image you want to show up in white pops off a darker-colored paper.

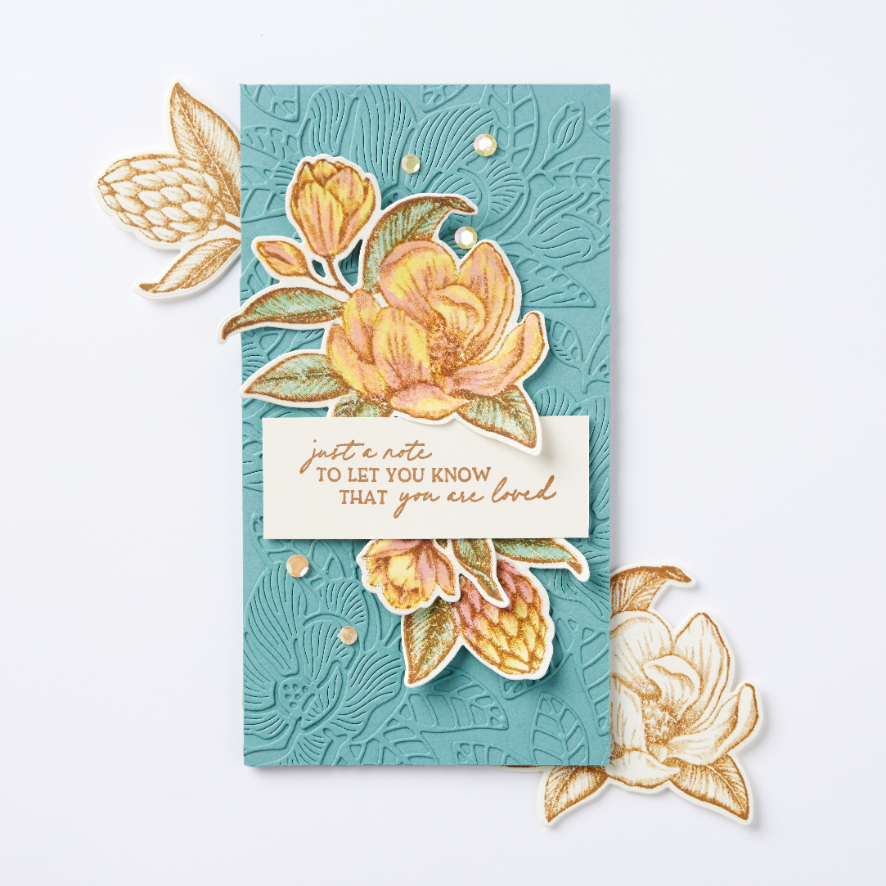
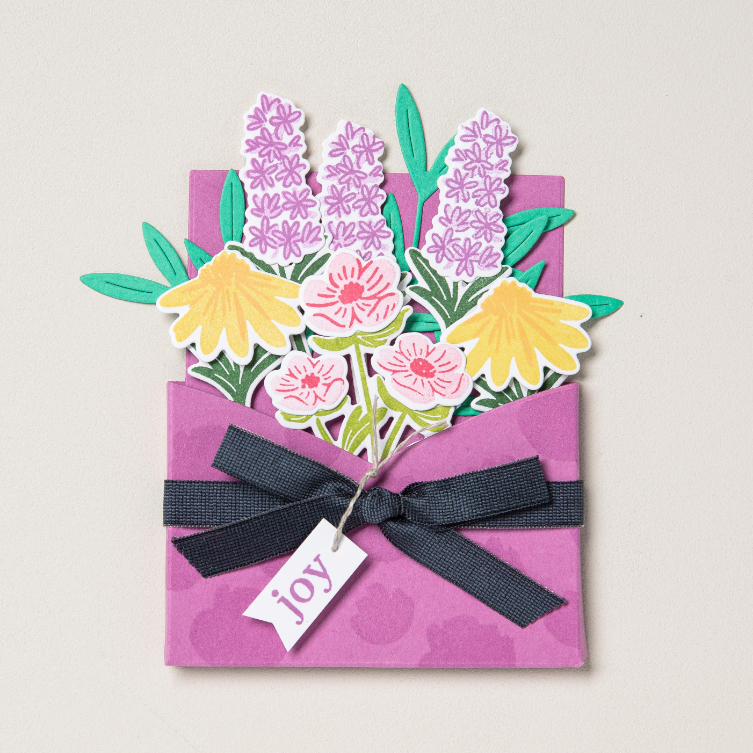
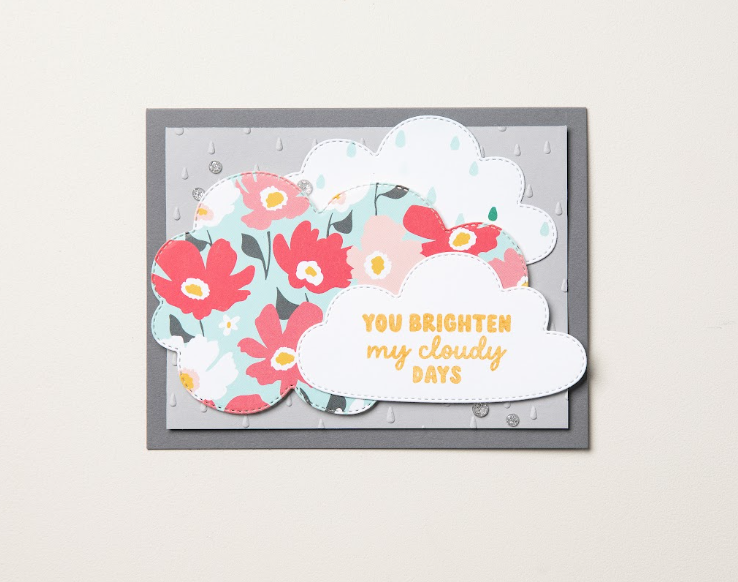
You can also use our embossing paste to add dimension to your project. For the project below, we used the Shimmer Paste, a die-cut mask, and a Palette Knife to create this pattern across the cardstock. Once the cardstock dried, we added the additional stamped elements and embellishments! Want to see how we made this card and other embossing techniques? Check out this post on Instagram!

Embellishments
Adding embellishments as you make your own cards is another part of the process that takes personalization to a whole new level. This accessorization is, as we’ve mentioned before, like putting sprinkles on your cake! For instance, where one person may put jewels, you may put flower cutouts. Where one prefers a bold ribbon tied in a bow, another prefers a loose knot of baker’s twine. Perhaps instead of suggested ephemera, you’d like to place a series of brads instead. We suggest plenty of playing around at this stage until you find a combination of “sprinkles” you really love—and think your card’s recipient will, too.

How to Choose Colors for Your DIY Cards
A quick study of color theory helps us understand that, as humans, we react to different colors in different ways—they actually induce a variety of emotions when we see them on their own (think of reds speaking in terms of passion and power, where blue brings a sense of peace and calm).
Colors can also appear different when they interact with one another. Artists and scientists alike have discovered that when we bring colors together in certain ways, they feel harmonious and just plain right. For instance, monochromatic colors are simply various shades and tints of one color. These combinations can feel understated and chic.
Analogous colors are three (or occasionally more) colors found right together on the color wheel. Even in bright shades, they can feel reassuring and bring balance to your designs. Complementary colors are found directly across the wheel from one another and often feel like opposites, like yin and yang. They enhance each other, possibly because of their differences!
Then there are triadic colors, which can be found in triangular patterns around the color wheel. These are easy to spot if you begin with the primary colors of red, yellow, and blue, and then rotate around the circle to find new and unexpected color combinations.
Understanding all of this makes it easier to choose colors for your DIY cards. And Stampin’ Up! makes it even easier with its rotating Color Coach tool, which uses actual hues from our color collections so you know exactly what to shop for. Even just working within one of those Stampin’ Up! color collections (Basics, Brights, Neutrals, Regals, and Subtles) ensures that your card design will be coordinated and professional in terms of color!
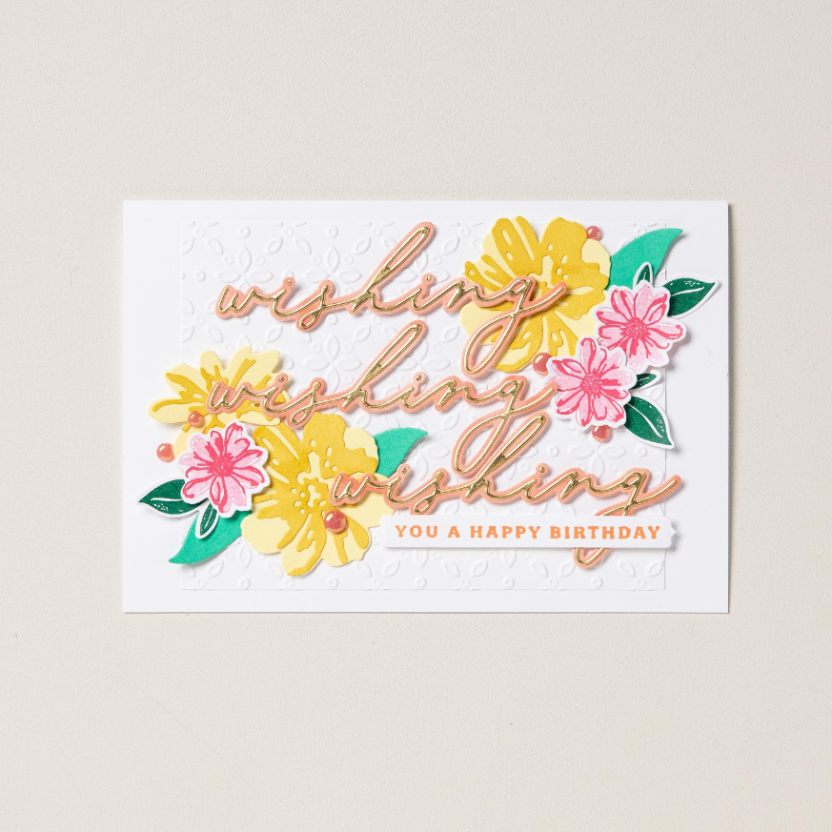
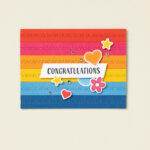
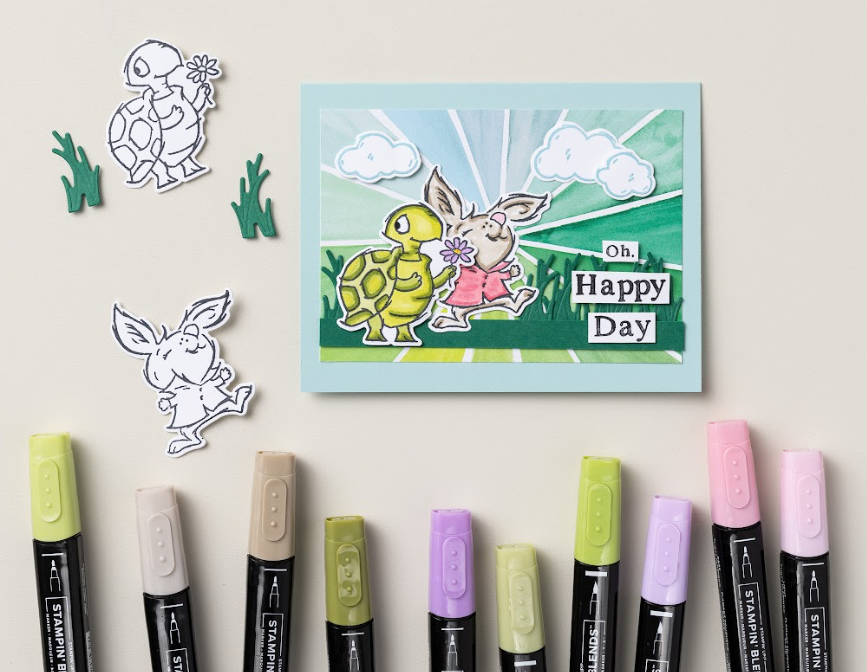
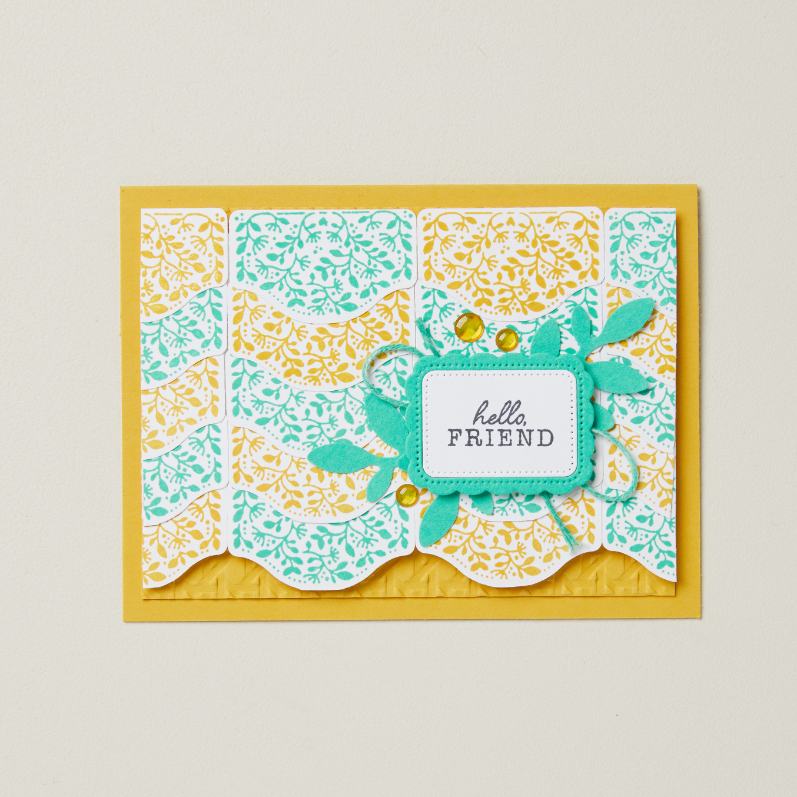
- Pink, yellow, and teal. This triadic color combo can be bold and bright or sweetly pastel, but it always brings a good amount of energy and life to a card design.
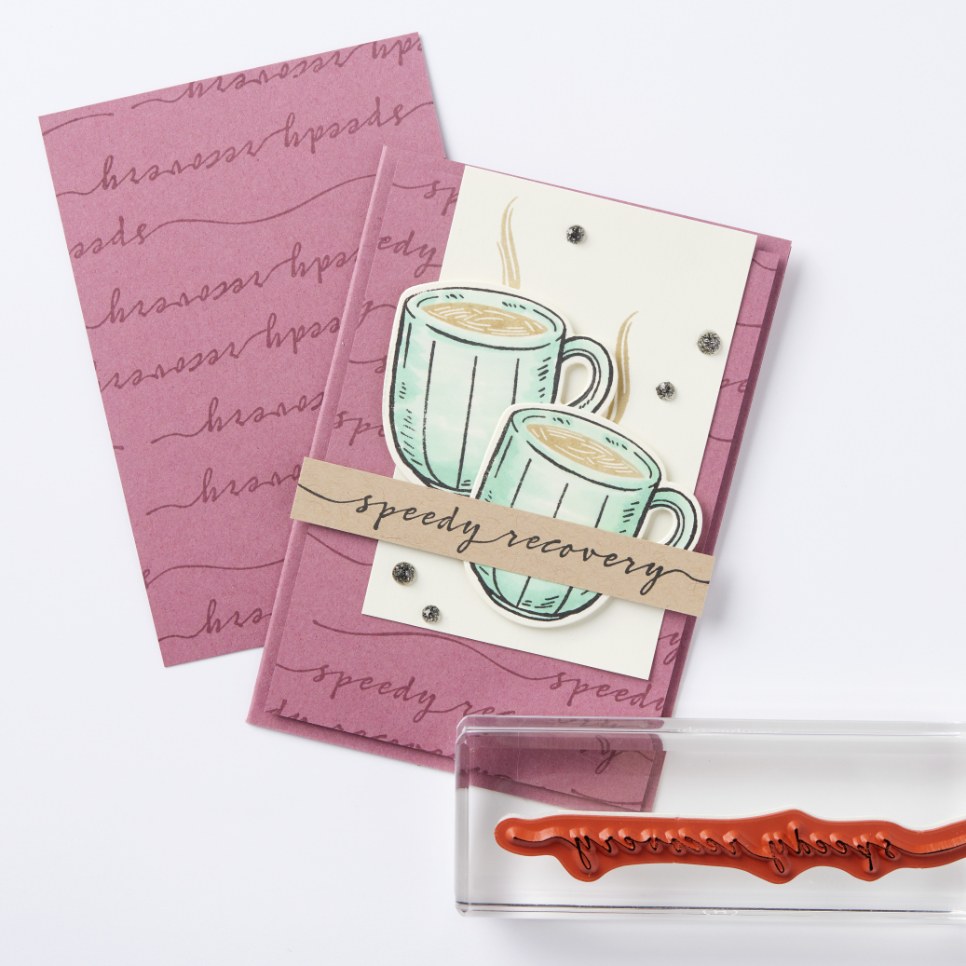
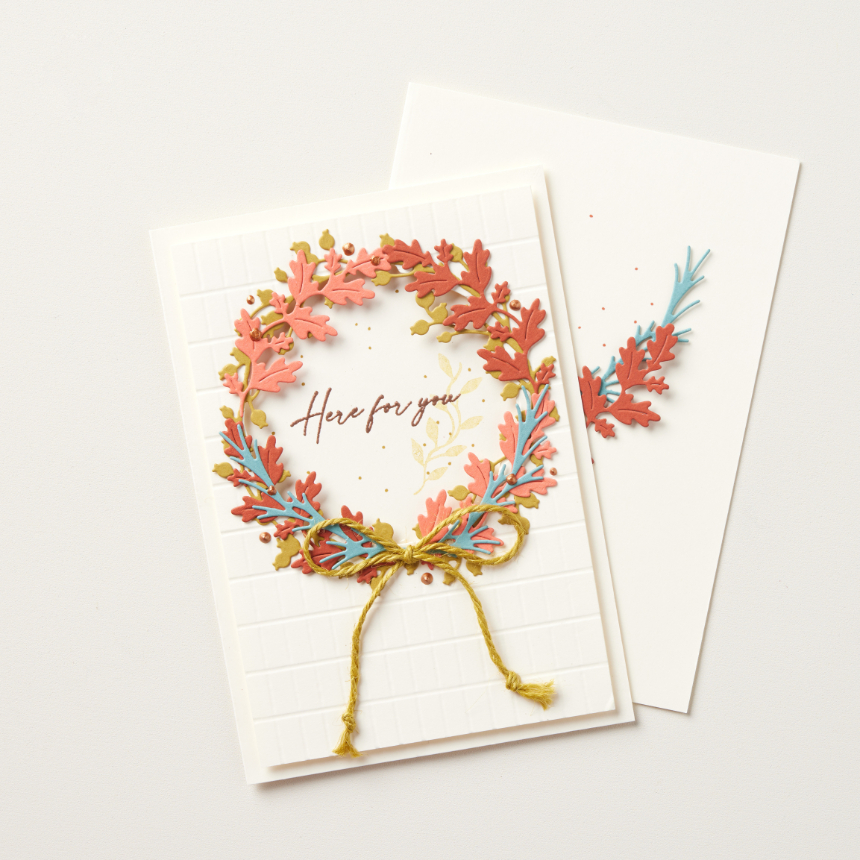
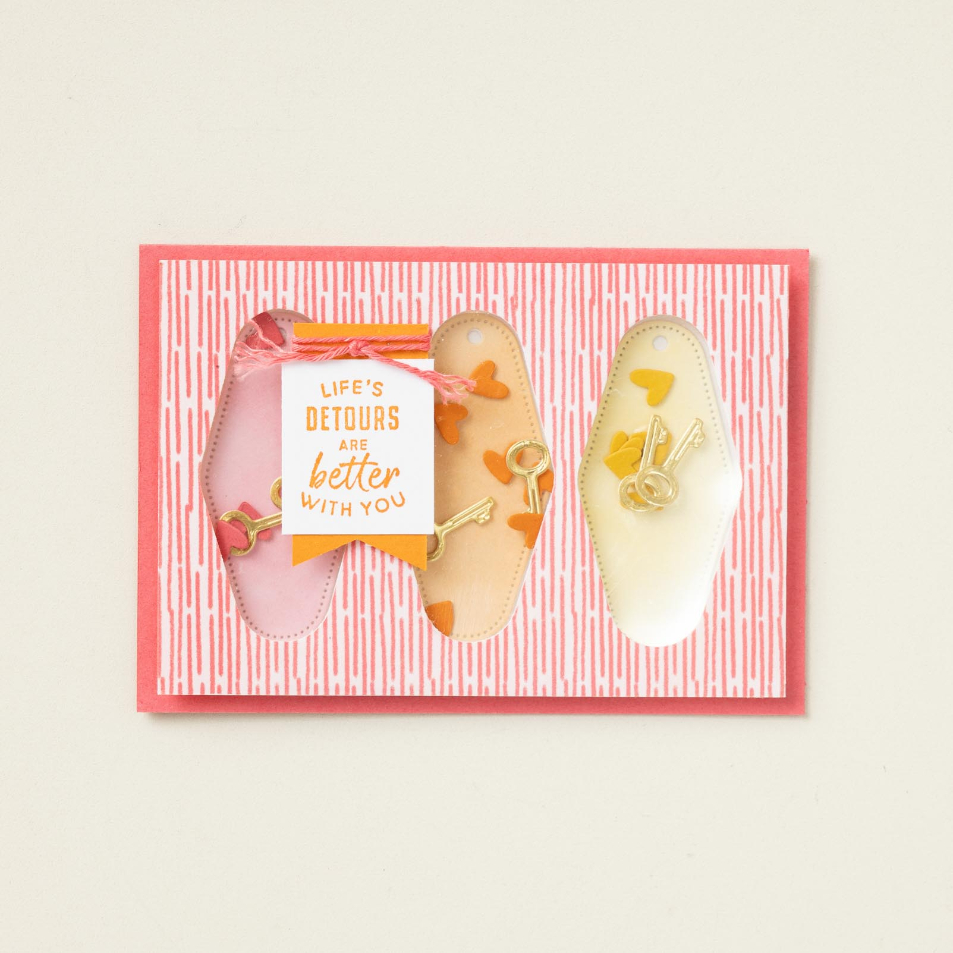
- Rusty orange and turquoise. These colors complement each other well and can be playful in a child’s birthday card or more refined for healing and well wishes.
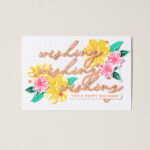
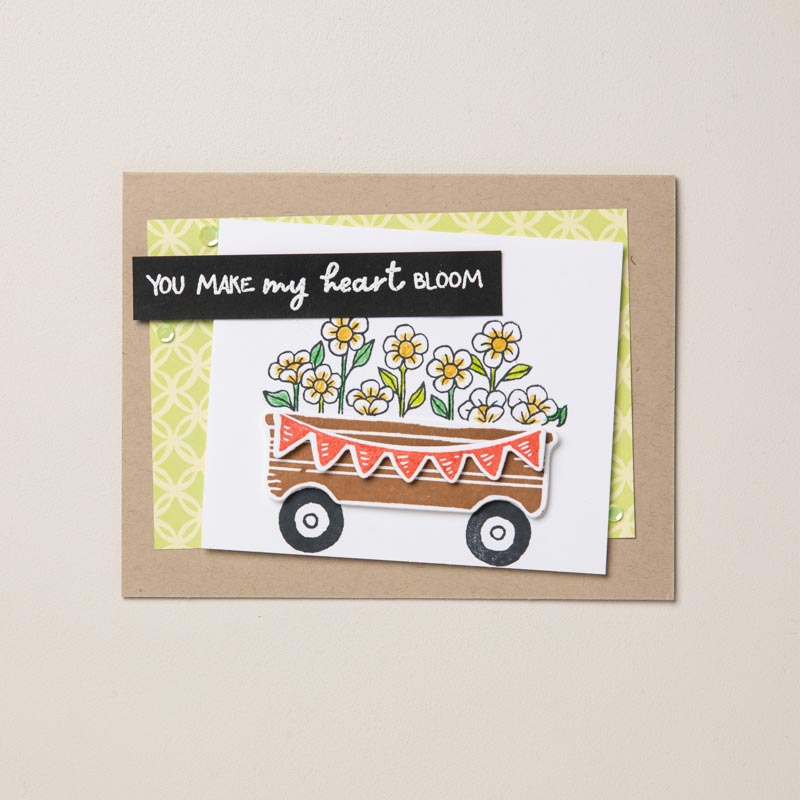
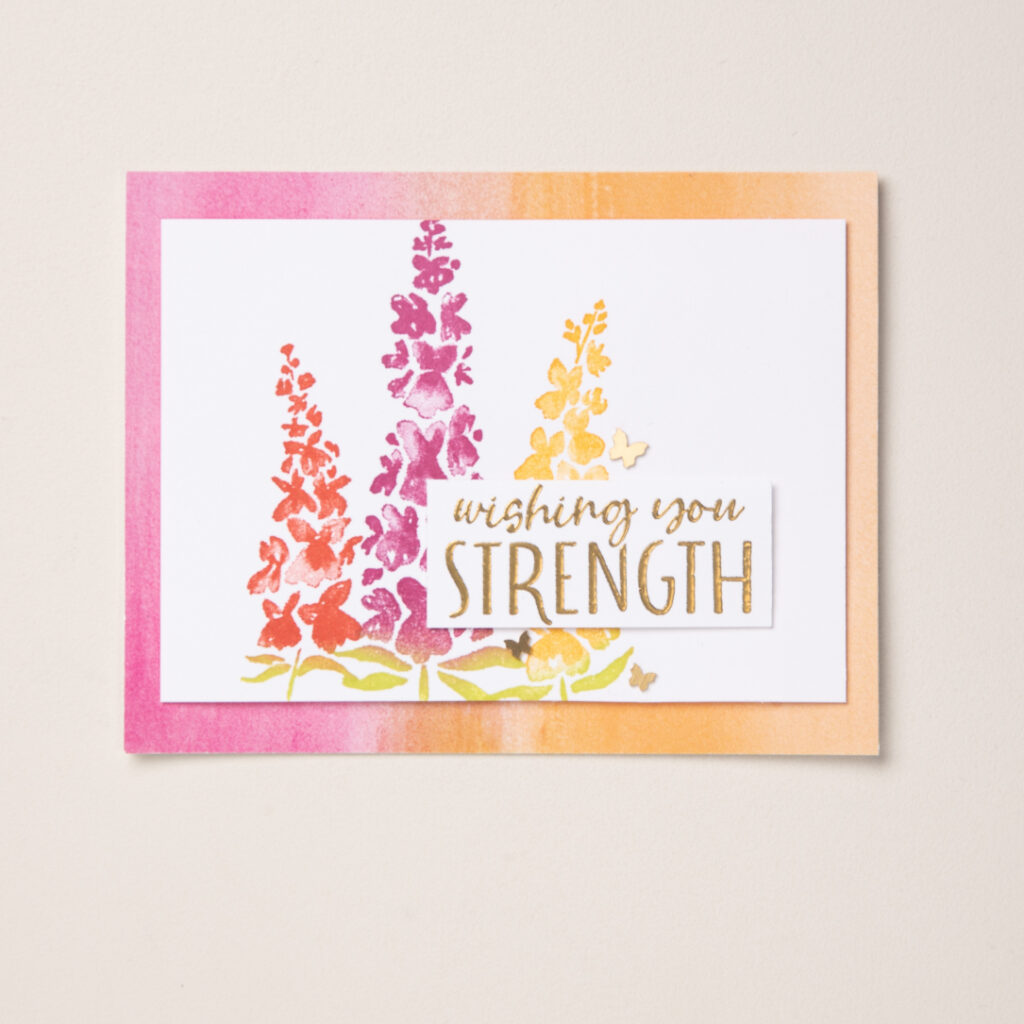
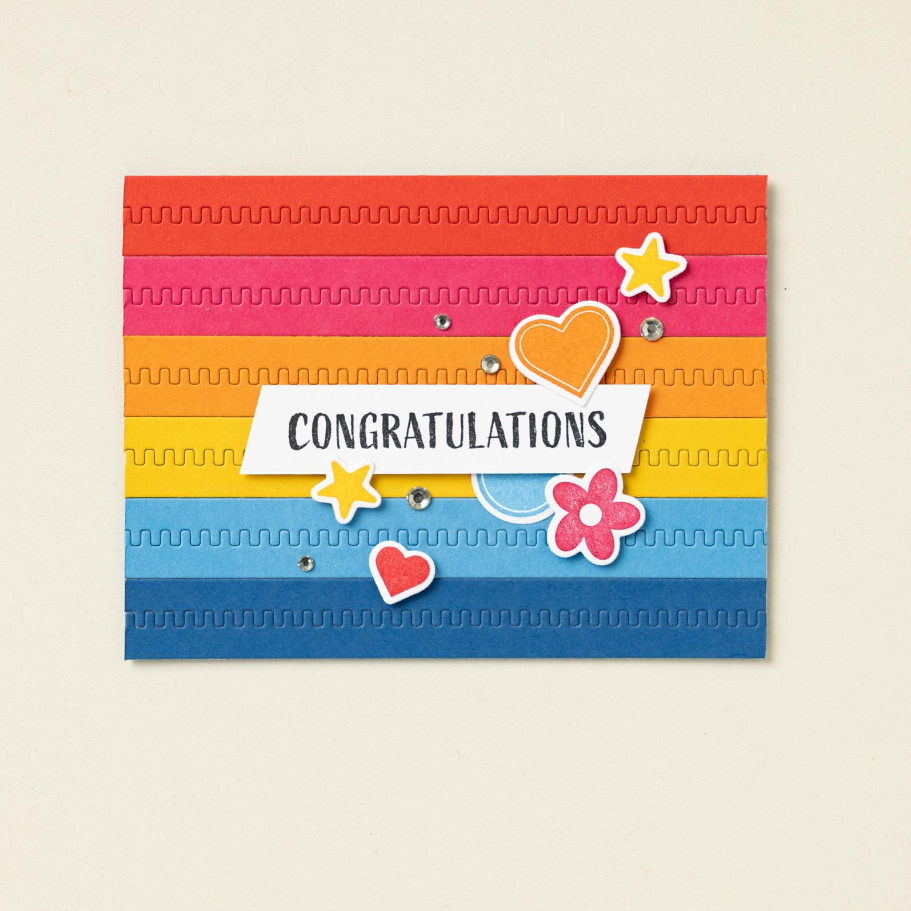
- Red, orange, and pink. These analogous beauties feel regal, with just the right amount of mischievousness mixed in for a variety of different card categories.
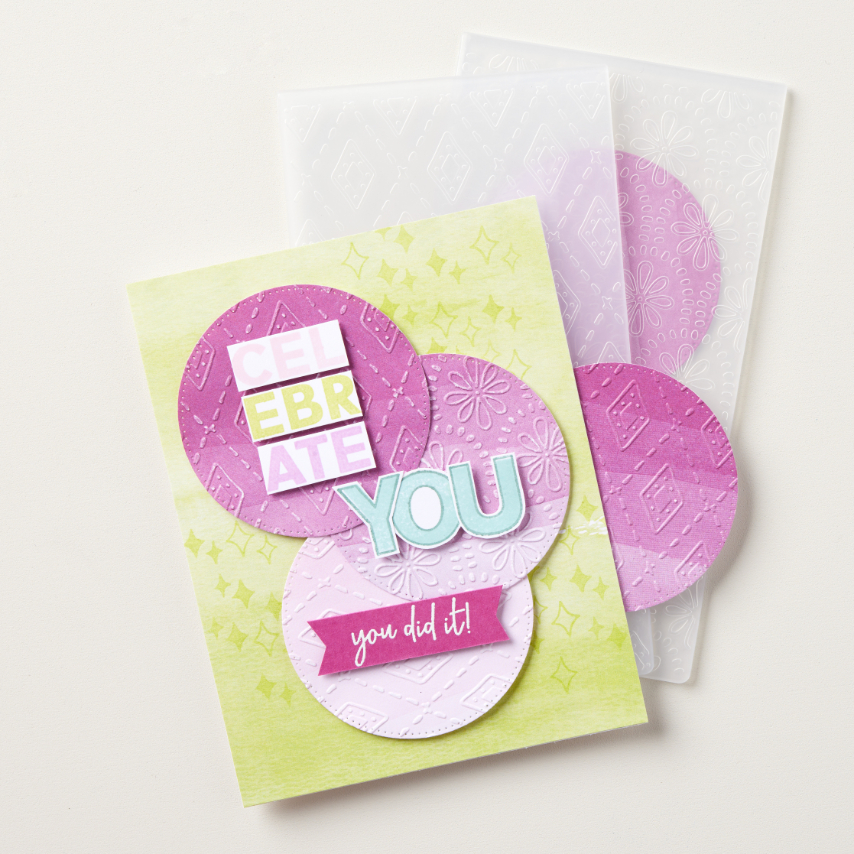
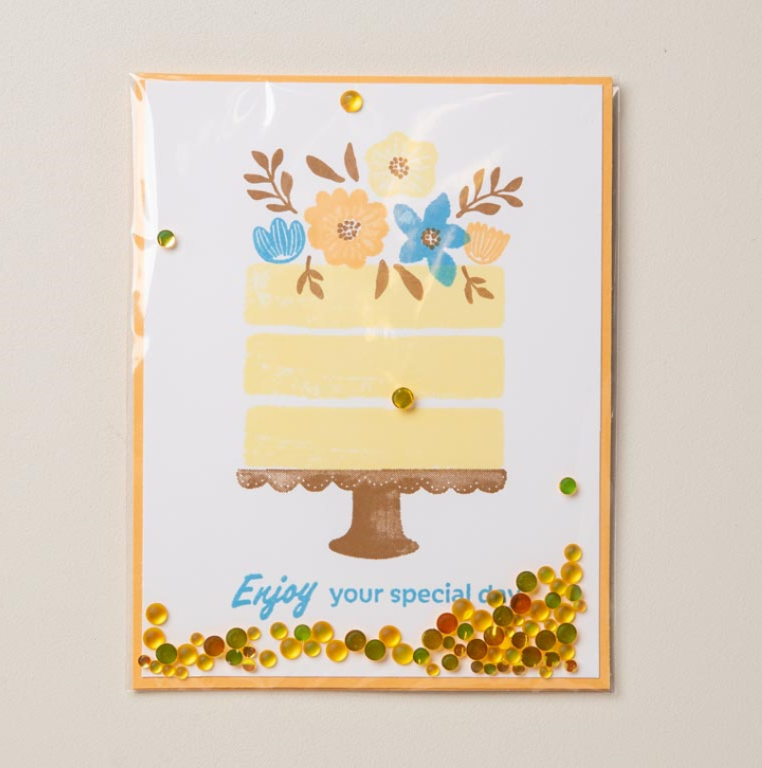
- Lime green and apple green. Can you think of a fresher monochromatic scheme than this? These colors would make a fun pop for a celebratory greeting at any age!

While we love playing within the guidelines of color coordination, and definitely recommend it as you’re getting started to boost confidence, there is plenty of fun to be had playing outside the color theory lines, too! We say: If you love it, it works!
Latest Trends in DIY Cards
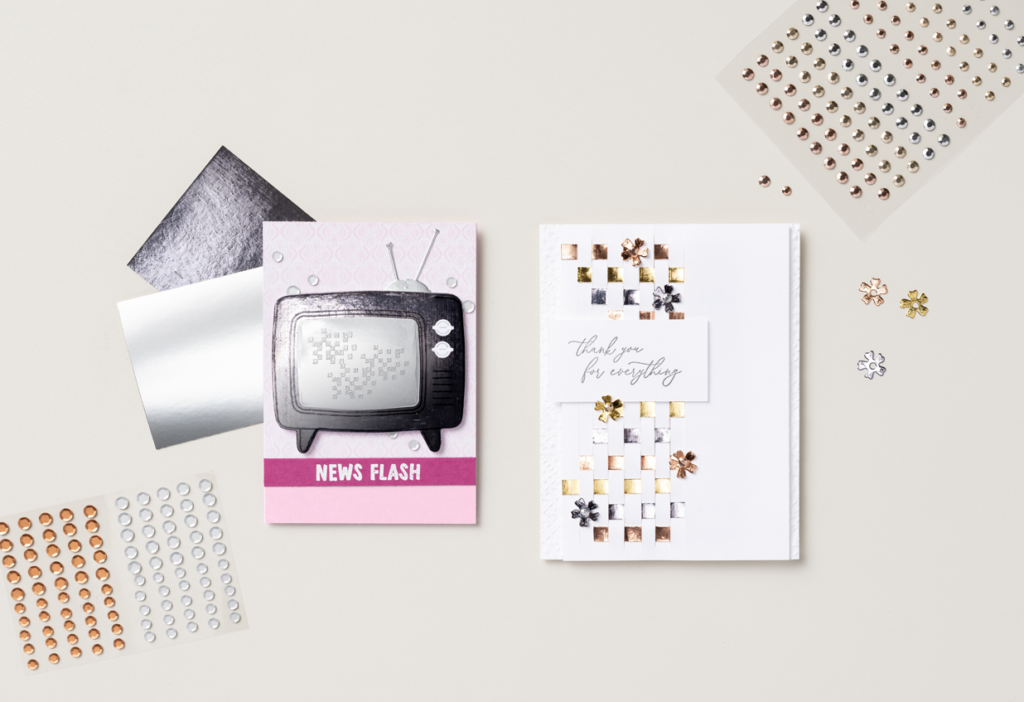
Staying on top of cardmaking trends can keep your handmade card designs fresh for any message of celebration, condolence, or connection you want to send. Right now, we’re loving the addition of sophisticated metallics—think gold, silver, and bronze—in the form of heat embossing, specialty papers and added embellishments to really elevate a card’s style.

Another fun trend is a return to bright, cheery hues like the ones you’ll find in our Brights collection. They work great for happy messaging in a variety of themes fit for kids, teens, and adults!
Going super clean and simple is another trend we’re seeing plenty of these days. It’s a fun way to practice restraint while still bringing personality and even sweetness to your cards. Many crafters will start with a clean, white-based palette and then keep adornment to a minimum. But don’t worry—simplicity doesn’t equal boring design! If you’re new to the idea of minimalism in DIY cards, there are several kits from Stampin’ Up! that make it super easy to create papercrafts that reflect this sort of European aesthetic. Try the Brighten Your Day, Loveliest Wishes, and Thank You Kindly kits, all of which give you everything you need to create several clean and beautiful card designs.
One last trend we’re loving for your DIY cards? Three-dimensional shaker embellishments. These kinds of interactive designs can add extra layers (literally) of entertainment and sentimentality—plus, they’re just super fun to create! You can even add truly personalized bits of ephemera to the shaker spaces to really amplify personal connection with the recipient.
Stay on Top of Handmade Card Trends
Don’t worry, staying on top of trends in handmade cards is as simple as following the experts (on Pinterest, Instagram, Facebook, or YouTube) or doing a quick check on the Stampin’ Up! site for what’s new in cardmaking and paper crafting. But one of our best tips for making the most of a handmade card? Do a 5-minute brainstorm about the person you intend to give it to. What are they going through? What do they love? What will help them know you care? When in doubt, always err on the side of total personalization—chances are you’re both going to love what you come up with!
DIY Cardmaking FAQs
No matter your experience level with papercrafting DIY cards, we’ve all got questions here and there. These are a few frequently asked questions we get about getting started and leveling up from there!
What Materials Do I Need to Start Making Cards?
Because this post goes into more detail about the top ten crafting essentials, we’ll make this short and sweet—to start making cards, you’ll need some cardstock, scissors or a paper trimmer, and either a stamped sentiment (with ink, of course) or a marker to write one yourself. As you progress through your DIY card journey, you’ll likely want to add a variety of designer papers, stamps, ephemera, and other embellishments (and don’t forget some adhesive to attach them with)! Trust us, you won’t want to stop at the basics.
What Tools Do I Need to Make DIY Cards at Home?
The tool list for making DIY cards at home can be short or long, depending on your crafting level and the complexity of your card designs. To get started, the only tool really required is a pair of scissors or a paper trimmer. As you add more elements to your card designs, you may want to increase your tool supply to include things like:
- A stamping block and stamp sets
- Paper punches
- Dies and a Stampin’ Cut & Emboss Machine
- A rotating color wheel
- Blending Brushes
What is the Easiest DIY Card to Make?
The easiest DIY card to make is a simple four-step card. All you need is a card base for the foundation, a bit of Designer Series Paper to bring the personality, a sentiment (made even easier by using designed ephemera packs), and a bit of embellishment, like a few sticky gems or a simple bow. Just layer the paper on your card base, add your sentiment, and adorn!
How Do I Make My Handmade Cards Look Professional?
A professional-looking DIY card can take a million forms and styles, but a few tips that will help keep things looking clean, well-coordinated, and purposeful include:
- Use paper punches or dies to ensure clean lines on anything you cut out (that isn’t a straight line—use your paper trimmer for that!).
- Utilize your knowledge of color theory to coordinate colors to their greatest effect.
- Take advantage of well-designed ephemera packs and card kits for great coordination and professional imagery.
- Work on your stamping technique so your sentiments and imagery come out clean and sharp.
More than anything, just keep trying! Experience is the very best teacher, and you’ll find your strengths and ways to improve upon any weak spots as you play with your papercrafting techniques and tools.
Best Idea Ever? Connect with a Stampin’ Up! Demonstrator!
Our community is full of friendly people who know the ins and outs of DIY Cards and can help you find the right products and teach you all the coolest techniques in paper crafting. Connect with a Stampin’ Up! demonstrator today!
