Back to Basics: How to Use a Paper Trimmer


Whether you are just dipping your toes into the world of crafting or have been treading water in the deep end, these Back to Basics tutorials will come in handy! Learn more about how to use a Paper Trimmer to make the crafts you love.
Getting Your Paper Trimmer Ready
Solid prep work is the quiet hero of every good crafting project. Before diving into your project, follow these beginner Paper Trimmer tips to prepare:
1. Remove the protective plastic layer from the Paper Trimmer platform. We like to use the Take Your Pick multipurpose tool for this simple prep task.

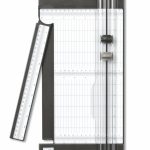
2. Test the measurements guide. Be sure to check both top and bottom measurements to make sure everything is aligned.
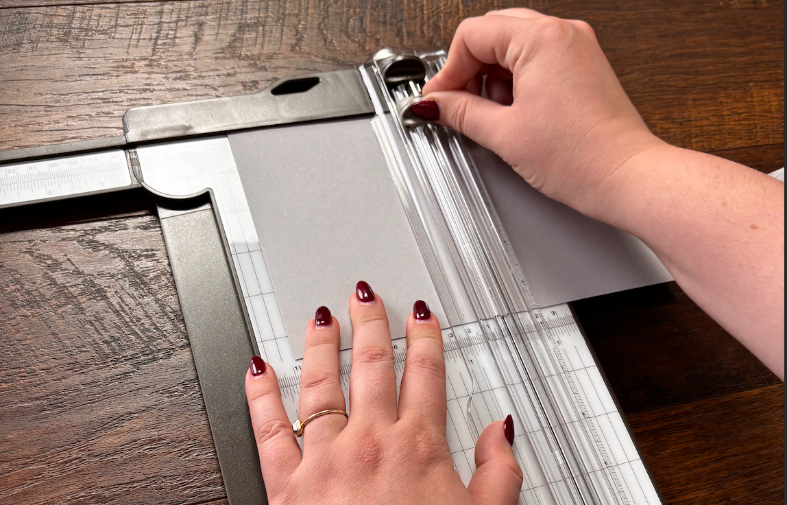
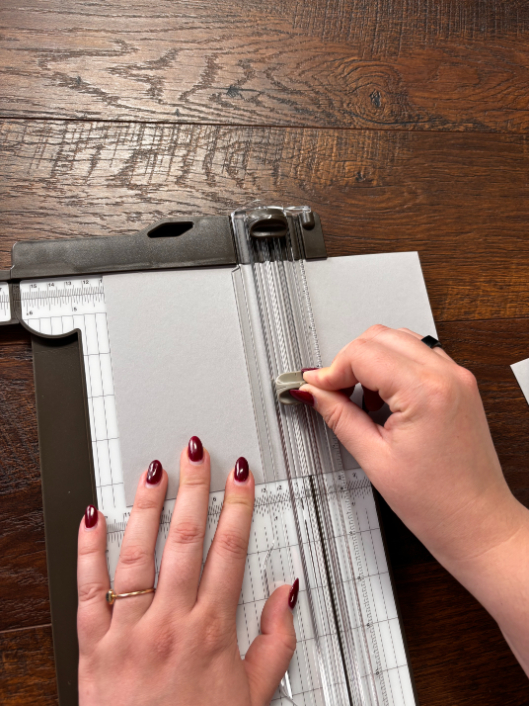
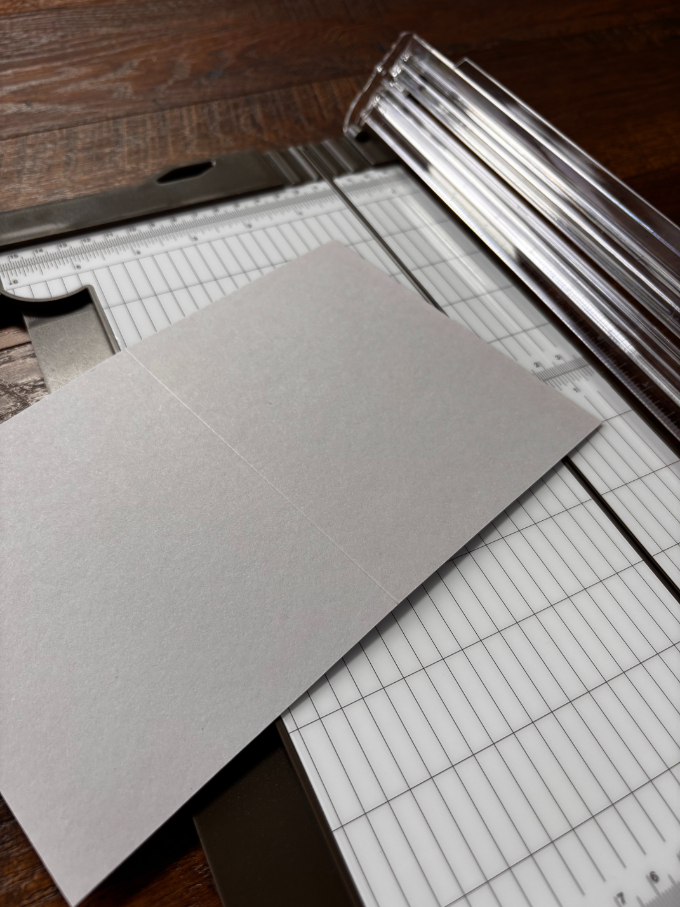
3. Make a quick test card base. This is how you’ll make sure the cutting and scoring blades are doing their jobs before getting into your crafting project. To make sure everything is functioning correctly, take some paper and use the darker blade to cut and the lighter blade to score.
Paper Trimmer Basics for Clean, Precise Cuts
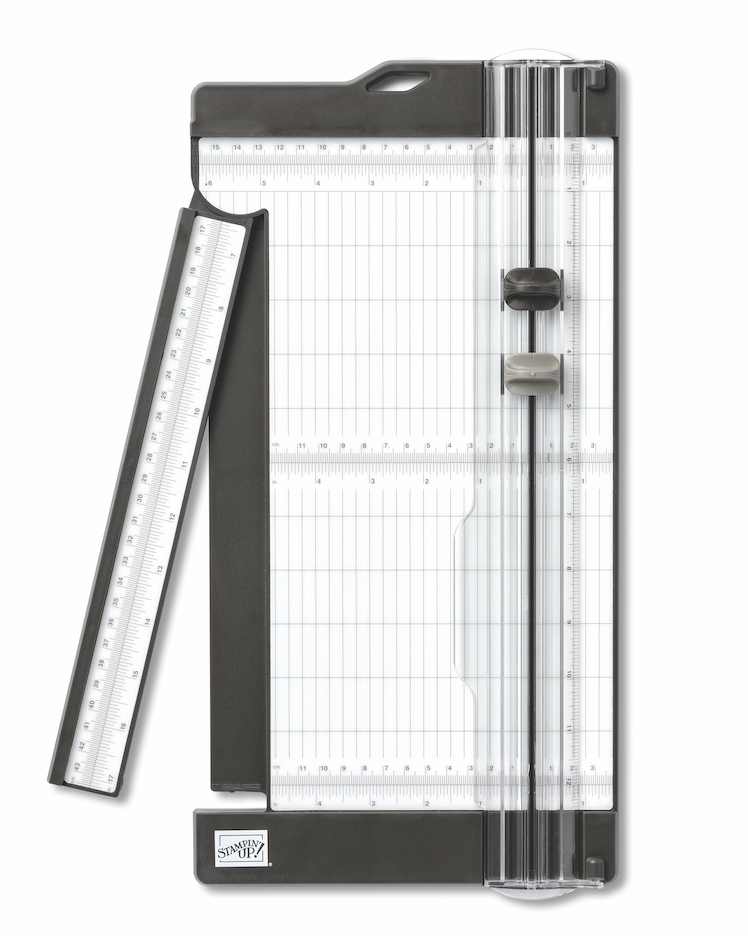
Our Paper Trimmer is your go-to crafting tool if you want clean cuts and perfect scores. Every time.
What if your blade gets dull? No problem.
This happens all the time. Especially if you’re using your Paper Trimmer regularly. Simply locate the tiny notch at the bottom of the cutting guide. Once located, slide the blade down, lift it out, and pop in a new one. Still confused? This Back to Basics Paper Trimmer tutorial will show you how!
*Pro tip: Replacing blades as needed keeps your projects looking clean and crisp.
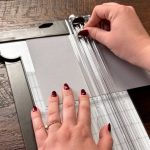
To easily cut or score larger projects, use the Paper Trimmer’s extended arm. For smaller projects, use the 1-inch mark on the right-hand side of the Paper Trimmer. This guide is perfect for trimming small amounts of paper or getting small, precise cuts.


Get Started with the Stampin’ Up! Paper Trimmer
If crooked cuts are hijacking your crafting joy, a solid Paper Trimmer will be your new best friend. Looking for more basic tools and techniques that make crafting more enjoyable? Hop over to our Stampin’ Up! Back to Basics posts for more Back to Basics crafting techniques. Simple tools. Big impact.