How to Make Paper Boxes | Easy DIY Gift Packaging
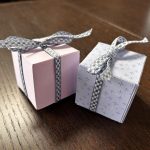
A gift can feel more special when it comes in a box you made yourself. Whether it’s a party favor, a little thank-you, or a surprise treat “just because,” a handmade paper box adds a thoughtful, creative touch.
The best part? You don’t need to be a paper crafting expert to make one. With a little cardstock, you can whip up something sturdy, stylish, and made with love. Let’s take a look at how to score, fold, and decorate your own paper boxes.
How to Make Paper Boxes
Building your own box from scratch is surprisingly doable and so rewarding! To practice, let’s make a simple 2″ × 2″ × 2″ (5.1 × 5.1 x 5.1 cm) gift box—perfect for a small treat, jewelry, or a few pieces of candy.

You’ll need:
- One piece of cardstock or Designer Series Paper, cut to 6″ × 10″ (15.2 × 25.4 cm)
- Strong adhesive, like Tear & Tape or Stampin’ SEAL+
- Paper Trimmer with cutting and scoring capabilities
- Bone Folder (optional)
- Embellishments and ribbon (optional)
Step-by-Step Instructions:
Before you begin, decide if you want to add any texture or pattern to your paper. This can be done by embossing your paper or layering on stamped images or sentiments. Now you’re ready to dive into making a paper box!
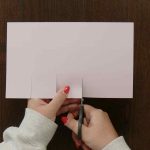
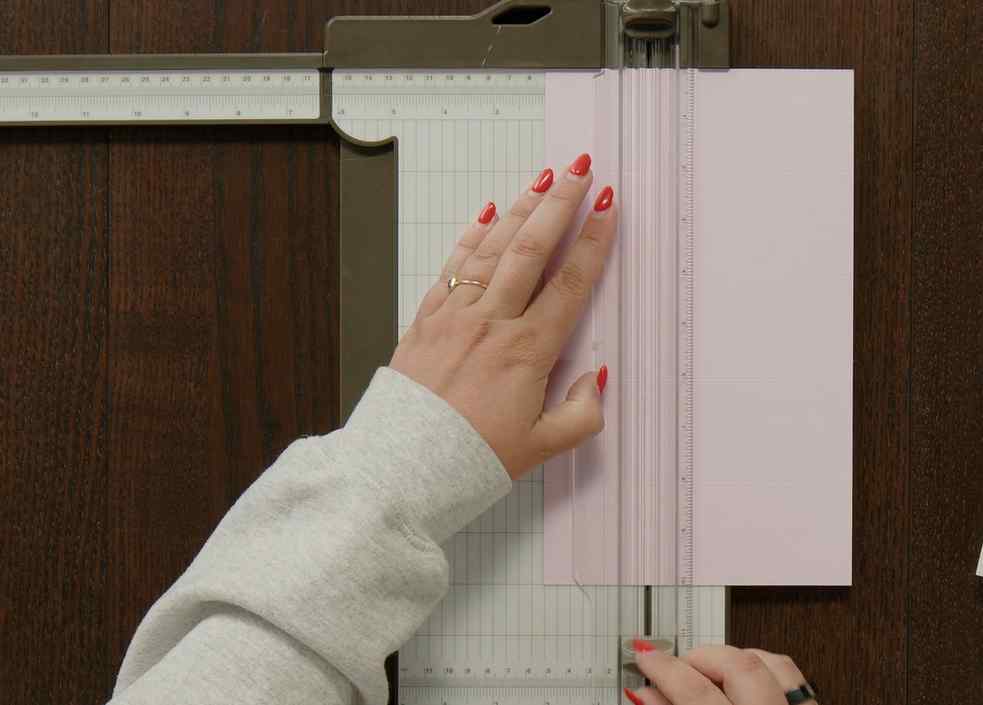
1. Measure and Score: Using your Stampin’ Up! Paper Trimmer, score on the long side of your paper at 2″ (5.1 cm), 4″ (10.2 cm), 6″ (15.2 cm), and 8″ (20.3 cm). Turn the paper, and on the short side, score at 2″ (5.1 cm) and 4″ (10.2 cm). You should now have 15 equal 2″ × 2″ (5.1 × 5.1 cm) scored squares.
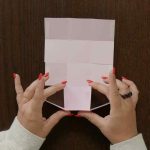
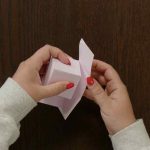
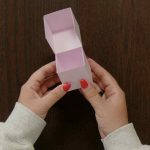
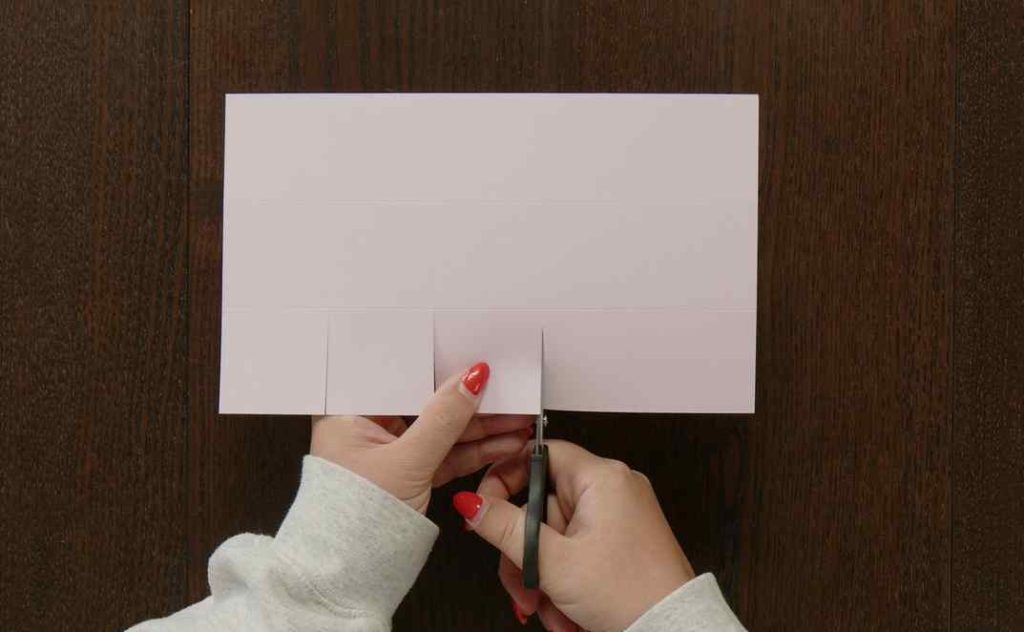
2. Cut and Fold: Next, we’re going to create five flaps on each long side of your paper. Cut 2″ (5.1 cm) flaps on the score lines on one long side of your paper, ending at the 2″ (5.1 cm) score line on the short side. Repeat on the other side. Fold along all the score lines. For crisp, clean folds, use a Bone Folder.

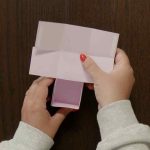
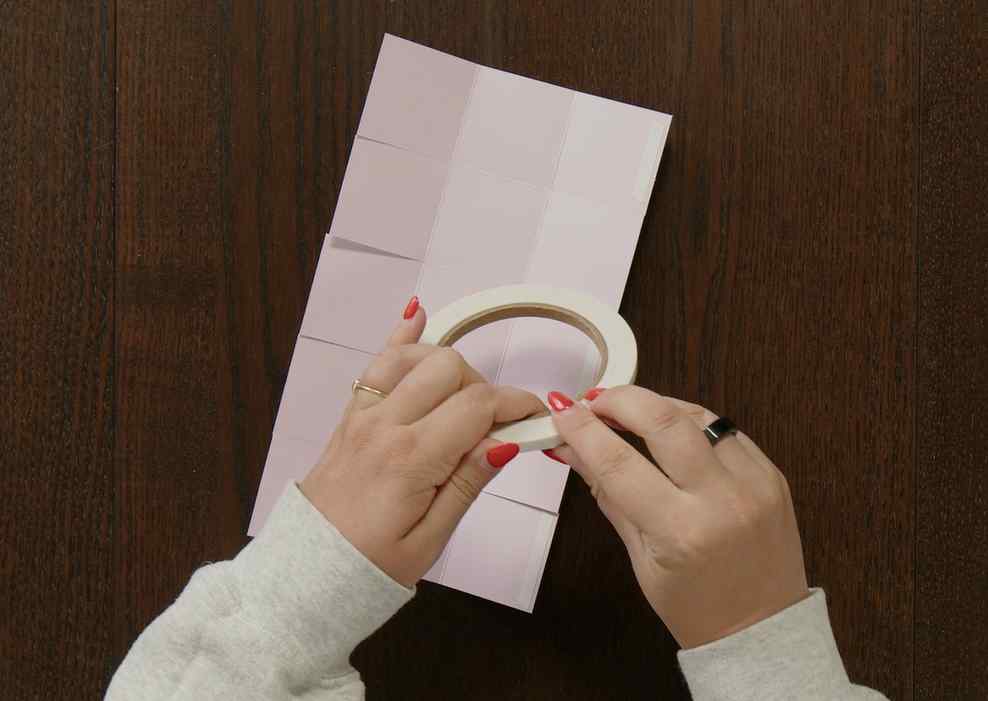
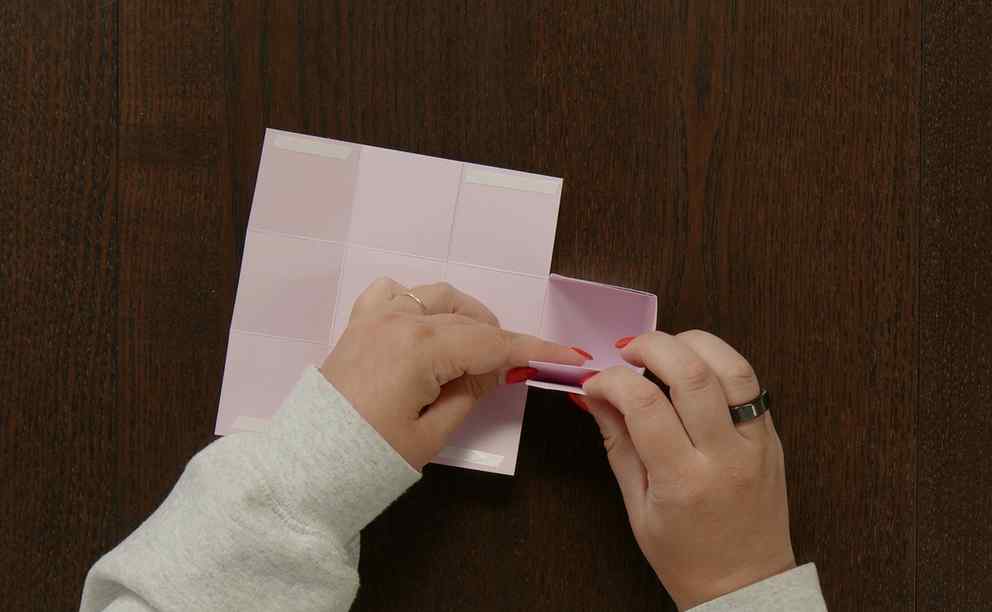
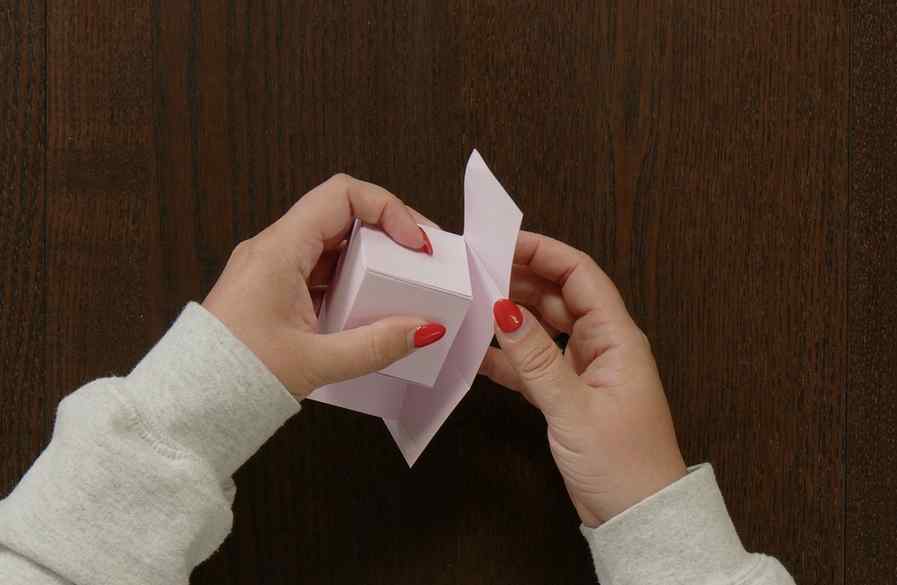
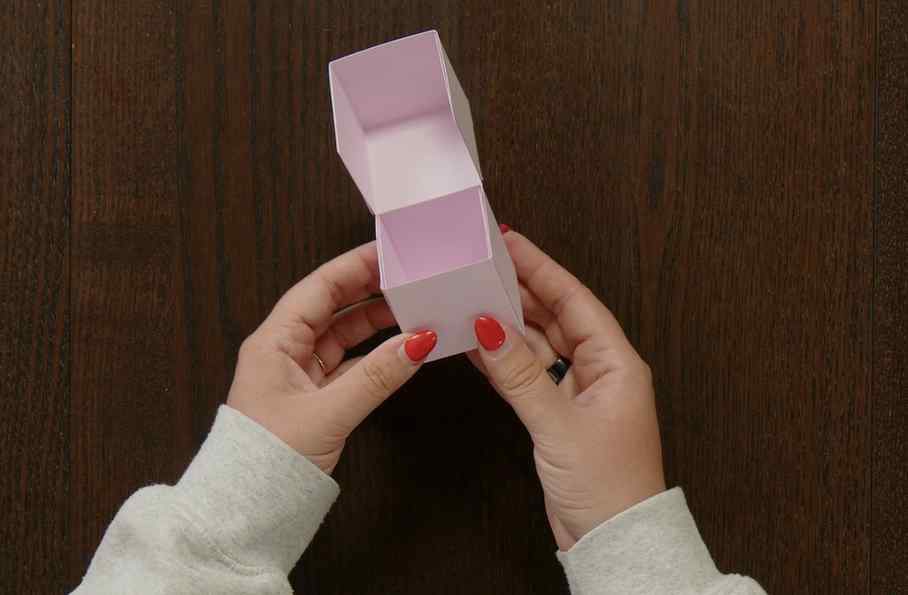
3. Assemble: Apply a strong adhesive like Tear & Tape or Stampin’ SEAL+ to the outer edge of one side of the top, middle, and bottom flaps and adhere the sides together to form your box.


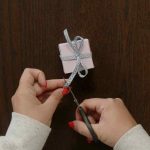
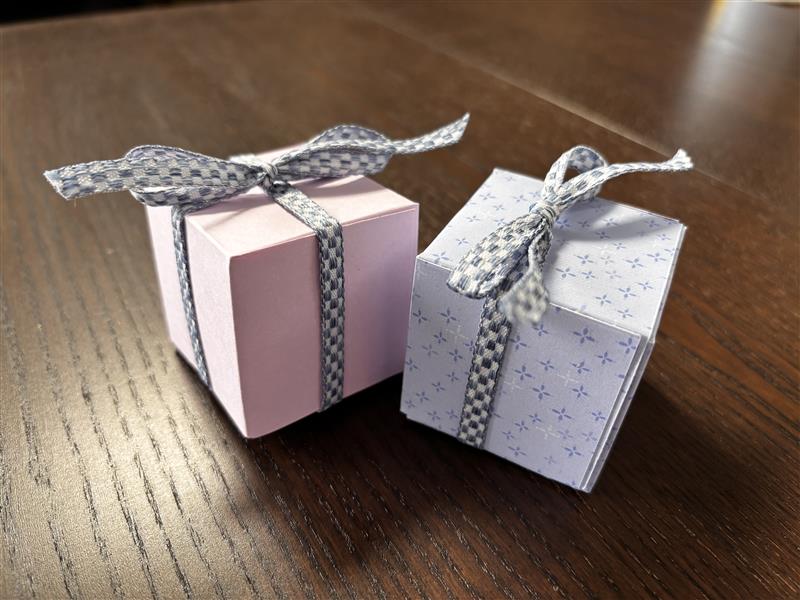
4. Decorate: Now that you’ve made your paper box, tie it with ribbon or twine, or add a stamped tag. It’s the little details that can take your project from “oh, that’s cute” to “wait—you made this?!”

This box size is great for small gifts or party favors, but you can easily scale it to be bigger or smaller. For more ideas, check out this Stampin’ Up! blog post about making paper boxes.
Ready to Box It Up?
Now that you know how to fold paper into a box, you’ll have a go-to way to turn any small gift into something memorable. DIY paper boxes are practical, customizable, and just plain fun to make.
Want more inspiration? Subscribe to the Stampin’ Up! YouTube channel for tutorials, paper craft tips, and plenty of creative ideas. If you want more help with your paper crafting projects, connect with a Stampin’ Up! demonstrator.