
What is Foil Stamping? How to Use the Hot Foil System
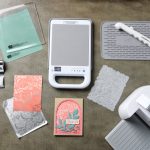





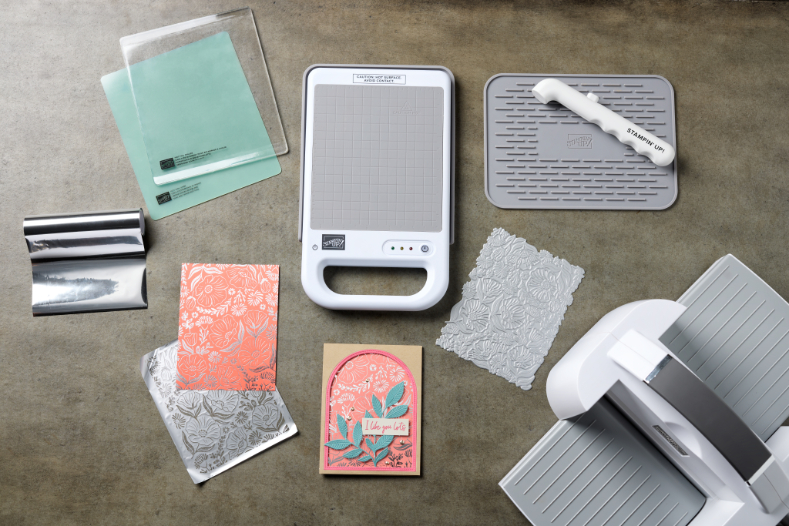
Want to bring a little elegance to your paper crafts? Foil stamping is a great way to do so, with its bright, metallic finish. This technique uses heat and pressure to transfer metallic foil onto cardstock. Stampin’ Up! has the perfect tools to help you create these beautiful foiled designs, as well as some tips to make the most of your experience. designs, as well as some tips to make the most of your experience.
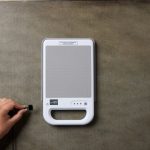
What Is Foil Stamping?
Foil stamping, also known as hot stamping or hot foiling, is the process through which metallic foil is applied as a design to paper with heat. Hot stamping requires a hot foil stamping machine, such as the Stampin’ Hot Foil System, specialized stamping foil, hot foiling dies, and a die cutting and embossing machine, such as the Stampin’ Cut & Emboss Machine.

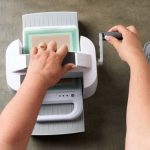
The hot foil stamping process involves heating a hot foil die on a hot foil machine, placing foil between the die and the paper you’re foiling, adding plates to hold it all in place, and running the whole sandwich through a die-cutting and embossing machine. This combination of pressure and heat stamps the foil onto the paper’s surface, leaving behind a beautiful design. Sound complicated? Let’s break the process down into easy steps.
How to Use a Hot Foil Stamping Machine
Watch this video to learn how to use Stampin’ Up!’s hot foil machine or follow the written instructions below.

Foil Stamping with the Stampin’ Hot Foil System
The Stampin’ Hot Foil System makes it easy to heat dies and foil. For the pressure portion of hot stamping, you’ll also need the Stampin’ Cut & Emboss Machine. Here’s how to use a hot foil stamping machine in just a few simple steps: in just a few simple steps:
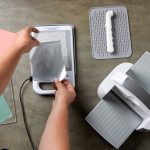
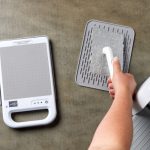
1. Place the Stampin’ Hot Foil platform on the silicone platform station.

2. Plug the power cord into the platform. The platform beeps and all lights briefly flash. While it’s heating up, the white timer button stays lit and the red light flashes. It takes about six to seven minutes to heat up.

3. While you wait for the platform to heat up, prepare your materials. Determine which hot foiling die you will use and cut your cardstock and hot foil roll to size. For best results, the foil should be trimmed to about 1/4″ (6.4 mm) larger than the size of the hot foil die you are going to use. should be trimmed to about 1/4″ (6.4 mm) larger than the size of the hot foil die you are going to use.
4. When the platform is ready to use, it beeps again, the red light turns solid, and the white timer button flashes.

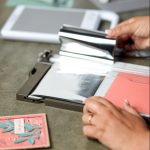
5. Place the die flat-side down on the platform. Then put these items on top to create a sandwich in this order: foil (shiny side down), cardstock, the green Hot Foil Shim, and the clear Hot Foil Spacer. Once you have built your sandwich, press the white timer button.

6. When the machine beeps and the green light has turned on, unplug the power cord from the platform and carefully remove it, along with the entire sandwich, from the silicone platform station. Place it on the and slowly run it through. Don’t reverse it, as this could cause the die to shift and smudge the design.

7. Place the platform back on the silicone platform station. Remove the shim and spacer, then peel the foil from the cardstock. To continue hot foiling, plug the cord back in and repeat steps 3–7.

8. Use the Magnetic Pick-Up Tool to move the hot die to the silicone cooling pad. If it’s a heavier die that’s harder to pick up, use the tool to scoot it off instead of lifting it.
9. Allow the platform to cool completely before storing.
Please note: For your safety, the Stampin’ Hot Foil System will automatically turn off after about 15 minutes of inactivity, but the white timer button will stay on. To resume using it, unplug the power cord and wait a few minutes before plugging it back.
What’s Included with the Stampin’ Hot Foil System?
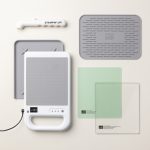
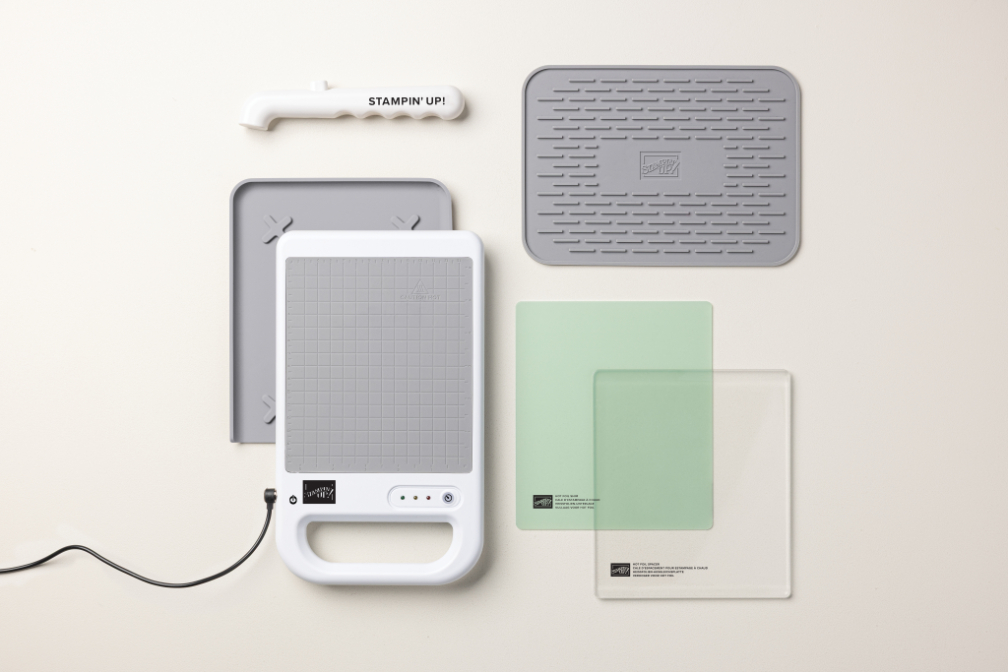
The Stampin’ Hot Foil System includes everything you need to get started with foil stamping. Here’s what to expect in the box: Stampin’ Hot Foil platform, silicone platform station, green Hot Foil Shim, clear Hot Foil Spacer, silicone cooling pad for hot dies, Magnetic Pick-Up Tool, power cord, and detailed instructions.
Please note: Hot foiling dies, hot foil rolls, and cardstock are sold separately. Currently, hot foil rolls are sold in three colors: silver, gold, and light pink. We recommend using Basic White, White Willow or two-tone cardstock because it has a smooth surface that makes for a cleaner foil transfer.
What Can You Make with a Hot Foil Machine?
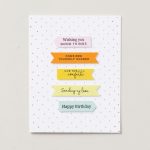
There are many great ways to incorporate the Stampin’ Hot Foil System into your crafting. To make the most of your hot foiling experience, try making a pretty card base with some of our larger patterned hot foil dies and craft the perfect card by using your hot foil dies with cutting dies, stamps, or stencils.
Foil Stamping a Card Background
Hot foiling a card background is an easy way to make your cards feel fancy without too much hassle. Our Swiss Dots Hot Foil Dies are great if you want a simple background that will still elevate your paper craft.

Or you might choose to make your card background a little more elaborate with our Garden Silhouette Hot Foil Dies.
Using Hot Foil Dies and Cutting Dies
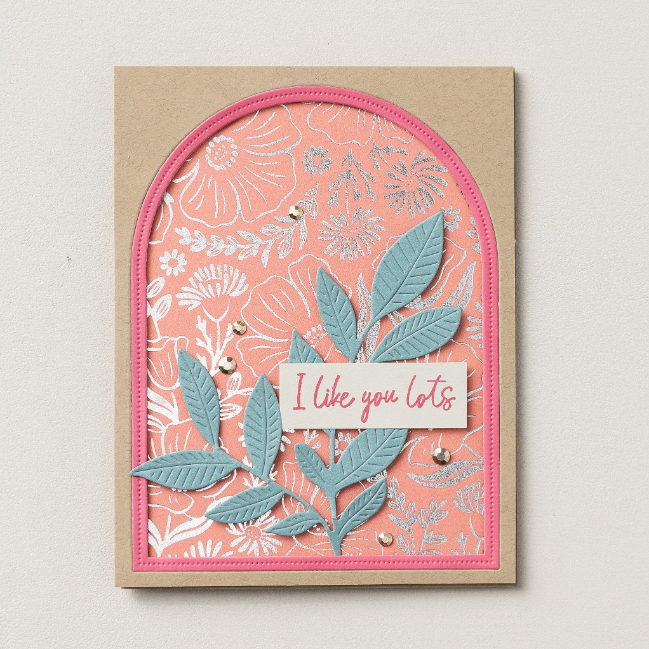
Combining hot foil dies with cutting dies can make your cards look professional, like every step was intentional. Hot foil dies don’t cut things out, so if you want to cut out your design, you’ll need to find a bundle with coordinating hot foil dies and cutting dies.
Remember, these are two separate types of dies and each uses a different sandwich. You don’t cut using the hot foil system. You’ll foil first, then swap out your hot foil die with a cutting die and cut out your foiled design with the Stampin’ Cut & Emboss Machine. For more information on die cutting, check out this article.
Hot Stamping with Dies and Stamps
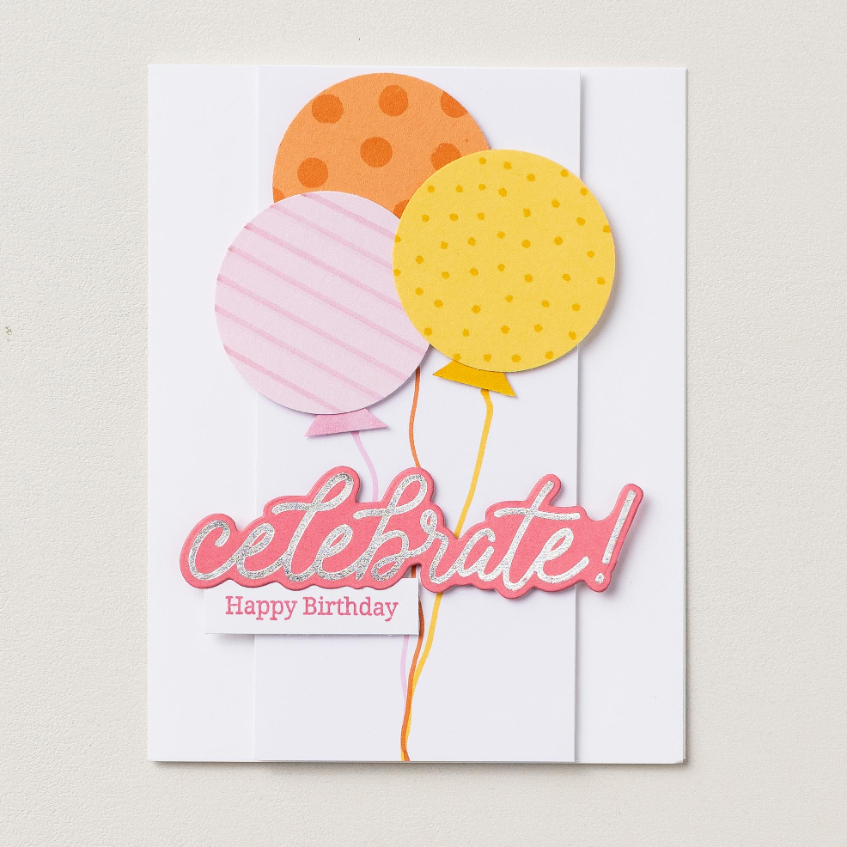
Some hot foil bundles include coordinating stamp sets. When working with stamps and hot foil dies, it’s important to know how you want the images to work together.

If your stamps coordinate with your hot foils (meaning you want them to work together), we recommend hot foiling first, then stamping your image. If ink remains on your foiled image, you can use a microfiber cloth to gently remove it.
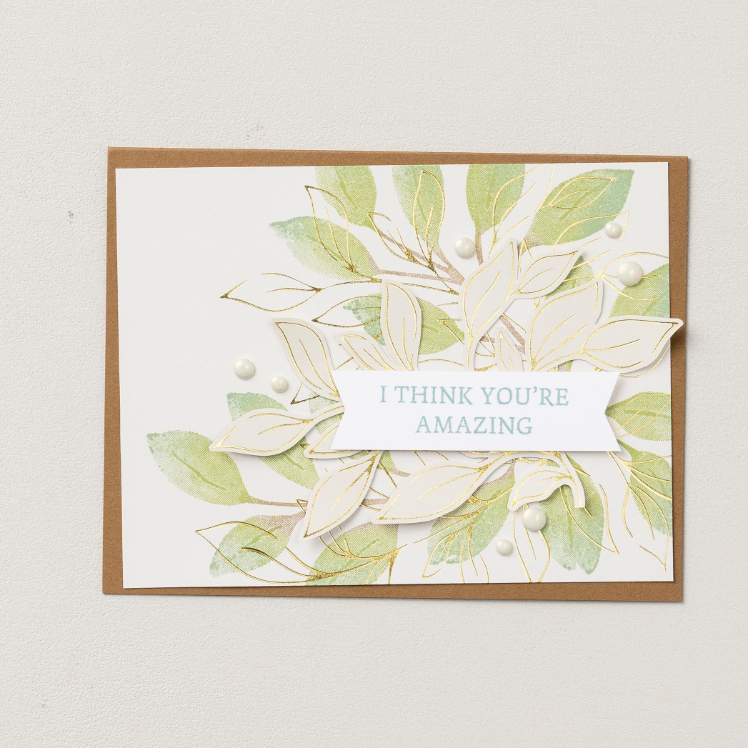
Using Hot Foil Dies with Stencils
One fun way to layer different colors in your design is by using a decorative mask, which is like a coordinating stencil, as well as your hot foil dies! Foil first, then use Stampin’ Up Decorative Masks to color in different parts of your image. This technique can add instant dimension to your design.

Hot Foiling Q&A
With learning a new technique comes questions! Here are answers to a few common questions about hot foiling with the Stampin’ Hot Foil System. If you’re wondering about something else, contact a Stampin’ Up! demonstrator for more help. for more help.
What’s the difference between heat embossing and hot foiling?
Both heat embossing and hot foiling can add a little sparkle to your paper crafts. The main difference in the result is that embossing is raised, while foiling is flat. Heat embossing involves stamping a design with special ink, pouring embossing powder on top of the design, and using a heat tool to melt the powder to your design. For more information on heat embossing, check out this blog article. If you like heat embossing, we think you’ll love the Stampin’ Hot Foil System.
What type of paper should I use when hot foiling?
We recommend using a two-tone cardstock for hot foil projects. This smooth cardstock allows every detail to show up in the foil. Milled cardstock is more fibrous, so it will stick a bit to the foil, giving it a distressed look. Part of the fun of hot foiling is experimenting with different papers to see what looks you can achieve!
If I’m making a craft that’s stamped and foiled, should I stamp or foil first?
We’ve found it’s easier to foil first, then stamp (that way you can see what you’re doing). But feel free to experiment to see what you prefer!
Some of the foil got left behind on my shim. What should I do?
Don’t worry, excess foil left on a shim shouldn’t transfer to another project. But if it bothers you, you can try cleaning the foil off with an eraser when the shim is cooled down.
My Stampin’ Hot Foil System broke! Does it have a warranty?
The Stampin’ Hot Foil System has a one-year limited warranty. It must be used with the Stampin’ Cut & Emboss Machine or your warranty is void. Any misuse or improper operation may also result in damage to the machine.
I already have accessories for a different hot foil system. Can I use them with the Stampin’ Hot Foil System?
We advise against this. For best results, and to prevent damage to the Stampin’ Cut & Emboss Machine or hot foiling system, use the tools that are included with the Stampin’ Hot Foil System. (When looking for compatible products on our website, the product description will state that they can be used with the Hot Foil System.)
Will my other Stampin’ Up! dies work as hot foil dies?
No, cutting dies cut something out; hot foil dies don’t. Don’t use cutting dies with the Stampin’ Hot Foil System! Cutting dies will damage the platform and will void the warranty.
An easy way to tell if the dies you’re buying are hot foiling dies or cutting dies is the color displayed on the packaging. If they are drawn in gold, those are hot foiling dies. If they’re illustrated in gray, they’re cutting dies. Sometimes we pair the two together in a bundle so you can cut out your foiled designs, but always double check what kind of die you’re using before you craft.
Start Hot Foiling Today!
If you’re not convinced already, here’s why the Stampin’ Hot Foil System is worth the investment: it’s easy to use and makes it easy to add a level of elegance and beauty to paper crafts. If you don’t already have the Stampin’ Cut & Emboss Machine, add that to your cart too, so you’re ready for hot foiling and other fun craft projects like die cutting.
As always, if you have unanswered questions, connect with a Stampin’ Up! demonstrator for more help. Happy crafting!