Cartes DIY : Idées créatives et tendances


Il y a plein d’idées créatives qui feront passer vos cartes faites à la main au niveau supérieur et les feront paraître bien pensées, soignées et—osons-nous dire—professionnelles! Nous avons rassemblé quelques-uns de nos derniers échantillons de cartes bricolage pour stimuler votre créativité! Découvrons quelques-uns de nos sujets et outils classiques et tendance pour la fabrication de papier.
Estampage
Le tamponnage peut être aussi simple ou aussi complexe que vous le souhaitez, et nous adorons ça! C’est une technique vraiment polyvalente qui peut créer tout, allant d’un simple timbre tamponné sur du papier ordinaire à plusieurs timbres superposés à plusieurs couleurs et motifs.
Lors de cela, des ensembles de tampons spécialement conçus pour cet objectif aideront à assurer des couches bien alignées. Mais un super conseil si vous n’avez pas ce genre de jeu de tampons? Utilisez le même carton assorti et la même couleur d’encre pour obtenir un effet ton sur ton.
Gaufrage
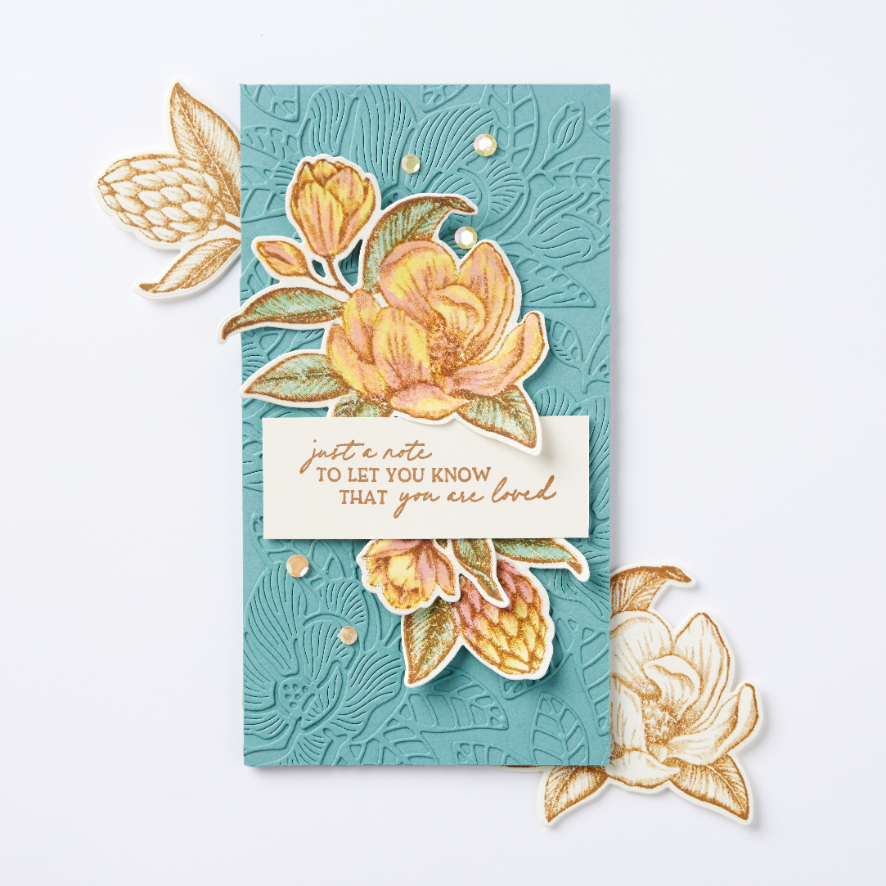
L’embossage à la chaleur est une version plus avancée de l’estampage. Il faut un type d’encre spécial et plus collant appelé VersaMark®, sur lequel on verse ensuite de la poudre d’embossage avant de la chauffer soigneusement pour fondre et durcir en une image dimensionnelle. L’embossage est aussi une excellente idée pour ajouter une touche métallique à votre design ou pour s’assurer qu’une image que vous voulez en blanc ressorte sur un papier plus foncé.

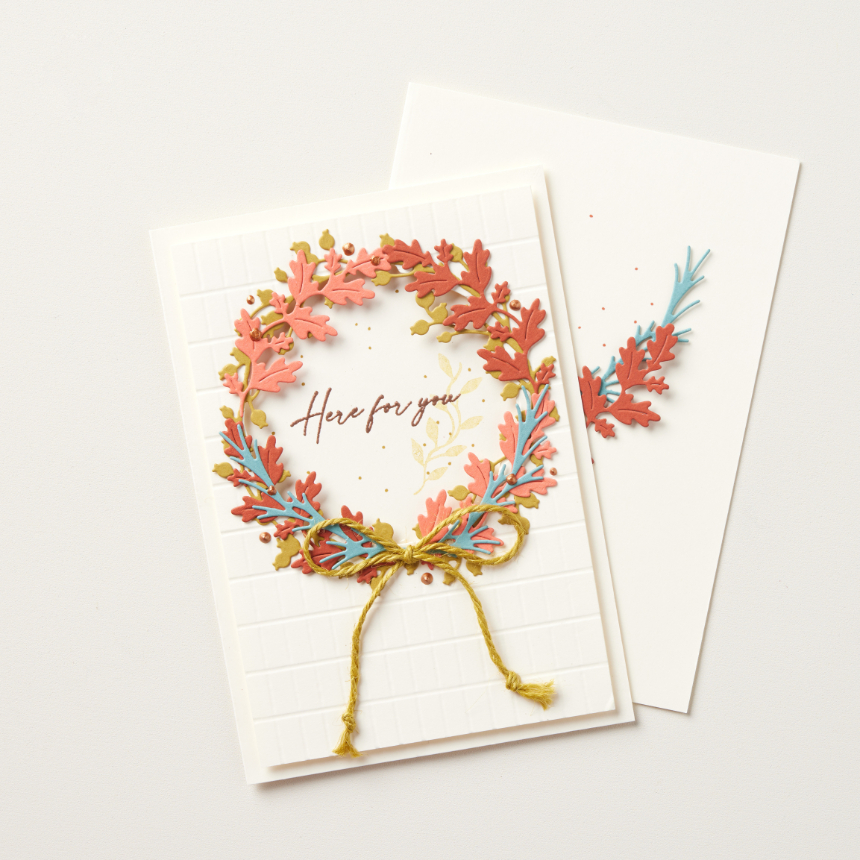
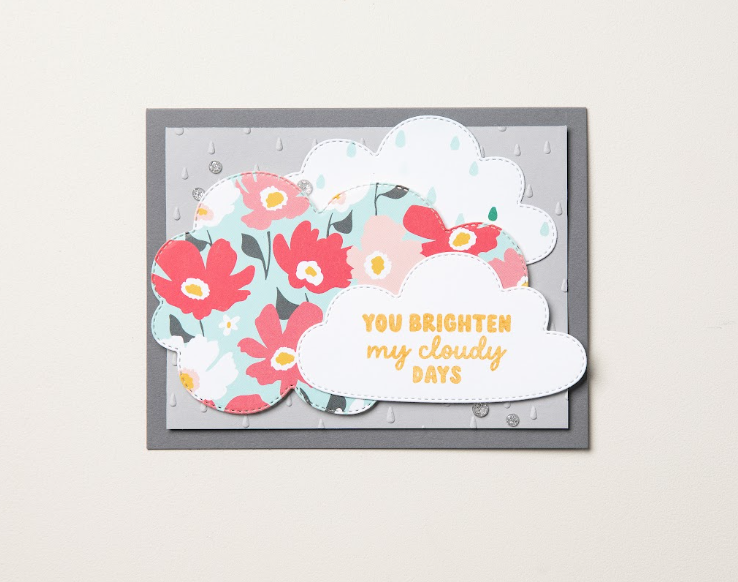
Vous pouvez aussi utiliser notre pâte à embosser pour ajouter de la dimension à votre projet. Pour le projet ci-dessous, nous avons utilisé la pâte Shimmer Paste, un masque découpé et un couteau à palette pour créer ce motif sur le carton. Une fois le carton sec, nous avons ajouté des éléments estampés supplémentaires et des ornements! Vous voulez voir comment nous avons fabriqué cette carte et d’autres techniques d’embossage? Regardez ce billet sur Instagram!

Embellissements
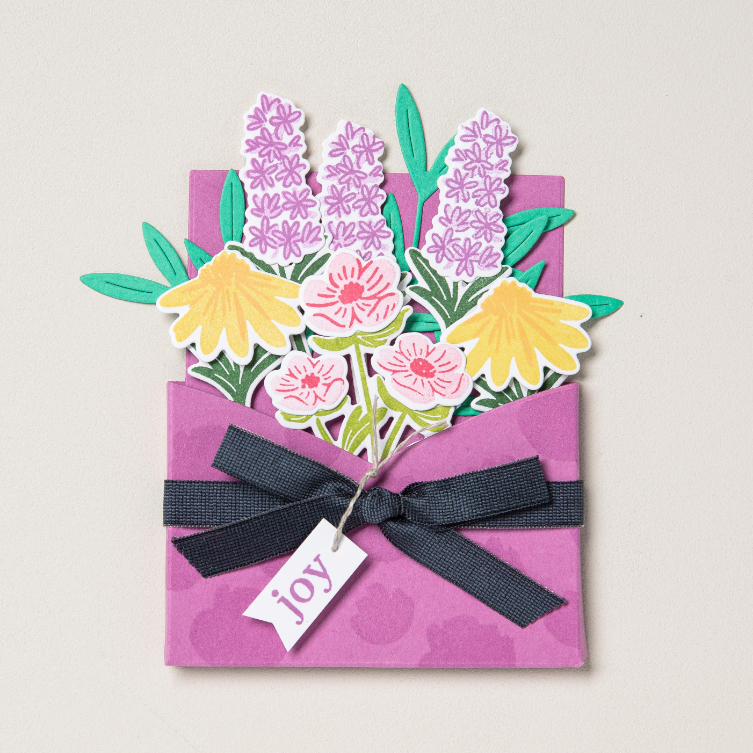
Ajouter des ornements en créant vos propres cartes est une autre étape du processus qui porte la personnalisation à un tout autre niveau. Cette accessoirisation, comme on l’a déjà mentionné, ressemble à mettre des vermicelles sur son gâteau! Par exemple, là où une personne peut placer des bijoux, vous pouvez mettre des découpes de fleurs. Là où l’un préfère un ruban audacieux noué en nœud, un autre préfère un nœud lâche de ficelle de boulanger. Peut-être qu’au lieu de suggérer des éphémères, vous préféreriez placer une série de brads. Nous suggérons de bien expérimenter à ce stade jusqu’à ce que vous trouviez une combinaison de « vermicelles » que vous aimez vraiment — et que vous pensez que le destinataire de votre carte aimera aussi.

Comment choisir les couleurs de vos cartes DIY
Une étude rapide de la théorie des couleurs nous aide à comprendre que, en tant qu’humains, nous réagissons à différentes couleurs de différentes façons — elles provoquent en fait une variété d’émotions quand on les voit seules (pensez aux rouges parlant en termes de passion et de puissance, tandis que le bleu apporte un sentiment de paix et de calme).
Les couleurs peuvent aussi apparaître différentes lorsqu’elles interagissent entre elles. Artistes et scientifiques ont découvert que lorsque nous réunissons les couleurs d’une certaine façon, elles semblent harmonieuses et tout simplement parfaites. Par exemple, les couleurs monochromes sont simplement différentes nuances et nuances d’une même couleur. Ces combinaisons peuvent sembler discrètes et chics.
Des couleurs analogues sont trois couleurs (ou parfois plus) qui se retrouvent ensemble sur la roue chromatique. Même dans des teintes vives, elles peuvent être rassurantes et équilibrer vos créations. Les couleurs complémentaires se trouvent directement en face de la roue et donnent souvent l’impression d’être des opposés, comme le yin et le yang. Ils s’améliorent mutuellement, peut-être à cause de leurs différences!
Ensuite, il y a les couleurs triadiques, que l’on trouve en motifs triangulaires autour de la roue chromatique. Ceux-ci sont faciles à repérer si vous commencez par les couleurs primaires rouge, jaune et bleu, puis que vous tournez autour du cercle pour trouver de nouvelles combinaisons de couleurs inattendues.
Comprendre tout cela facilite le choix des couleurs pour vos cartes DIY. Et piétiner! rend les choses encore plus faciles grâce à son outil rotatif Color Coach, qui utilise de vraies teintes de nos collections de couleurs pour que vous sachiez exactement quoi chercher. Même juste travailler dans un de ces Stampin’ Up! Les collections de couleurs (Basics, Brights, Neutres, Regals et Subtiles) garantissent que votre design de carte sera coordonné et professionnel en termes de couleurs!
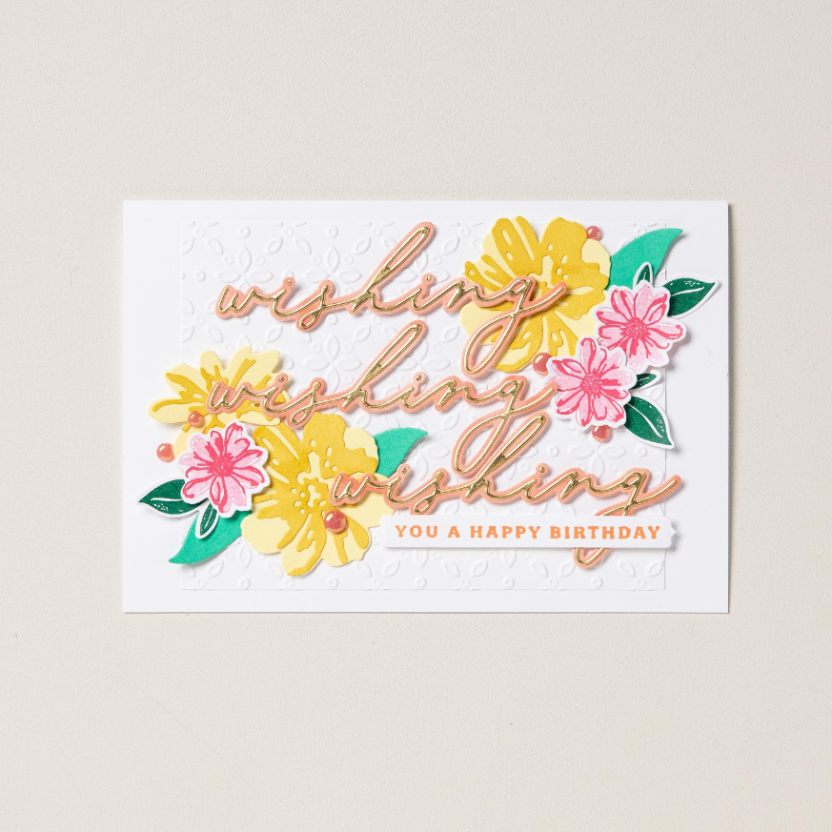
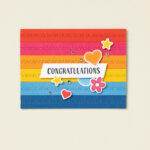
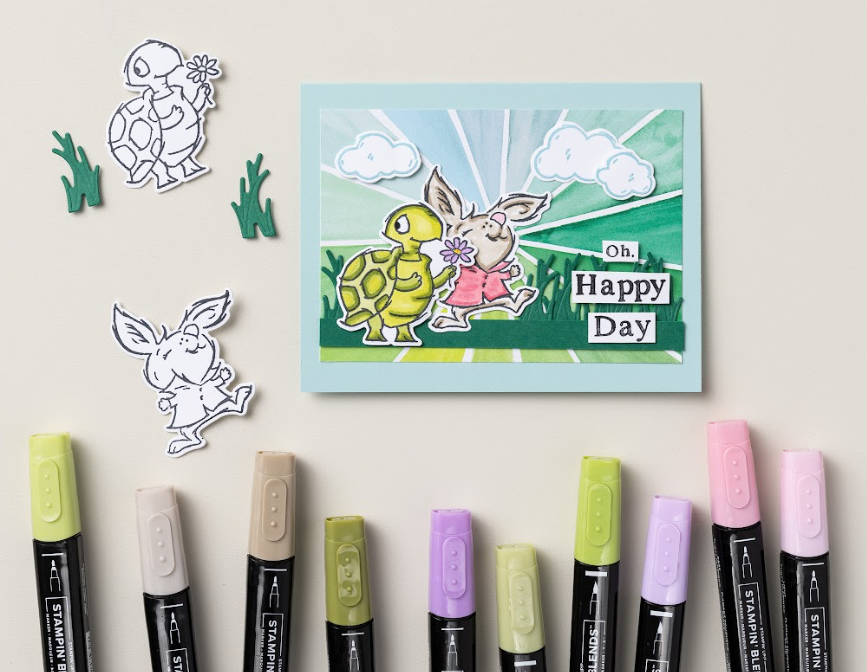
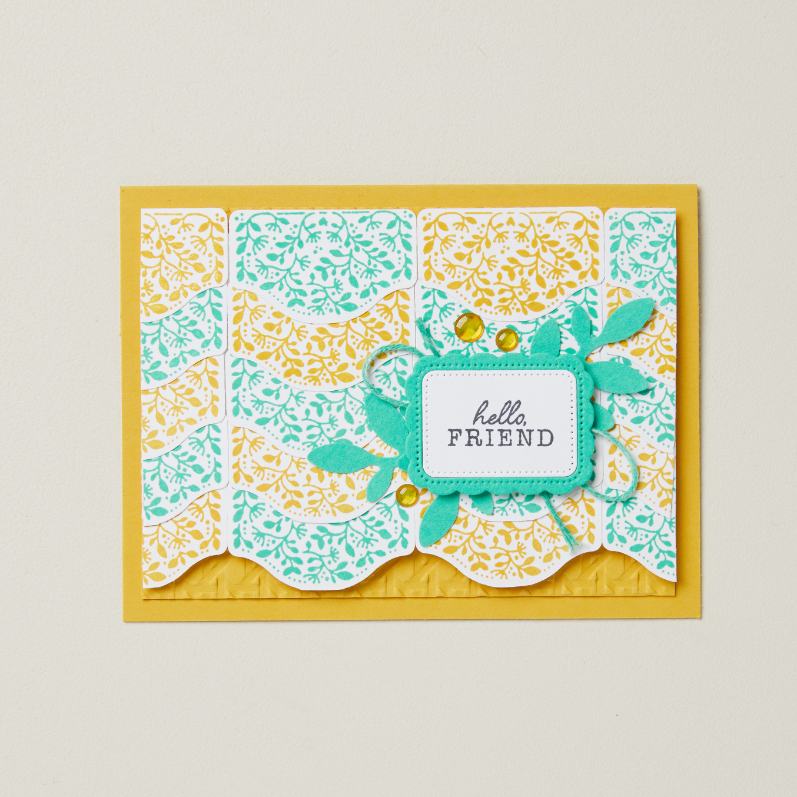
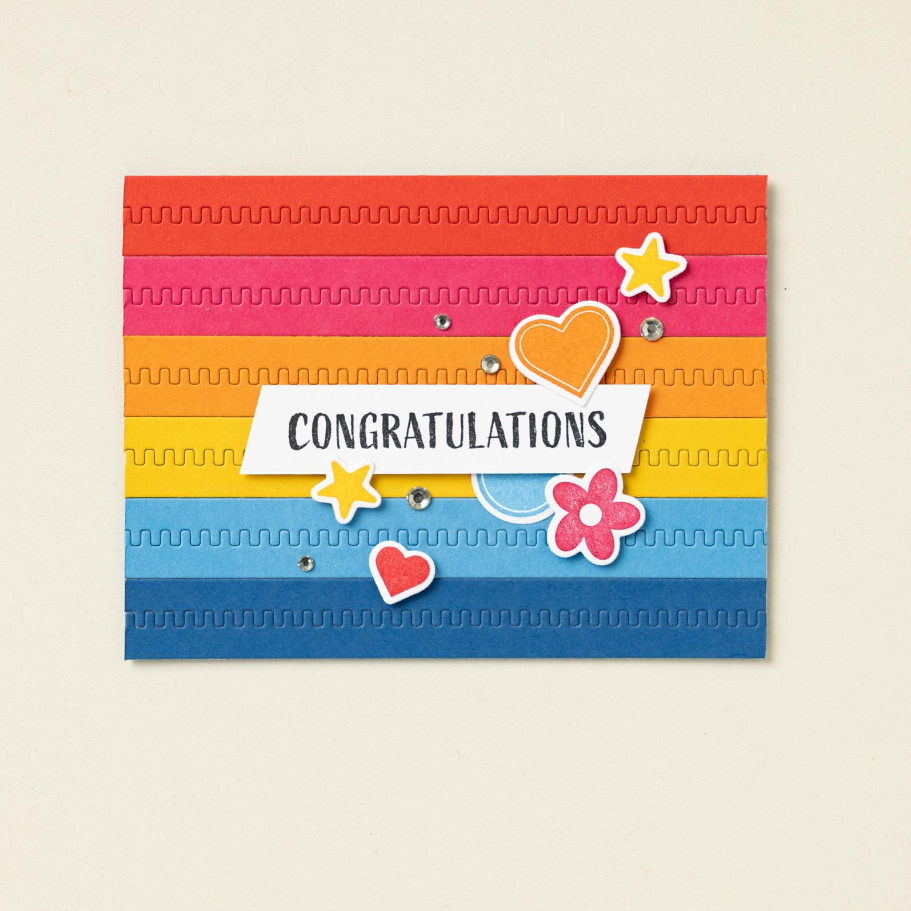
- Rose, jaune et sarcelle. Cette combinaison de couleurs triadique peut être audacieuse et vive ou doucement pastel, mais elle apporte toujours beaucoup d’énergie et de vie à un design de carte.
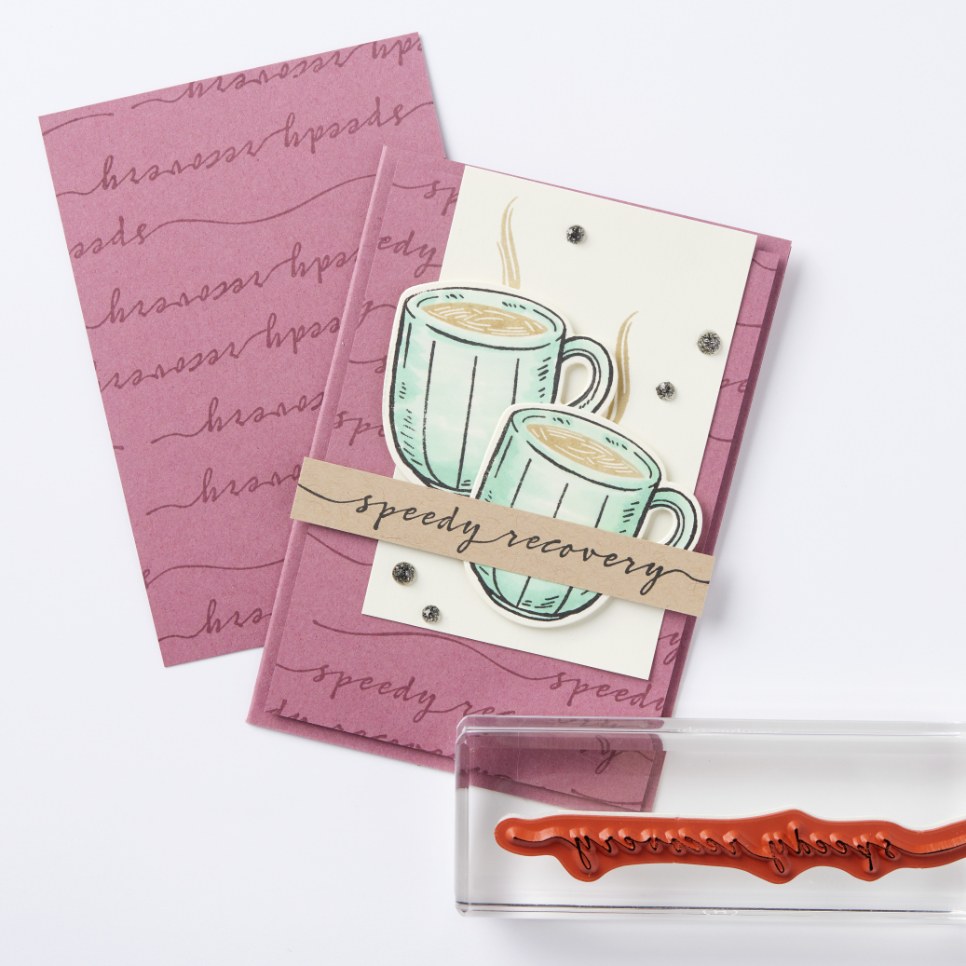
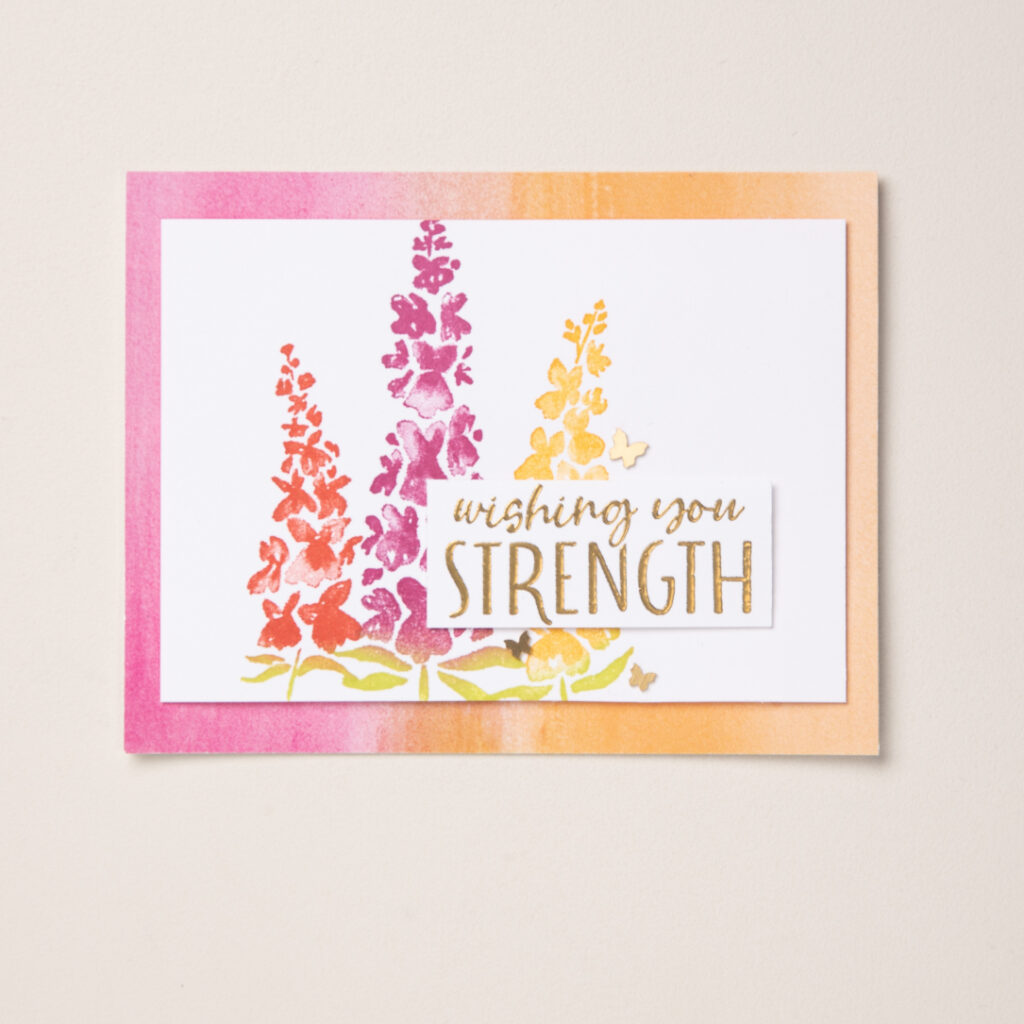
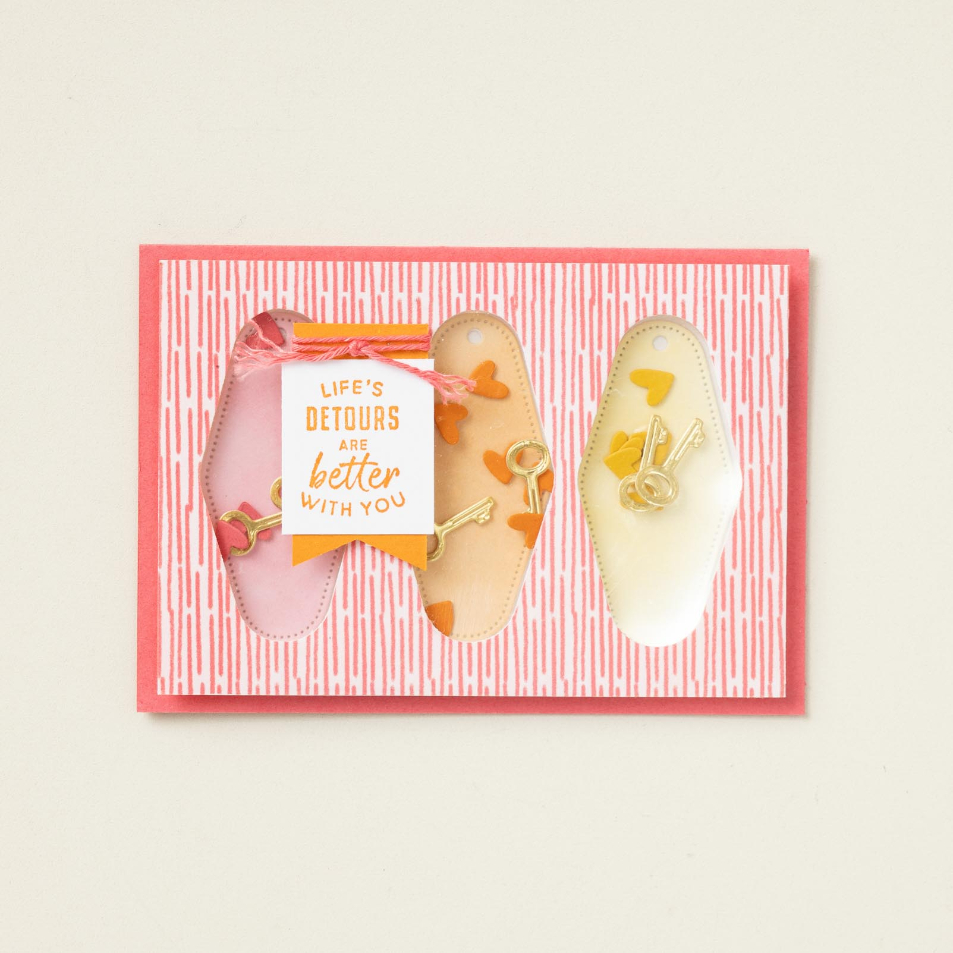
- Orange rouille et turquoise. Ces couleurs se complètent bien et peuvent être ludiques dans une carte d’anniversaire d’enfant ou plus raffinées pour la guérison et les vœux de bonne chance.
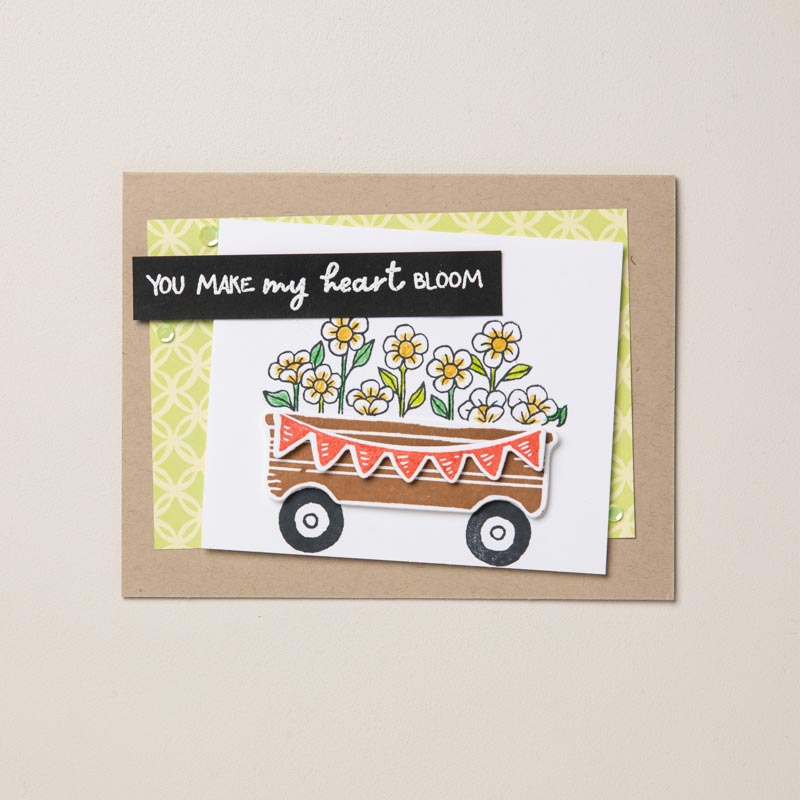
- Rouge, orange et rose. Ces beautés analogues sont royales, avec juste ce qu’il faut de malice mélangée à une variété de catégories de cartes.
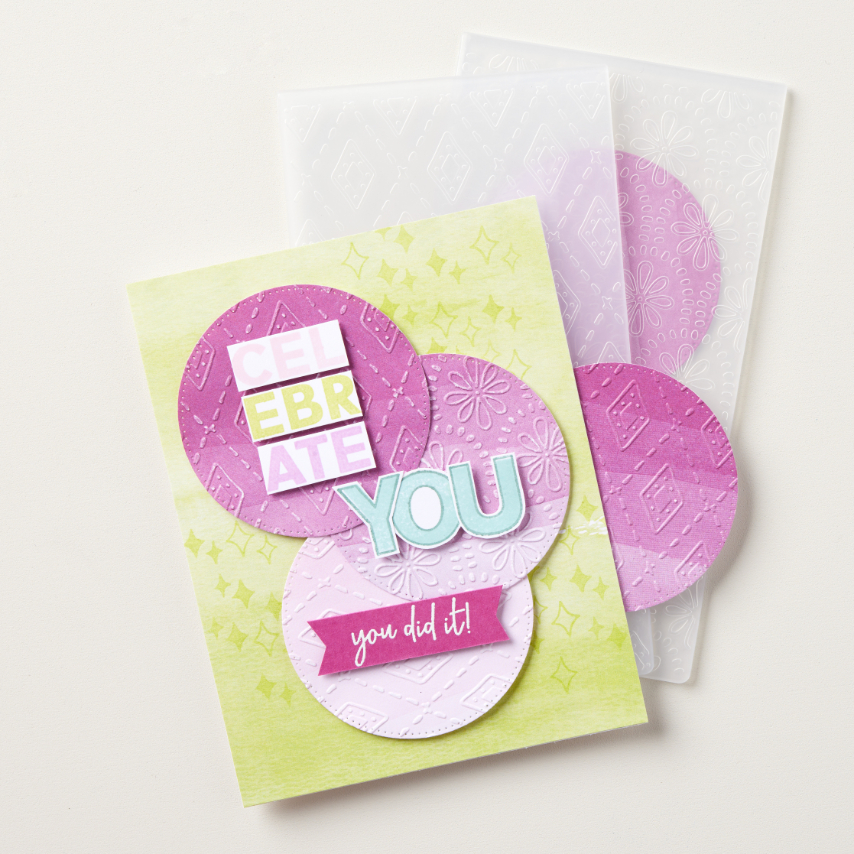
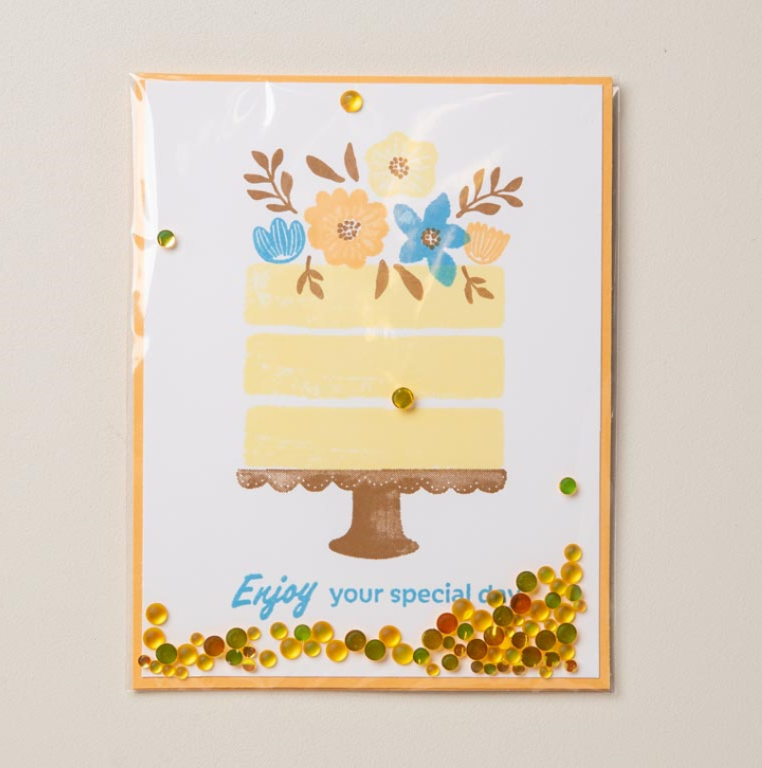
- Vert lime et vert pomme. Peux-tu imaginer un schéma monochrome plus frais que celui-ci? Ces couleurs donneraient un effet amusant pour une célébration à tout âge!

Même si on adore jouer dans les règles de la coordination des couleurs, et qu’on le recommande vraiment au début pour booster confiance, il y a aussi beaucoup de plaisir à jouer en dehors des lignes de la théorie des couleurs! On dit : Si tu aimes ça, ça marche!
Dernières tendances en cartes DIY
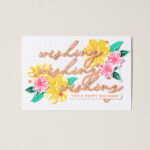
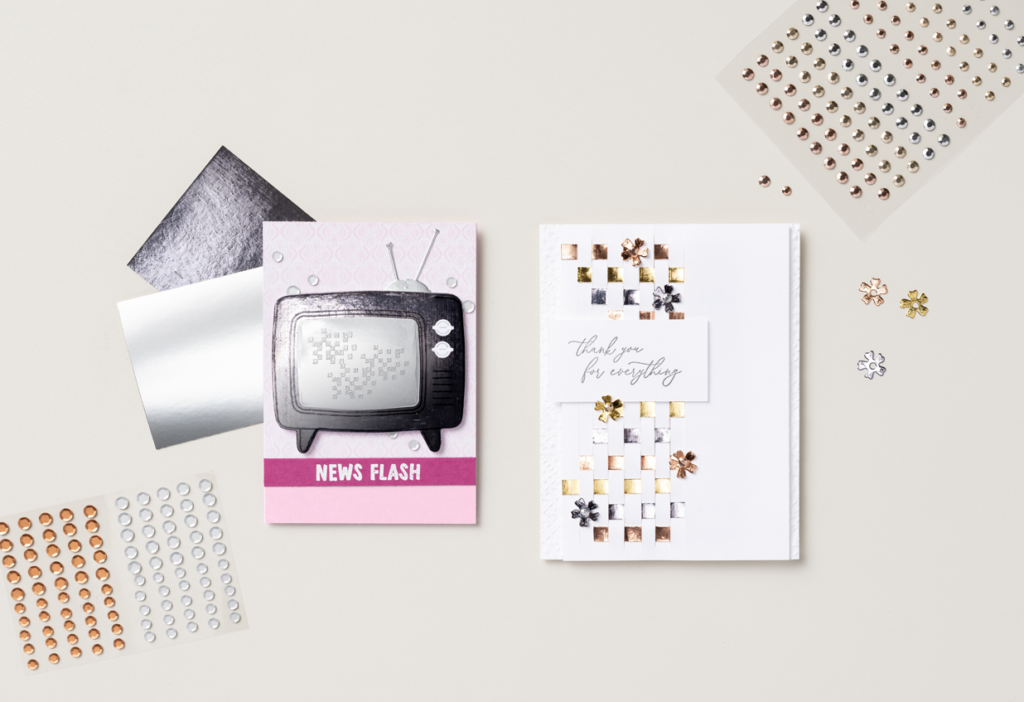
Rester à jour avec les tendances de la fabrication de cartes peut garder vos designs faits main frais pour tout message de célébration, de condoléances ou de connexion que vous souhaitez transmettre. En ce moment, on adore l’ajout de métalliques sophistiqués — pensez à l’or, à l’argent et au bronze — sous forme d’embossage à chaud, de papiers spéciaux et d’ornements supplémentaires pour vraiment rehausser le style d’une carte.

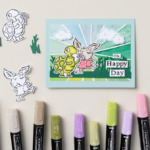
Une autre tendance amusante est un retour à des teintes vives et joyeuses comme celles que vous trouverez dans notre collection Brights. Ils fonctionnent très bien pour des messages joyeux dans une variété de thèmes adaptés aux enfants, adolescents et adultes!
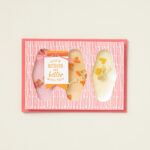
Aller super propre et simple est une autre tendance qu’on voit beaucoup ces temps-ci. C’est une façon amusante de pratiquer la retenue tout en apportant de la personnalité et même de la douceur à vos cartes. Beaucoup d’artisans commencent avec une palette épurée à base blanche, puis limitent l’ornement au minimum. Mais ne vous inquiétez pas — la simplicité ne signifie pas un design ennuyeux! Si vous découvrez l’idée du minimalisme dans les cartes DIY, il y a plusieurs kits de Stampin’ Up! qui rendent super facile la création de papercrafts qui reflètent ce genre d’esthétique européenne. Essayez les kits Brighten Your Day, Loveliest Wishes et Thank You Kindly , qui vous donnent tout ce qu’il faut pour créer plusieurs designs de cartes propres et magnifiques.
Une dernière tendance qu’on adore pour vos cartes DIY? Des ornements de shaker tridimensionnels. Ce genre de designs interactifs peut ajouter des couches supplémentaires (littéralement) de divertissement et de sentimentalité — en plus, c’est tout simplement super amusant à créer! Vous pouvez même ajouter des éléments vraiment personnalisés aux espaces shaker pour amplifier la connexion personnelle avec la personne qui le reçoit.
Restez à l’affût des tendances des cartes faites main
Ne vous inquiétez pas, rester à jour dans les tendances des cartes faites à la main, c’est aussi simple que de suivre les experts (sur Pinterest, Instagram, Facebook ou YouTube) ou de faire un rapide coup d’œil sur le site Stampin’ Up! pour découvrir les nouveautés en fabrication de cartes et en bricolage papier. Mais un de nos meilleurs conseils pour tirer le meilleur parti d’une carte faite à la main? Fais un remue-méninges de 5 minutes sur la personne à qui tu comptes le donner. Qu’est-ce qu’ils traversent? Qu’est-ce qu’ils aiment? Qu’est-ce qui les aidera à savoir que tu tiens à toi? En cas de doute, privilégiez toujours la personnalisation totale—il y a de fortes chances que vous alliez tous les deux adorer ce que vous créez!
FAQ DIY sur la fabrication de cartes
Peu importe votre niveau d’expérience avec les cartes DIY en papercrafting, nous avons tous des questions ici et là. Voici quelques questions fréquemment posées pour commencer et monter de niveau à partir de là!
Quels matériaux dois-je utiliser pour commencer à fabriquer des cartes?
Comme ce billet entre dans plus de détails sur les dix meilleurs essentiels de l’artisanat, nous allons faire court et direct — pour commencer à faire des cartes, vous aurez besoin de carton , de ciseaux ou d’une tondeuse à papier, et soit d’un texte tamponné (avec de l’encre, bien sûr) soit d’un marqueur pour en écrire un vous-même. Au fil de votre parcours DIY avec les cartes, vous voudrez probablement ajouter une variété de papiers de designer, timbres, éphemera et autres ornements (et n’oubliez pas un peu d’adhésif pour les fixer)! Croyez-nous, vous ne voudrez pas vous arrêter aux bases.
Quels outils dois-je utiliser pour fabriquer des cartes DIY à la maison?
La liste d’outils pour fabriquer des cartes DIY à la maison peut être courte ou longue, selon votre niveau d’artisanat et la complexité de vos designs de cartes. Pour commencer, le seul outil vraiment nécessaire est une paire de ciseaux ou une tondeuse à papier. À mesure que vous ajoutez plus d’éléments à vos designs de cartes, vous pourriez vouloir augmenter votre offre d’outils pour inclure des éléments comme :
- Un bloc d’emboutissage et des ensembles de tampons
- Perforatrices à papier
- Matrices et une machine à découper et embosser
- Une roue chromatique rotative
- Pinceaux d’estompe
Quelle est la carte la plus facile à fabriquer soi-même?
La carte la plus facile à faire soi-même est une carte simple en quatre étapes. Tout ce dont vous avez besoin, c’est d’une base de cartes pour la fondation, d’un peu de papier Designer Series pour donner de la personnalité, d’un sentiment (rendu encore plus simple grâce à l’utilisation de paquets éphémères conçus), et un peu d’ornement, comme quelques gemmes collantes ou un simple nœud. Il suffit de superposer le papier sur la base de votre carte, d’ajouter votre texte, et d’orner!
Comment puis-je faire en sorte que mes cartes faites à la main aient l’air professionnelles?
Une carte de bricolage au look professionnel peut prendre mille formes et styles, mais quelques conseils pour garder l’apparence propre, bien coordonnée et intentionnelle incluent :
- Utilisez des perforatrices ou des matrices pour assurer des lignes nettes sur tout ce que vous découpez (ce n’est pas une ligne droite — utilisez votre tondeuse pour ça!).
- Utilisez vos connaissances en théorie des couleurs pour coordonner les couleurs au maximum.
- Profitez de packs éphémères et de trousses de cartes bien conçus pour une excellente coordination et des images professionnelles.
- Travaillez votre technique d’estampage pour que vos sentiments et images soient nets et nets.
Plus que tout, continue d’essayer! L’expérience est la meilleure enseignante, et vous trouverez vos forces et vos moyens d’améliorer vos faiblesses en jouant avec vos techniques et outils de papercrafting.
Meilleure idée de tous les temps? Connectez-vous avec un Stampin’ Up! Démonstrateur!
Notre communauté est remplie de gens sympathiques qui connaissent parfaitement les cartes DIY et peuvent vous aider à trouver les bons produits et à vous enseigner toutes les techniques les plus cool en fabrication de papier. Connectez-vous avec un Stampin ‘ Up ! démonstrateur aujourd’hui !
