How To Stamp


Stamping is simply the process of applying ink to a stamp and pressing it onto paper. It is one of the easiest ways to get creative and is perfect for all levels of crafters—from beginners to experts. It doesn’t take a lot of space, time, money, or mess, which is exactly why it’s a favorite among paper crafters. It’s easy, versatile, and instantly adds beauty to your projects. With just a stamp, some ink, and a piece of paper, you can create intricate patterns, heartfelt messages, or decorative designs in minutes.
How to Stamp: A Step-by-Step Guide
Stamping is simple, but having the right approach helps you achieve crisp, clean-looking results every time. Here’s a beginner-friendly guide to get you started.
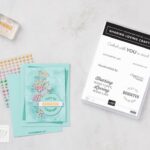
Tools & supplies needed:
- Block
- Stamp
- Ink
- Paper (or other material you wish to stamp)
- Gridsheet (to keep your workspace tidy)
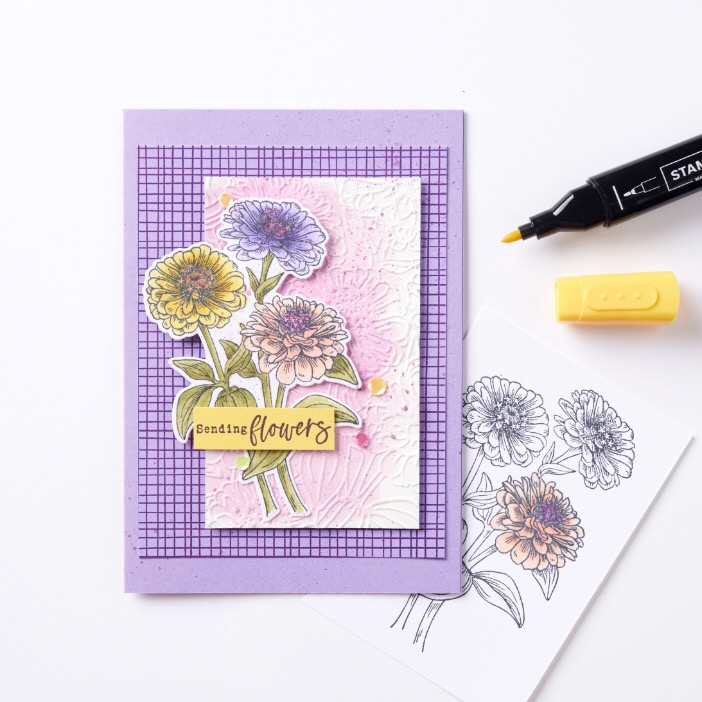
Step 1: Prepare your stamp and block
Choose a stamp set that you love and pick a stamp out of the case. Use the gridlines to line up the stamp. Select a stamp block that fits the size and shape of your stamp. Press the block firmly onto the stamp, making sure there are no air bubbles.
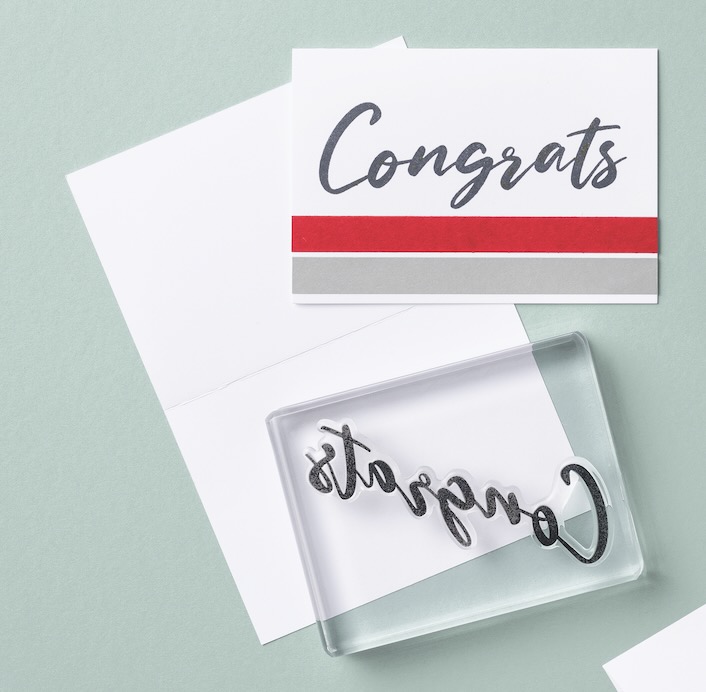
Step 2: Ink stamp properly
Hold the stamp block by the edges and gently tap into the ink pad until it’s fully covered. Grab your material and press the stamp block down evenly and directly for the best impression.
A Tip for our CEO, Sara: “Stamp before you stick.” Always stamp your design before you assemble it to avoid ruining a finished layout!
Step 3: Clean your stamp
After stamping, use the Stampin’ Shammy (or a gentle cleaning cloth) to wipe away the ink. This prevents build-up and keeps the details looking sharp. Pop the stamp off the block and return it to the case for safekeeping.
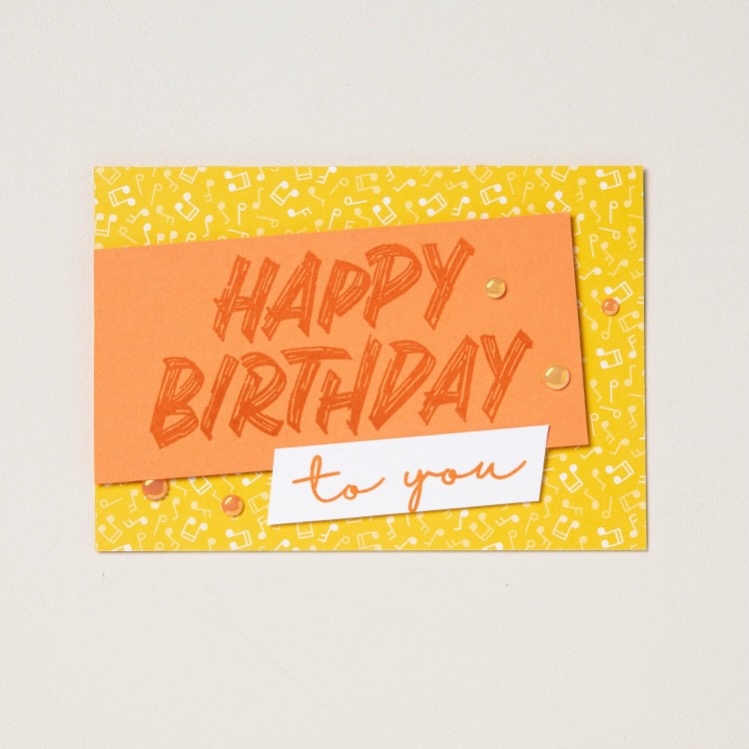
Step 4: Fixing stamping mistakes
Made a smudge? No problem! Cover it with an embellishment, add a new stamp, or work the “oops” into your design. Remember—stamping is about creativity, not perfection.
For more guidance on stamping basics, check out Stampin’ 101: How to Stamp.
FAQs About How To Stamp (H2)
Before you dive in, here are some answers to common questions about stamping.
What is stamping in papercraft? (H3)
Stamping is the process of transferring an inked image or design onto paper using rubber, cling, or clear stamps. It’s a fast, fun, and creative way to customize your projects.
What supplies do I need to start stamping? (H3)
At minimum, you’ll need a stamp, an acrylic block, an ink pad, and paper. Grid sheets and cleaning cloths are also helpful. Check out the Stampin’ Up website for everything you need to get started!
What’s the best way to apply ink to a stamp? (H3)
Lightly tap the stamp block gently into the pad. This ensures even coverage without flooding the stamp with excess ink.
How do I clean up my stamps after use? (H3)
Use the Stampin’ Shammy or a damp stamp cloth to remove ink immediately after stamping. Cleaning right after use helps your stamps last longer.
Can I reuse stamps for multiple projects? (H3)
Yes! Stamps are designed for repeated use and can last for years.
Ready To Start Stamping Yourself? (H3)
Whether you’re looking for a quick way to decorate or want to explore stamping techniques more deeply, learning how to stamp opens the door to countless creative possibilities. If you are new to stamping, explore our full range of stamping tools, kits, and essentials to get started. With just a little practice, you’ll be stamping like a pro in no time!
Want even more inspiration? Check out the Stampin’ Up! YouTube channel for more tutorials, kits, and guides.
Explore more Stampin’ Up! Products to make crafting easy, fun, and beautiful. With the right tools, your creative possibilities are limitless!