Stampin’ 101: How To Stamp

If you’re new to stamping and aren’t sure where to start, we’re here to share some tips and basic stamping techniques that will set you up for success.
Here at Stampin’ Up!, we offer a variety of Stampin’ Up! stamps that are designed in-house by artists who are passionate about crafting and community. Our community drives our success as a leading paper craft company, and we’re always eager to welcome more people in on the fun! In this blog, we’ll dive into everything you need to know about how to use a stamp and how to easily get started on your crafting journey.
The Basics Of Stamping
Stamping is simply the art of applying ink to a stamp and transferring that stamp’s image or sentiment to a piece of paper. With stamping, you can apply professional artwork to your crafts without having to be an artist yourself.
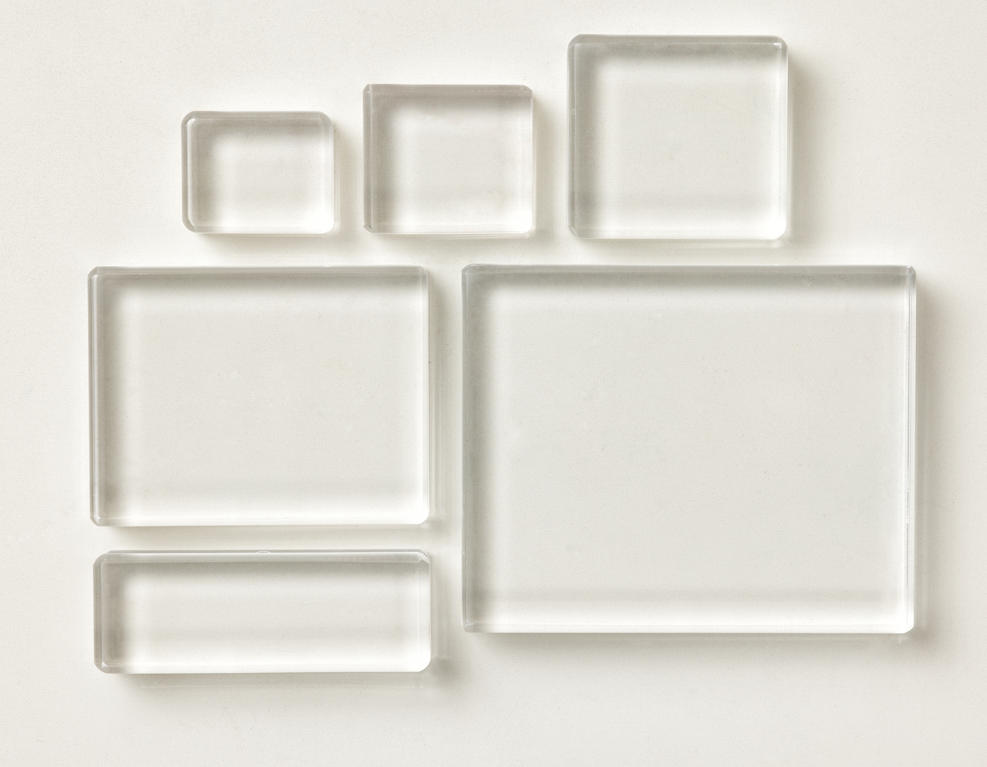
Let’s cover some basics before we dive into how to use a stamp for your project. To begin, you’ll need a stamp block, stamp, and ink. Stamp blocks are used to hold your stamps and transfer them from ink to paper. They’re usually clear and available in a variety of sizes for different stamps, giving you flexibility and creative freedom.
Stamps are the images and sentiments that are applied to paper after being evenly coated with ink. They’re available in an abundance of stamp sets with themes ranging from florals to sentiments to specific occasions.
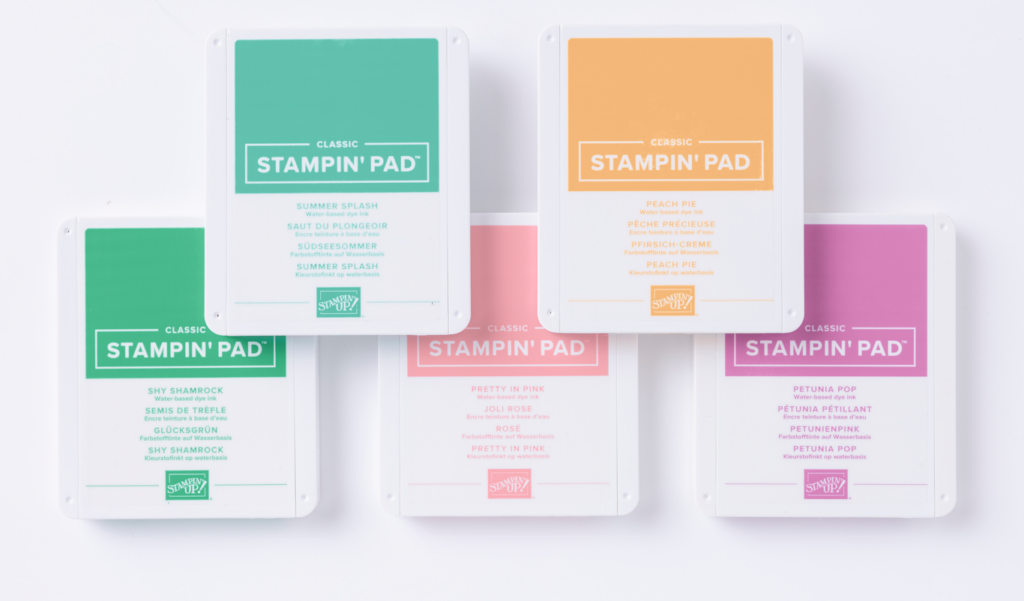
When it comes to ink, there are plenty of color options you can use to bring your stamps to life on paper. Whether you want to create a craft with one ink color or with a cohesive color palette, Stampin’ Up! has the classic and trending colors you’ll need.
When selecting the perfect ink, you also have a couple of sizes to choose from. You can go with the standard-size Classic Stampin’ Pad™, or opt for one of our smaller Classic Stampin’ Spots®. The Classic Pads come in a wide array of colors and are great for projects of all sizes. The Ink Spots are perfect for smaller projects, detail work, or anyone starting their ink collection.
Choosing Your Stampin’ Up! Stamps
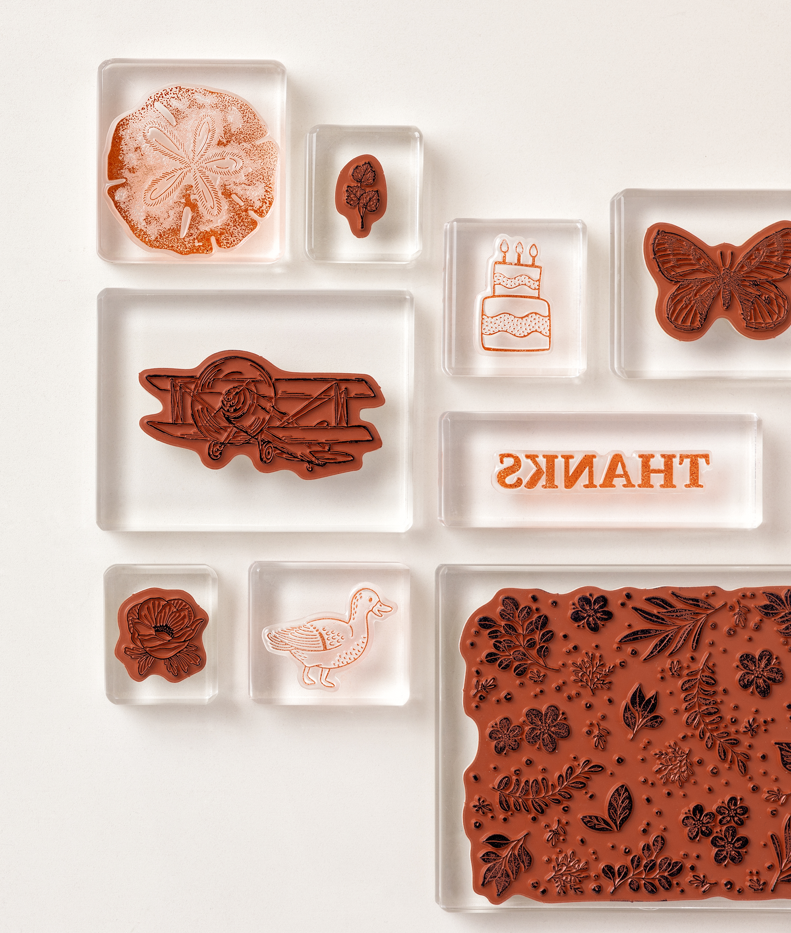
At Stampin’ Up!, we offer two types of stamp materials — cling stamps and photopolymer stamps. Both cling and photopolymer stamps stick naturally to a stamp block for easy use, but the main difference is what they’re made of. Cling stamps are more traditional looking. They are made of opaque, red rubber with foam padding. Photopolymer stamps are made of a clear, flexible material that allows you to more easily see through to the surface you are stamping.
Photopolymer Stamps: A Clear Advantage
At Stampin’ Up! we create stamps that give our customers the best result for the artwork created by our design team. Cling stamps are best for images with fine details. Photopolymer stamps’ clear material allows easy positioning and layering. Both are great options, but overall, the simplicity of photopolymer stamps is often easier for beginners.
Because they’re transparent, photopolymer stamps offer better visibility as you position your stamp on paper. Simply peel the photopolymer stamp from the packaging, attach it to your stamp block, and stamp away. As you build your confidence in how to use a stamp, you can add more photopolymer and cling stamps to your collection.
When to Use Photopolymer vs. Cling Stamps
Whether you’re using photopolymer stamps or cling stamps, the end results are very similar. So how do you know which one to use? A lot of that depends on your stamping skill level and the project. Because photopolymer stamps are completely clear, they allow you to see exactly where you’re positioning them. This makes them great for beginners. While cling stamps require a little more skill to position correctly.
Preparing To Stamp
Now that we’ve covered the basic tools you’ll need and the types of stamps you can work with, let’s dive into practicing how to use a stamp to get clean, crisp results.
Ink Application Techniques
There are two main techniques for applying ink to your stamp images. To start, make sure that you’re using your stamps on an even surface. For smaller stamps, face the image of the stamp down and gently press the stamp into the ink pad until it is evenly coated.
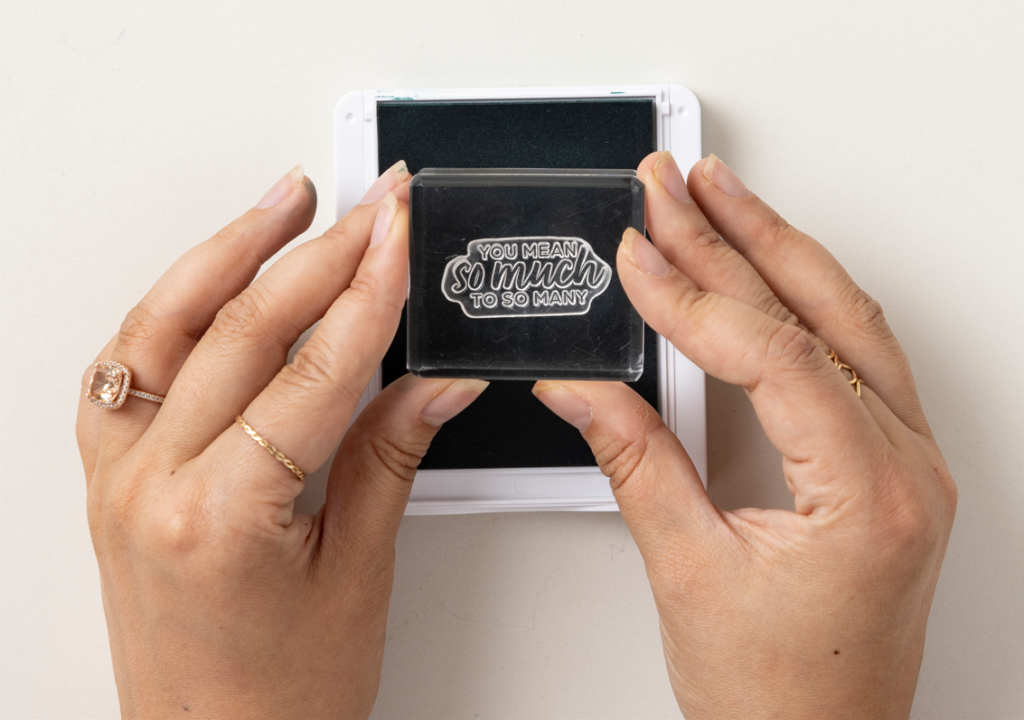
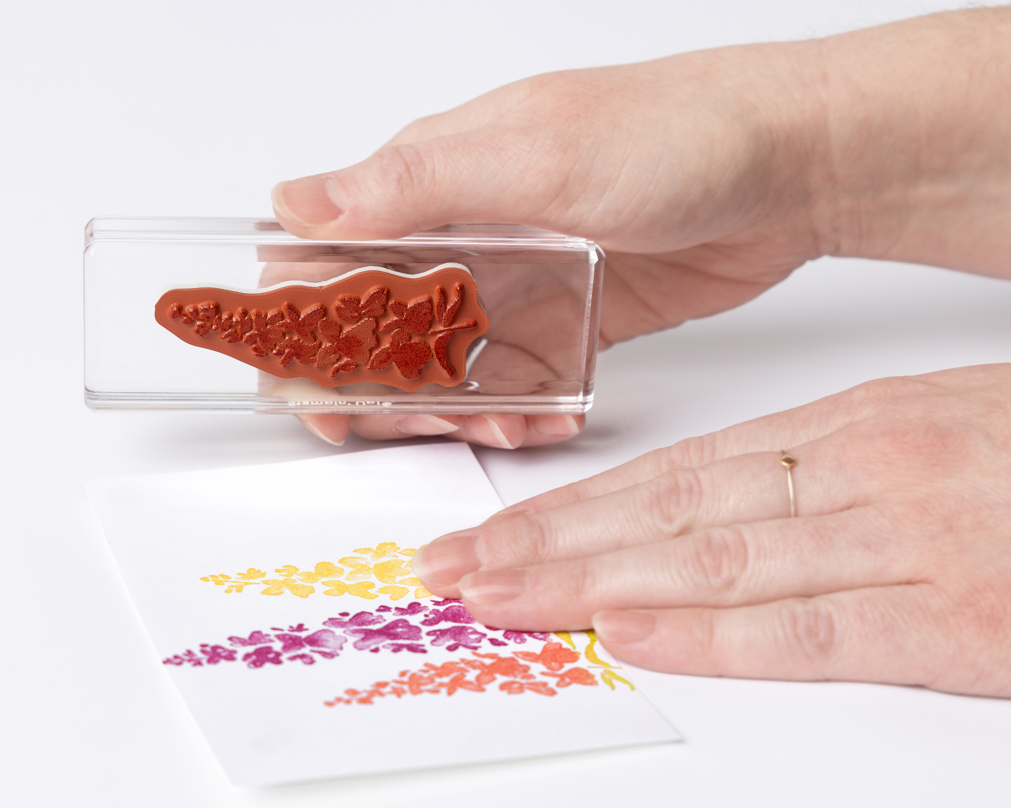
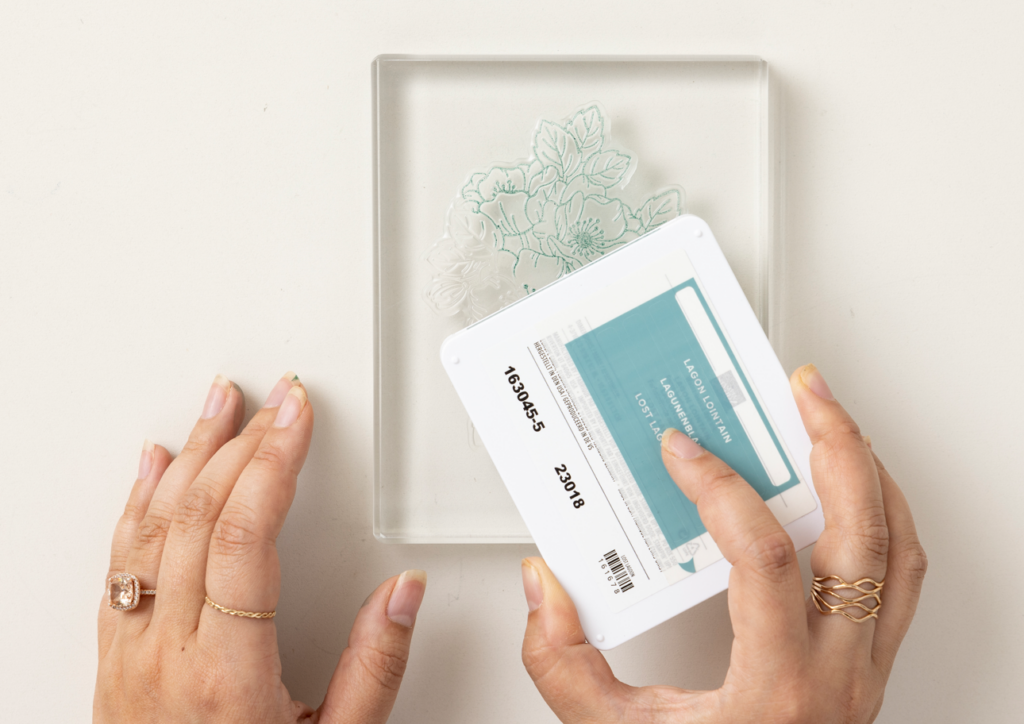
For larger stamps, place the stamp on the table with the image facing up. Then, pat the ink pad on top of the stamp image until the entire image is evenly coated. Here’s how to do that with a Stampin’ Spot:
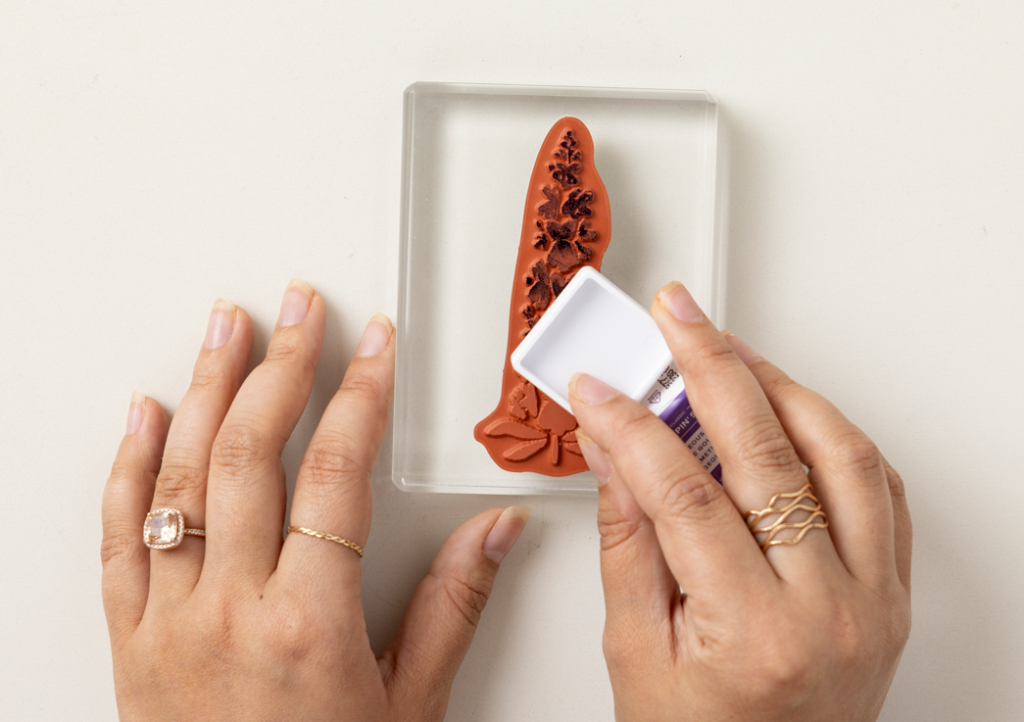
Here’s the technique with a full-size Stampin’ Pad™:
Be careful to avoid applying ink on the areas of the stamp block beyond the stamp image so that no excess ink is transferred onto the paper. As you apply your stamp to paper, there’s no need to rock back and forth. Applying firm, even pressure will do! Each time you use your stamp, repeat the process of applying ink so that your image comes out clear on every application.
Practicing Your Stamping
Before placing your stamp on your final piece of paper, it’s important to test out your stamp on scratch paper first. This ensures that the ink is evenly applied and helps you identify the right amount of pressure to apply to the stamp as you place it. Each ink pad and stamp is different, so it may take a few trials before you get the result you want. Remember to take your time and enjoy the process as you practice how to use a stamp.
Achieving The Perfect Stamped Image
As you learn how to use a stamp, you may run into some mistakes, but don’t panic! Mistakes are just a sign that you’re growing in your skills and an opportunity to be even more creative in your design. Even the most seasoned stamper runs into a mistake sometimes.
If you make a mistake, try stamping the same image on the other side of the paper. Most pieces of paper have a blank back side, so this is a great hack as you master how to use a stamp. You can also use other page elements like pieces of paper, embellishments, or stickers to cover up a spot where you may have misaligned a stamp.
Here are some tips to help you with achieving good alignment as you learn how to use a stamp:
- Use a clear stamp block and clear photopolymer stamps. You’ll have easy visibility through the stamp block and the stamp to place your design.
- Sketch out some guides with a pencil to help you place your stamp exactly where you want. Then, gently erase the guides once you’ve finished stamping.
- Use grid paper to help you place your stamp on your stamp block evenly and ensure that your piece of paper is laid perfectly straight on the table.

Fixing Common Stamping Mistakes
There is a slight learning curve to master the art of stamping. Blurry stamps, ghost images, over-inking, and smearing are all common mistakes for beginners. Many of these problems can be solved by using a light touch.
For example, when applying ink to the stamp, use a light tapping motion. Smushing the stamp on the pad gets too much ink on the stamp, which can result in a blurry or smeared print. Ink smushing can also transfer ink to the stamp block, which can then accidentally transfer to your project.
Pressing your stamp too hard on the paper can also give you a blurry print. If you use light, even pressure, you will get a clean and crisp image from your stamp. Light pressure will also help keep your stamp from moving, which can result in ghost images.
This video offers a great tutorial on how to master the basics of stamping:
A post shared by Stampin’ Up! ® | Stamps • Paper • Kits (@stampinupofficial)
Stamping Ideas to Try First
Are you ready to take your stamping skills for a test drive? Let’s get started! Here are three projects that are perfect for testing your stamping techniques.
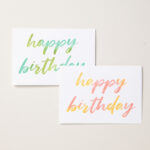
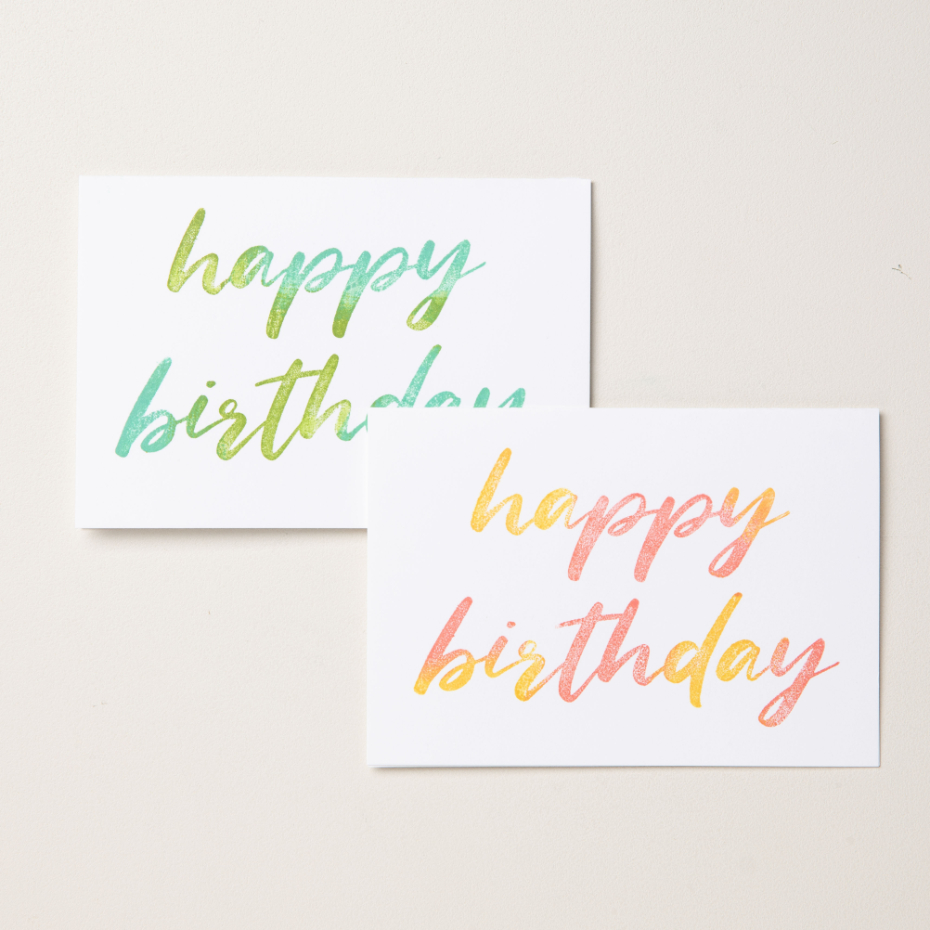
Simple Birthday Wishes
This birthday card is about as simple as they come—a single happy birthday sentiment stamp. However, the use of some creative inking techniques elevates the simple design.
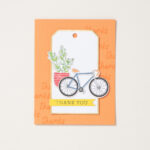
“Thanks” on Repeat
Another fun technique to try is using a stamp to create a custom background. In this DIY thank you card, the word “thanks” has been stamped repeatedly using ink that is slightly darker than the paper. The stamps are placed in a randomized pattern, with some extending beyond the page to give it an intentionally designed look.

Layered Thoughts
This custom thank you card uses a plain white notecard, some bold ink colors, and the Sunshine Vibes Photopolymer Stamp Set. That’s it. The element to practice with this one is the art of layering stamps.

Cleaning Your Stamps
It’s important to implement a consistent cleaning routine as you practice how to use a stamp. A wet cloth, baby wipe, or wet paper towel will usually do the trick. You can also invest in a reusable stamp cleaning cloth like the Simply Shammy as a quick and effortless solution.
Some ink colors may leave stains on your stamps that will remain visible after cleaning, but don’t worry! Your stamp will still work well with other colors as you continue crafting. The key thing here is to develop a consistent habit of cleaning your stamps after your crafting sessions.
Organizing Your Stamping Supplies
Over time, you’ll grow in confidence in how to use a stamp, and you’ll also start to accumulate a collection of supplies. Here are some tips on how to get started with a strong organization system for your stamping supplies:
- Sort your stamps alphabetically by the name of the stamp set or by their themes. Consider your crafting process and what would be most helpful for you to find your stamps quickly.
- Dedicate some shelf space to store your stamps and keep them protected in Standard Stamp Cases. These clear cases make it easy to see each of your stamps at a glance, and the spines are labeled, so it’s easy to find what you’re looking for.
As you continue practicing how to use a stamp, your crafting workflow and organization may change, and that’s absolutely okay. Find the best system that works for you and allows you to continue stamping with ease.
Top Mistakes Crafters Make When Organizing Supplies
If you want your supplies to stand the test of time, here are a few mistakes you’ll want to avoid when storing your supplies:
- Improper Ink Storage: Sometimes people store their ink pads on their side or upside down. This can cause ink pooling or make the pad dry out. Always store your Stampin’ Up! ink pads flat with the label side facing up.
- Standing Markers Up: It’s tempting to store your markers standing up, but if you’re using double-sided markers, this can make one side dry out. Always store markers lying flat to prevent them from drying out before their time.
- Not Cleaning Stamps: The fun of a project is in the making of it, not in the supply cleaning when the project is finished. Still, if you want your stamps to last, clean them and store them in their container when you’re done using them.
- Placing Paper in Sunlight: Sunlight is a great way to shed light on your project. It’s also a great way to cause your paper to fade. Keep your paper looking fresh by storing it out of direct sunlight.
Make Yourself At Home In The Stampin’ Up! Community
And just like that, we’ve covered all the basics of how to use a stamp! Stamping is more than a hobby; it’s a community of crafters creating and documenting meaningful moments together. As much as we love a great design, it truly is the thought and handmade intention that matters most. If you’re looking for an approachable way to get into crafting, getting comfortable with how to use a stamp is the perfect place to start.
Get connected with people in the Stampin’ Up! community and find a demonstrator to stay inspired with new ideas on how to use a stamp. We’re so happy you’re here. Let’s create together!
Not all products may be available. Please contact a demonstrator for additional options.