Back to Basics: How to Use Stampin’ Up! Flip Flaps

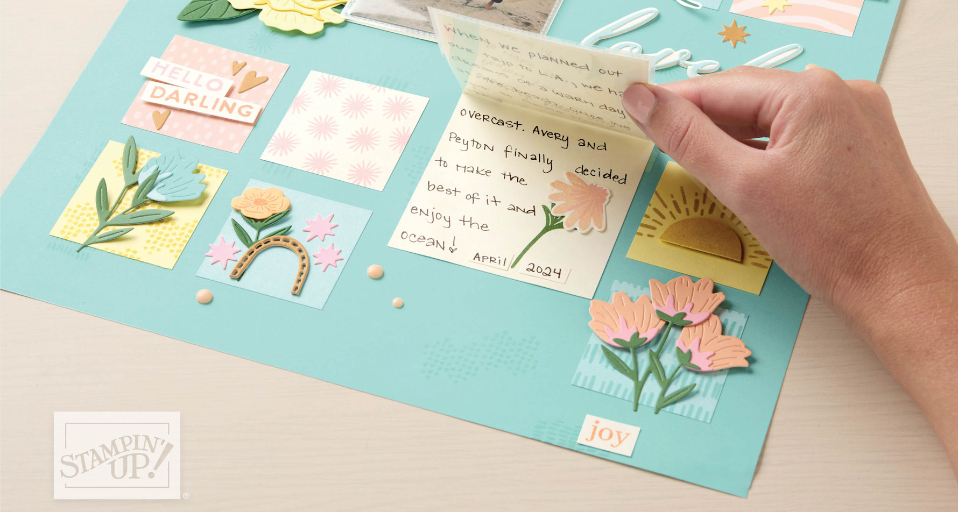
On the hunt for a fun, interactive element that you can easily add to your scrapbook layouts? Try Flip Flaps. You don’t have to be a skilled crafter to use this simple creative element. If you can peel, stick, and cut, Flip Flaps are an excellent way to add a fun, creative element to your DIY crafting creations.
How To Use Flip Flaps
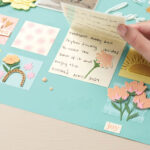
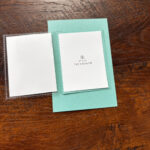
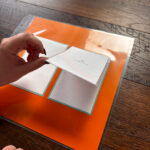
Flip Flaps are clear plastic sleeves that attach directly onto a scrapbook page and flip up to reveal photos, sentiments, or designs underneath. Available in multiple sizes and orientations, they easily attach to cards and scrapbook pages, letting you add more content without taking up more space. They’re a simple way to create projects that invite people to flip and explore.
How to use a Flip Flap for Scrapbooking:
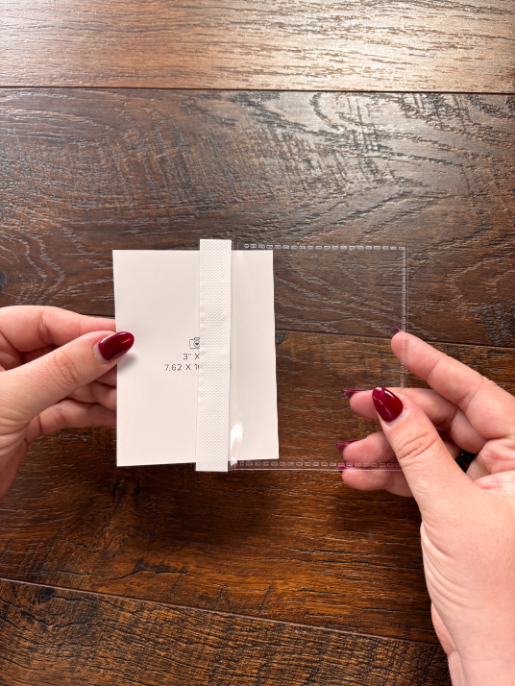
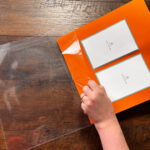
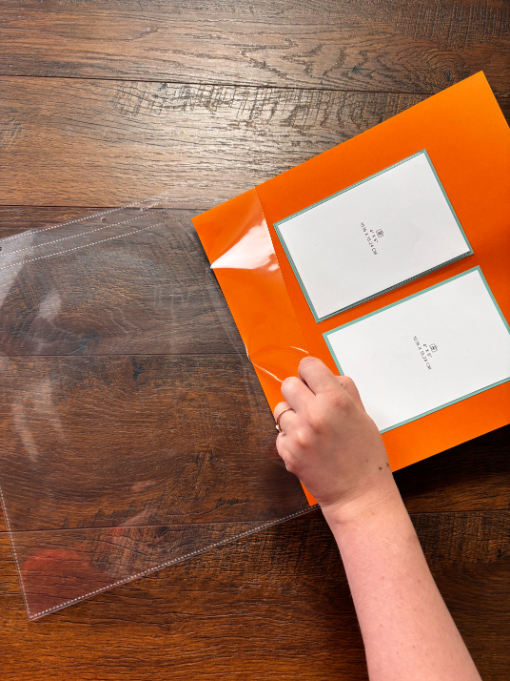
- Slide your photo or journaling, into the Flip Flap and remove the thin sticky adhesive strip along the side of the Flip Flap.
2. Decide where you will place your photo mat, then tuck the sticky adhesive strip under the photo mat and adhere it to the scrapbook page (because the sticky strip is tucked under the photo mat, this is what will adhere to the scrapbook page, allowing you to open the Flip Flap like a book cover).
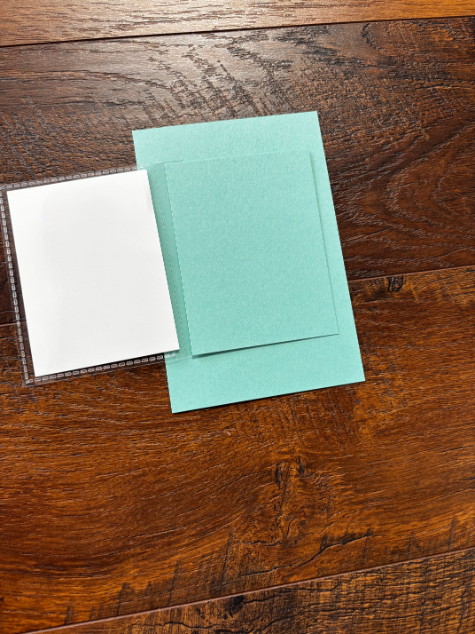
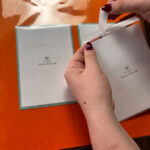
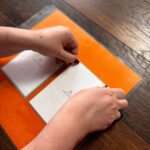
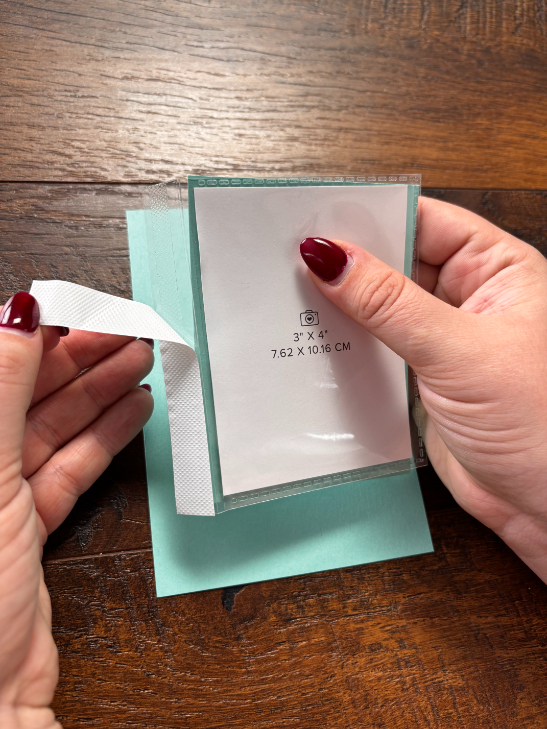
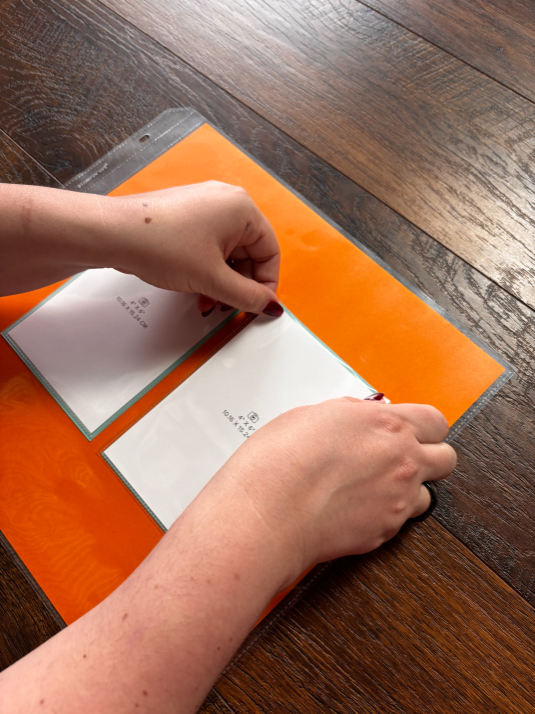
3. Open the Flip Flap and adhere the photo mat directly onto your scrapbook page, aligning it with your Flip Flap placement.

4. Lastly, adhere your photo on top of the photo mat.
That’s it! If you’d like to see this process in action, check out our Back to Basics craft tutorial on Flip Flaps.
More Flip Flap Techniques
Use one of the following two Flip Flap techniques to enhance your scrapbook page.
Technique 1
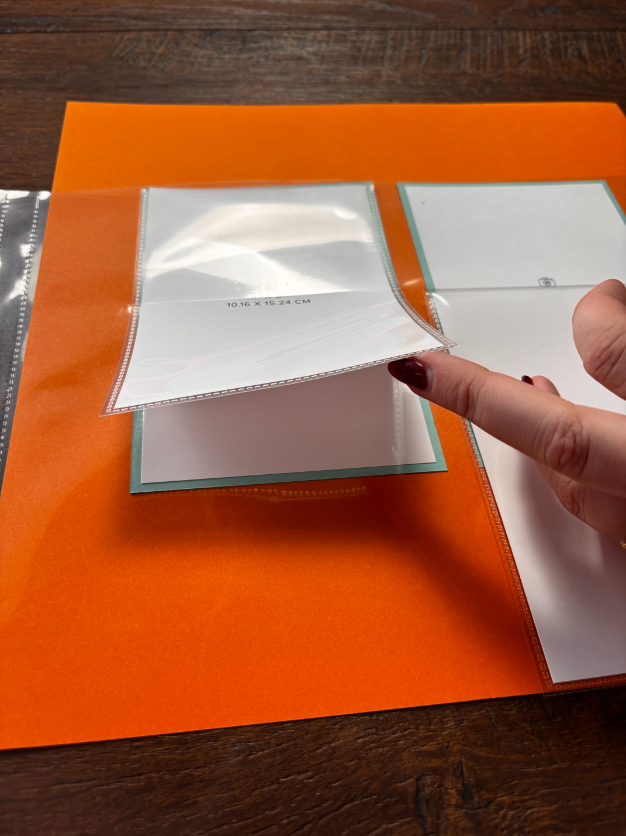
- Finish your scrapbook layout and place it in a page protector.

2. Remove the sticky adhesive strip and fold back the adhesive tab behind the Flip Flap.
3. Place the Flip Flap directly on top of the photo and adhere the sticky tab to your page protector.

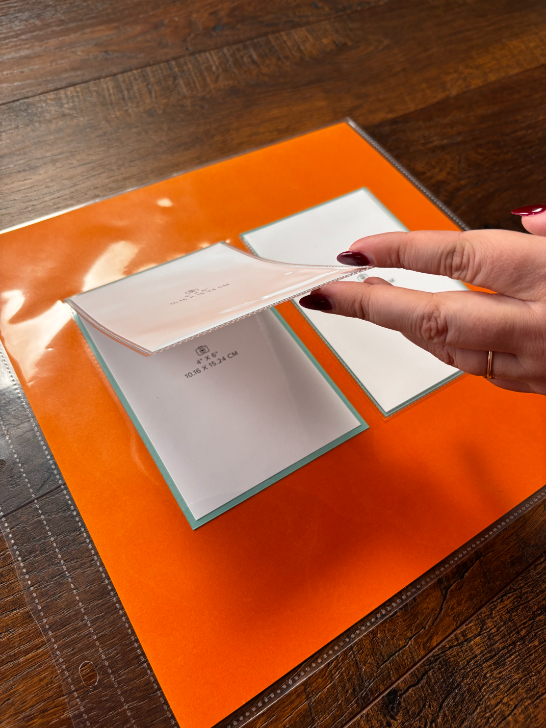
4. Flip open to reveal the photo or sentiment beneath.
Easy and so delightfully interactive!
Technique 2
This technique takes a little more prep, but the results are worth it. You’ll need a small piece of cardboard.
- Finish your scrapbook layout.
- Determine the photo or sentiment you want to cover with your Flip Flap, and then adhere the Flip Flap under the photo mat (as described in the How To section above).

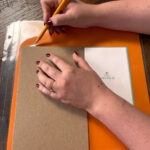
3. Place your layout inside the page protector and lightly trace (with a pencil!) along the top edge of the Flip Flap.
4. Tuck a small piece of cardboard inside your page protector so you only cut through the top side.

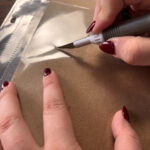
5. Grab your Take Your Pick tool and swap out the end for the hobby blade from the Take Your Pick Crafter Tips, and carefully slice along the traced line.
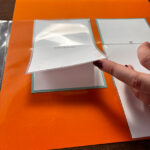
6. Lastly, slide your Flip Flap up through the opening you just cut in the top layer of your page protector so that the Flip Flap sits on the outside of the page protector.
Upgrade Your Crafting with Flip Flaps
Flip Flaps make your scrapbooking project more unique and interactive, while the built-in adhesive strip allows you to add more memories to your creations without modifying the original design or taking up extra space. Fun, interactive, and spatially economical; it’s a win all around! If you’ve enjoyed our Flip Flap crafting tips, be sure to check out our other Back to Basics tips and tricks to simplify and beautify your creations.