Handmade Holiday Spirit: Making Your Own Christmas Cards


Christmas is a time of year when card giving really shines. We love cards year-round and love to give them away to make people feel special every day, but even we can admit that there’s a special kind of excitement that comes along with the adorable images of snowmen, reindeer, peppermint swirls, and snowy trees.
Putting together your own DIY holiday cards is a great way to enjoy the creative Christmas spirit while truly personalizing the gift-giving process. Follow along for a supply list and easy-to-follow steps for creating special homemade Christmas cards this year.
Gift Your Creativity with Handmade Christmas Cards
Christmas is often the time of year when we reconnect with friends and family far and wide. Loved ones that we may not be able to see as much as we like send cards and updates. At Stampin’ Up!, we delight in the tradition of expressing our heartfelt care for others with handmade Christmas cards.
One of the reasons we’ve found that unique, handmade holiday cards make such a lasting impression is that they offer the personal touch that no store-bought card can. Even when made simply, a personalized Christmas card can become a treasured gift itself, stored as a special keepsake in a scrapbook or memory box, rewarming hearts with each rediscovery.
And it’s not that a store-bought gift and card can’t be meaningful—simply that putting your time, effort, and creativity into something that didn’t exist before for someone else carries a bit more weight. So let’s explore some DIY Christmas card ideas that can help us bring that special spirit to others this holiday season.
Crafting Materials and Tools to Create Your Own Christmas Cards
Since the holiday season is such a busy time, let’s make sure you’ve got the right crafting materials and tools on hand to bring your Christmas card ideas to life. Some basics include:
- Quality cardstock in basic white as well as holiday colors
- Paper trimmer
- Adhesive runner
And, as you advance your unique handmade Christmas card designs, enlist fun and on-trend extras such as:

- Coordinated festive suites from Stampin’ Up!, complete with special stamps, Designer Series Paper, ribbons, and more.
- Themed paper punches.
- Holiday stamp sets.
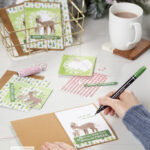
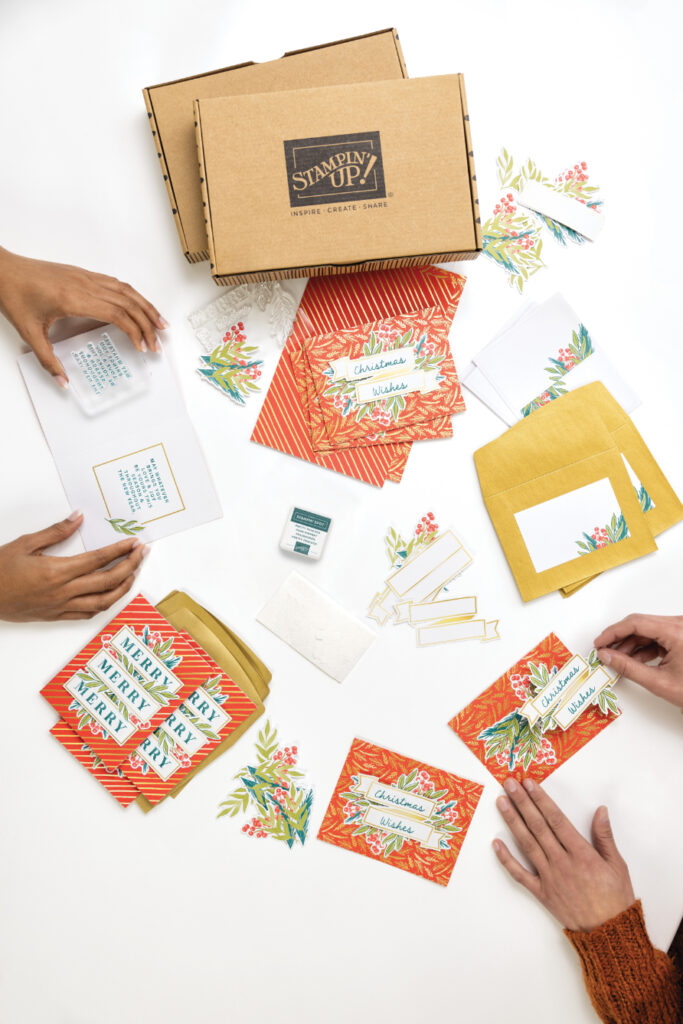
Grab Your Friends For A “Kit Together” To Make Christmas Cards
Another great option that doubles down on holiday fun is bringing family and friends together for a craft party “kit together”! Our simple Stampin’ Up! kits provide everything you’ll need to create festive handmade Christmas cards, DIY tree decorations, or even cardholders to organize all your homemade cards and gift tags each year.
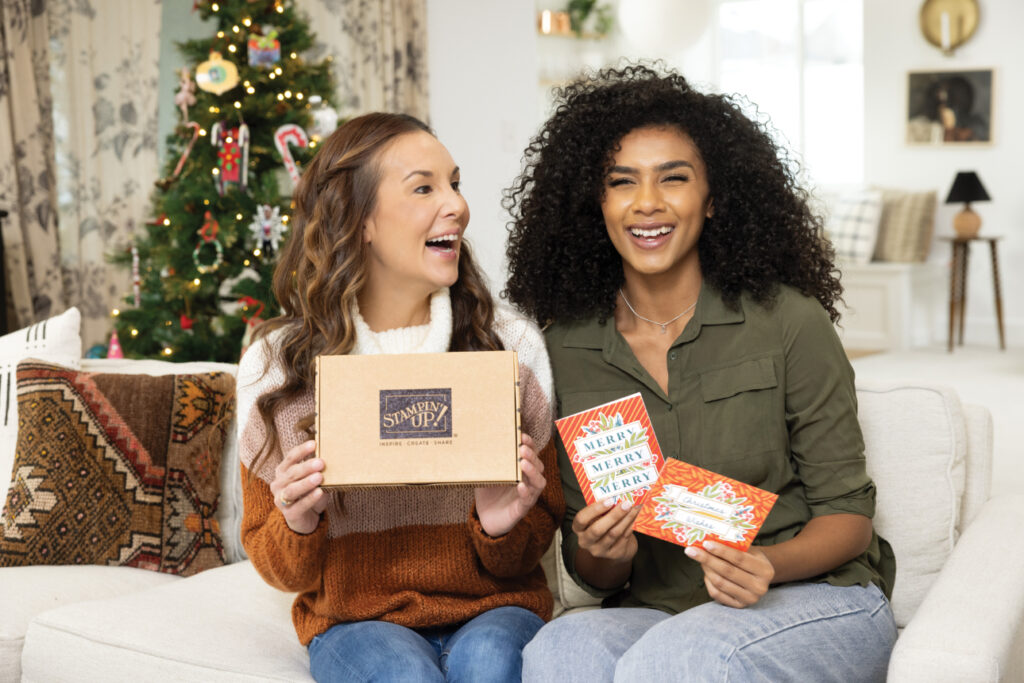
The convenience in these kits only serves to amplify the camaraderie and creativity of the holiday season! The simple, easy to follow instructions that are included in these ultra portable kits make them the perfect project to do while connecting with friends and loved ones. Want to binge watch your favorite old holiday movies while you chat and craft? Our Christmas Kits Collection is the perfect product for that!
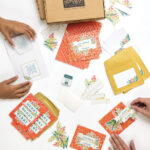
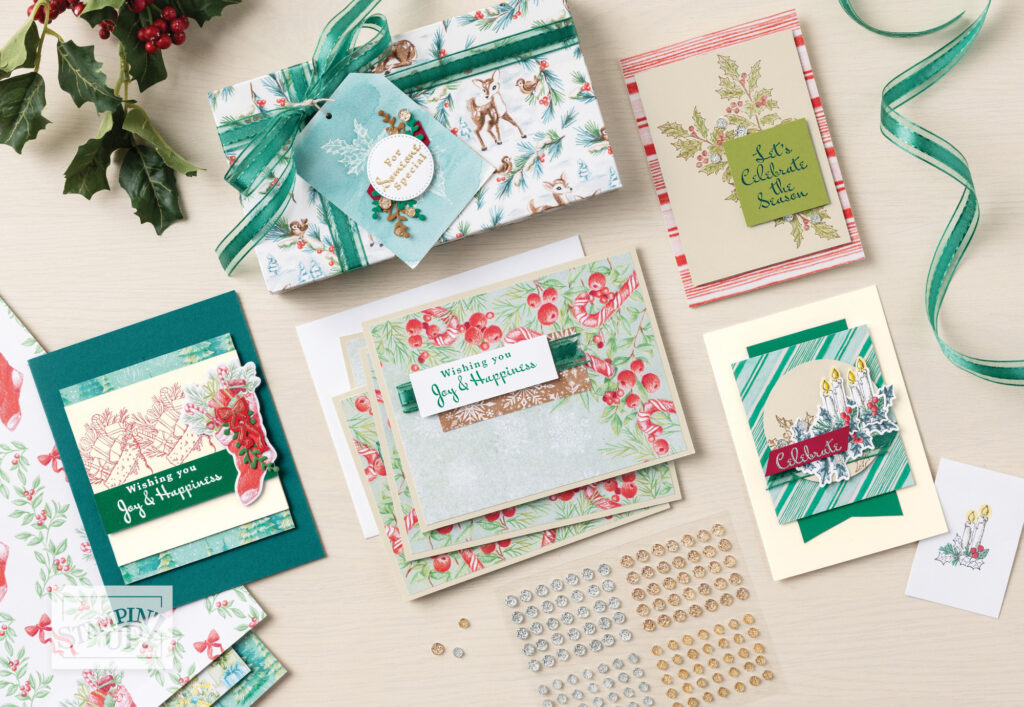
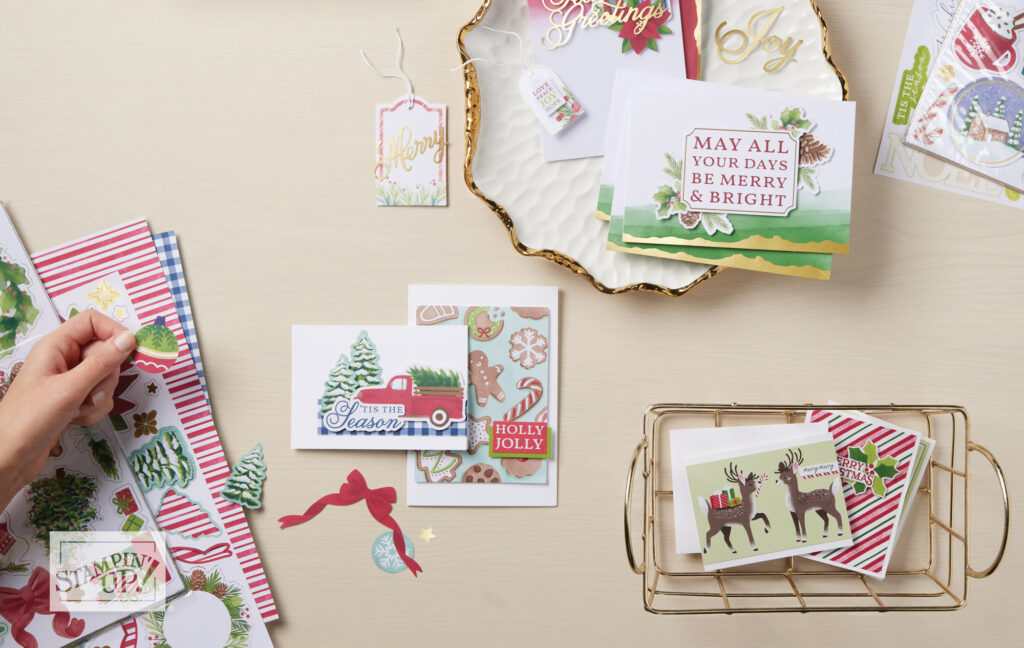
Make Merry with Homemade Christmas Cards and Tags
Want to take Christmas crafting and creativity to the next level while still keeping things simple? That’s where our Mix & Match Christmas products come into play. With everything from gilded gold card blanks and envelopes to pre-printed seasonal sayings and joyful images, you’ll have everything you need to build a unique lineup of tags and cards ready to accompany your gifts, offering all the fun without the frenzy!
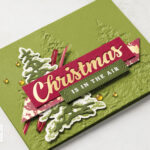
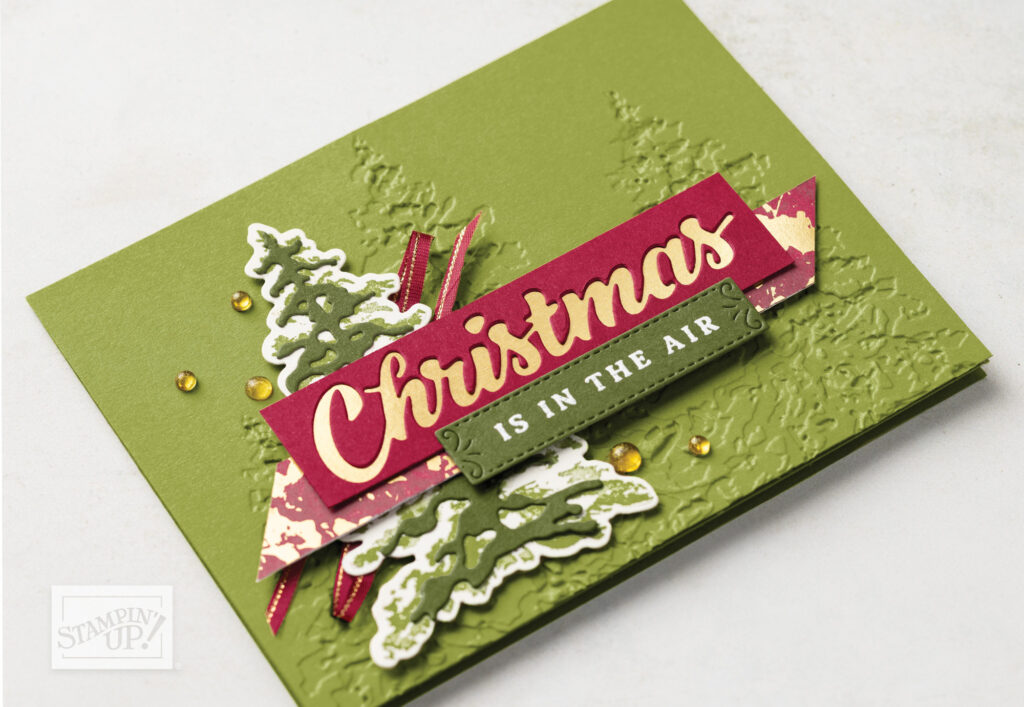
Making Your Christmas Card With The Season Of Elegance Suite Collection
Bring a touch of elegance to your handmade Christmas cards this year with the Season of Elegance suite collection from Stampin’ Up!
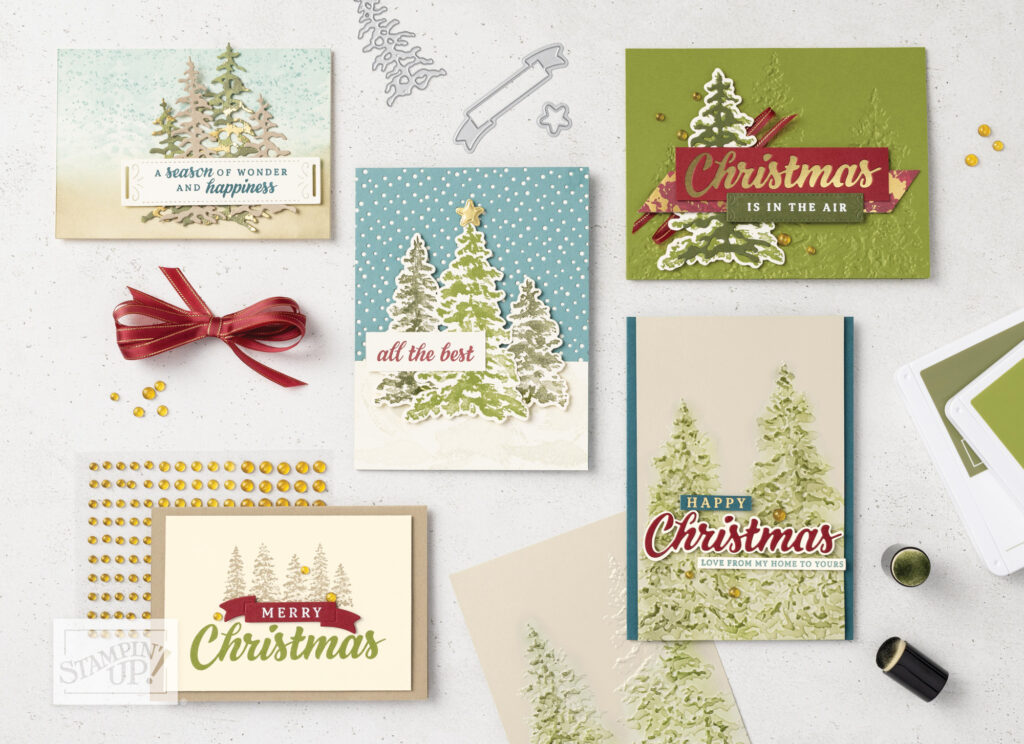
Our Suites include coordinated paper craft materials that you can use to create just about anything you can dream up! But if you’re new to suites, here are some easy card-making steps to make your own festive Christmas cards that are completely unique to you.
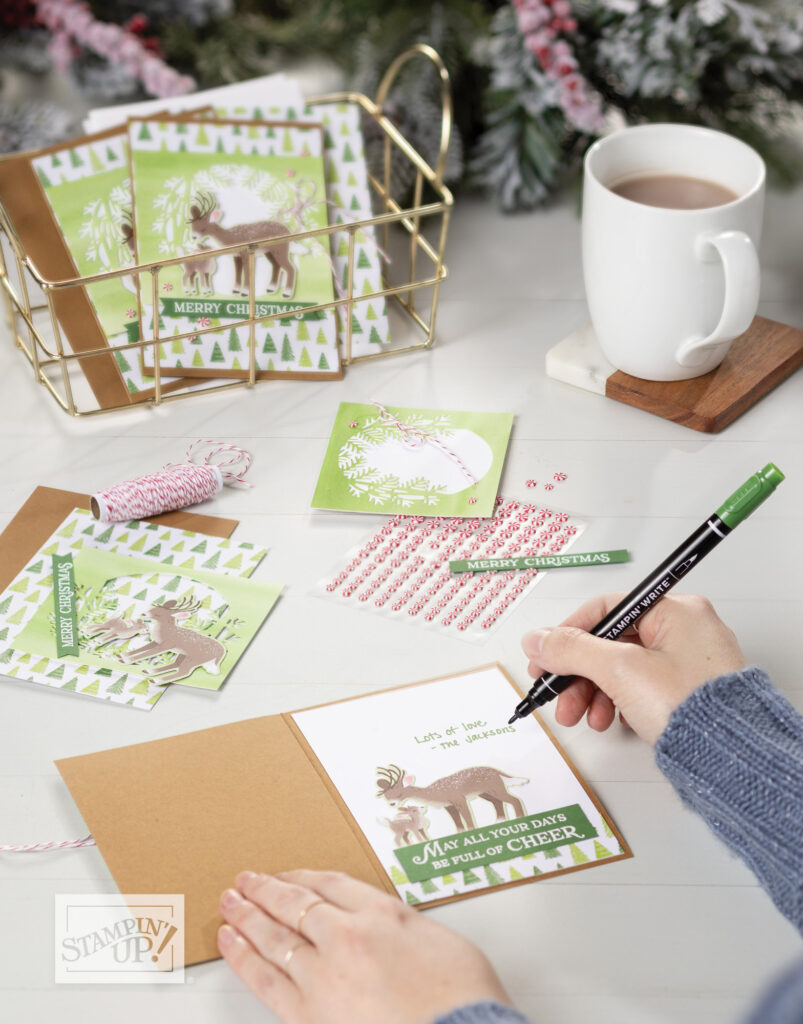
Making Your Christmas Card: STEP 1
Start with your card base, whether it’s our basic white card base, our festive card bases, or your favorite cardstock color.
Making Your Christmas Card: STEP 2
Use patterned paper, stamps, die cuts, and embossing techniques to create foundational depth and texture.
Making Your Christmas Card: STEP 3
Attach your stamped or pre-printed holiday sentiment to your card.

Making Your Christmas Card: STEP 4
Finish off with any extra embellishments like adhesive-backed dots or ribbons to really enhance festive flair!
Following these loose rules is sure to help you as you handcraft the holiday spirit with homemade Christmas cards this year!
Common Mistakes to Avoid When Making Christmas Cards
While there is a lot of freedom in getting creative with your handmade Christmas cards, there are a few pitfalls you’ll want to avoid to make the most of your crafting time and supplies. Here are some helpful tips and what-not-to-dos when it comes to your holiday papercrafts.

Use the right-weight paper. The foundation of your DIY Christmas card is especially important because they are so often displayed on a mantle or windowsill as part of the holiday decor. That means your card base should be of sufficient thickness to stand on its own when folded over. So, whether you choose premade cards or plain cardstock cut and folded to size, just make sure it’s not too flimsy! Conversely, don’t add too many additional layers. They can weigh down the front of your card, making it difficult to keep it standing upright as well.

Don’t under- or overload your stamps. Getting just the right amount of ink on your stamps is the best way to ensure a clean and crisp image on your unique, handmade holiday card. Over-inking can lead to smudges and unclear images, whereas too little ink won’t allow your stamped designs to shine, especially if you want to color inside those inked lines. We’ve found that the best way to get that “goldilocks” amount of ink on your stamps is to hold them flat over a Classic Stampin’ Pad and tap, tap, tap without rocking from side to side. Then press it again with even pressure, onto your paper, and lift directly off.
Try not to overdo the jolly factor. We’re the first to admit that sometimes more is more when it comes to creative papercrafting for the holidays, but a good rule of thumb, especially for beginners, is to stick to a few high-quality elements (think well-designed die cut imagery, a sentiment, and an embellishment or two) and let them make their impact without overcrowding. This will help you create balanced and clean designs, perfect for letting your personalized message be the star!

Use the appropriate adhesive for the task. Sometimes this means using multiple adhesives on one card, but you’ll find that understanding what kind of “sticky” you need for each task matters! A couple of tips to help you choose the right here—First, consider your tape runner to be your all-around best player in the adhesive game. It’s great for attaching most die-cut shapes, stamped sentiments, and other paper layers together. Next, when adding more dimensional elements like a bow or even the tiny bits of paper in a delicate die cut shape, opt for a thin layer of glue. And remember that a little goes a long way! You don’t want to warp your card or otherwise make a sticky mess. Lastly, be mindful of using dimensional adhesives, which can create great depth in your handmade Christmas cards, but can also cause issues if you’re planning to mail rather than hand-deliver your creative gifts!

Want More Christmas Card Help and Ideas?
Handcrafted Christmas cards are one of the things that we do best! Want some one-on-one advice from a Stampin’ Up! pro? Connect with a demonstrator today!
