Creative Ways to Use Die Cutting in Your Scrapbook Layouts


If you’re looking for ways to instantly elevate your scrapbook pages, look no further than die cuts! For new crafters, die cutting can seem a little intimidating at first. However, die cutting for scrapbooking can make it easy to create perfect shapes, add precision and professionalism to your designs, and help your projects come together more easily. Whether you’re cutting out intricate florals, perfect titles, or coordinating details, dies can make every page a little more special.
Scrapbook Die Cut Ideas That Add Wow to Your Layouts
Before we dive into the fun part of using die cuts in your scrapbooking layouts, it’s important to have a basic understanding of what die cutting is and how it’s done. Die cutting is a process that involves using a die, or metal blade, to cut paper into specific shapes or designs. These precise cuts are often done using pressure applied by a machine, such as the Stampin’ Cut & Emboss Machine.
For an in-depth overview of die cutting, check out our post: Die Cutting Demystified: Tips, Tricks, and Techniques.
Now that you have a basic understanding of this papercrafting technique, let’s explore ways to use die cuts to make your scrapbook layouts come alive!
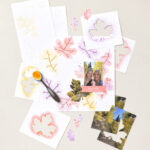
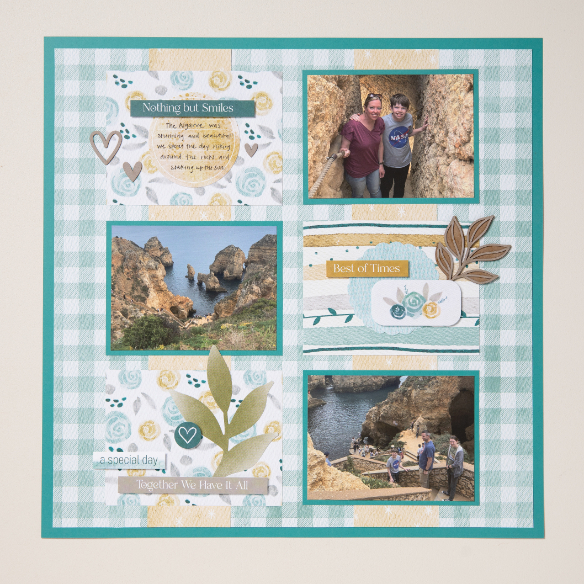
Using Die Cuts to Create Backgrounds and Borders
Dies are a great way to create custom scrapbook backgrounds and borders. Due to the nature of this technique, dies make it simple to get the exact same size and shape time after time. Not only does this help to create a polished look, but it also can help backgrounds and borders come together quickly and easily, as seen in the example below.
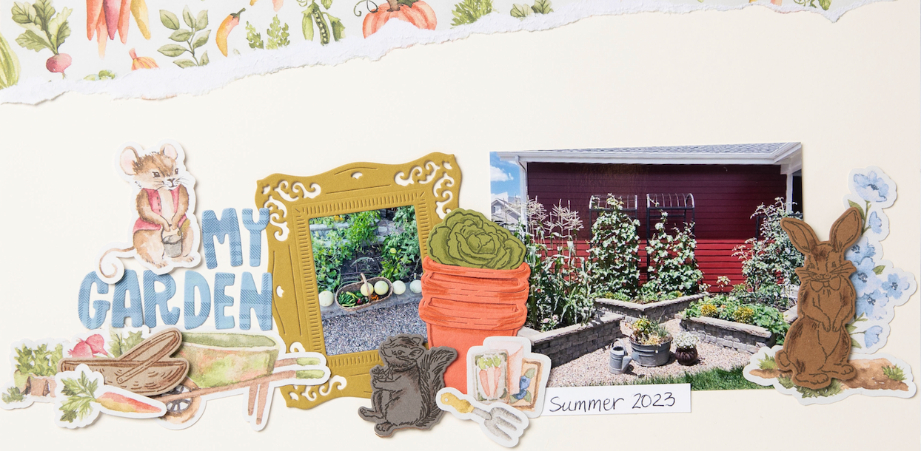
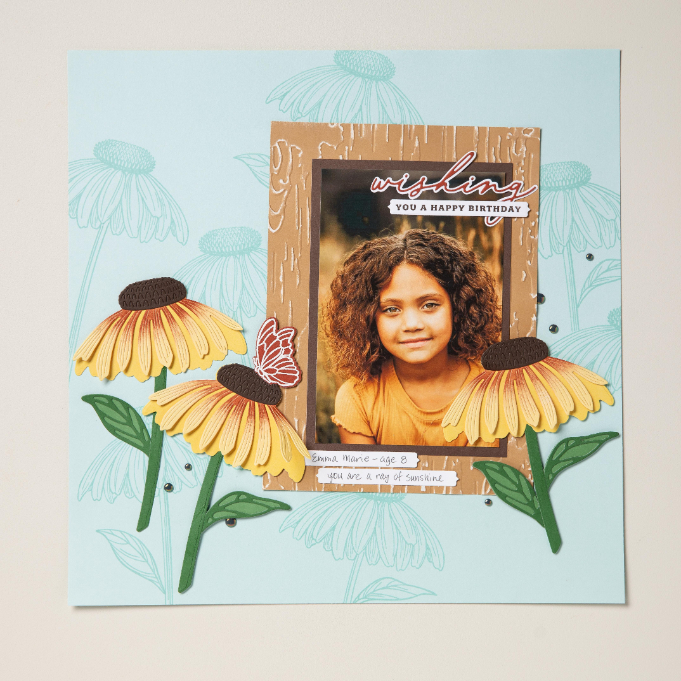
Using Die Cuts to Create Seasonal Themes
Another way you can use die cuts in scrapbook layouts is by creating seasonal backgrounds or themes. A leaf die cut can be used to create a page layout to commemorate your fall walk through the leaves or even to cut out images to add to your page, as in the example below.

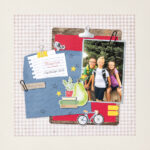
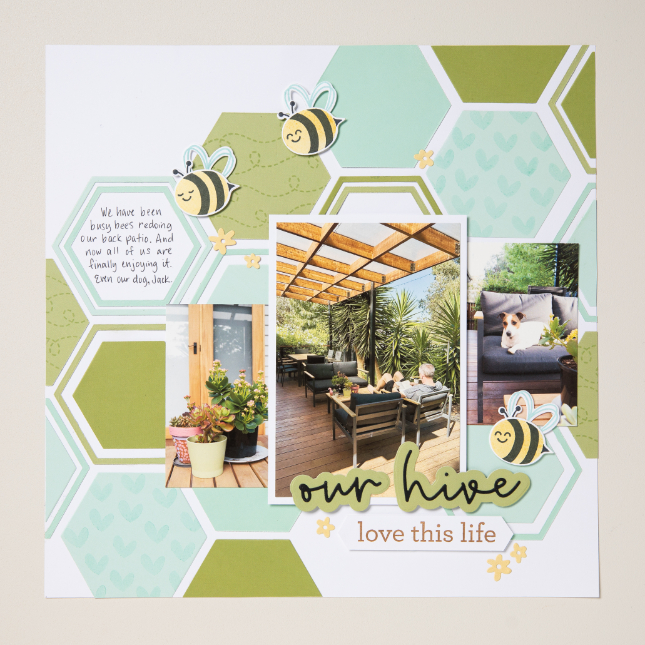
Using Die Cuts to Create Layered Storytelling
Incorporating die cutting into your scrapbook design is a great way to help tell a story. When creating scrapbook layouts, we often think of photos and captions as our primary source of documenting memories and telling stories. However, the elements you choose to include with those pictures and words also help set the scene, as seen in the example below. Whether you are die cutting shapes from patterned paper or using ephemera or stickers to create detailed images, adding layers to your storytelling will help create beautiful scrapbook pages that will be cherished for years to come.

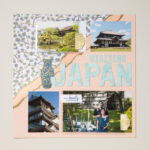
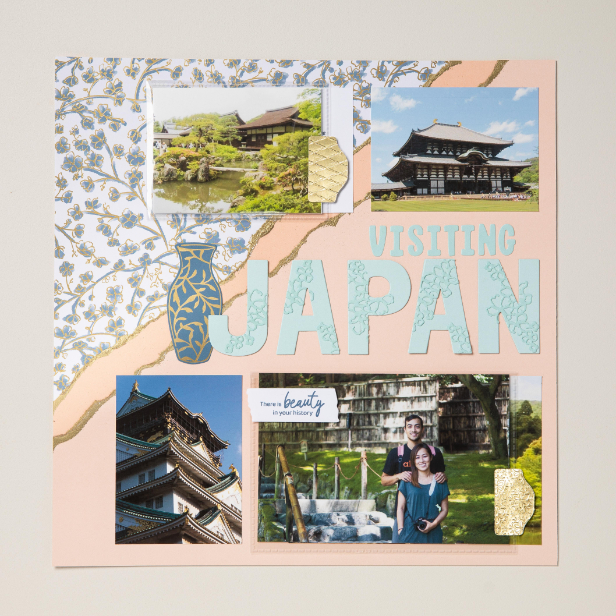
Using Die Cuts and Embossing to Add Depth
Another way you can add that wow factor to your scrapbook layouts is by using die cutting to add “wow” to your scrapbook layouts is by layering die cut elements with embossing. This combination creates beautiful, detailed elements filled with dimension and texture, as seen in the details of the die cut letters below.
Techniques and Tips for Die Cutting
When done correctly, die cutting is a useful and satisfying way to enhance your scrapbook designs and layouts. Here are some quick and easy tips and tricks to incorporate die cutting into your scrapbooking repertoire.
Choose the Right Embossing Machine
When choosing the best die cutting machine for scrapbooking, the first thing you want to consider is quality. You need something that’s going to produce great cuts over a long period of time. The Stampin’ Cut & Emboss Machine has an all-metal interior, which ensures that the rollers maintain pressure, use after use and year after year.
Look for Multipurpose Dies
When starting out, you’ll want to choose dies that you can use again and again. Here are some of our favorite basics:
Once you have the basics, your confidence and creativity will grow, and you can expand your collection to fit your creative needs.
Let Your Tools Work for You
Having the right tool for the job makes everything easier. From the best die cutting machine to the Take Your Pick Die Brush Tip, Stampin’ Up! Offers high-quality craft products that lead to beautiful custom die cut embellishments.
Bring Your Scrapbook Pages to Life with Die Cuts
Incorporating die cutting into your scrapbooking can truly transform the way you craft—making it easier, faster, and more inspiring to create scrapbook pages that stand out. From perfectly cut shapes to layered elements, dies help you achieve professional-looking results. If you’ve been hesitant to give die cutting a try, consider this your sign. This fun, versatile tool opens endless creative possibilities.
If you’re still feeling unsure of where to start, try reaching out to a Stampin’ Up! demonstrator, who can provide personalized coaching to help you gain the confidence to experiment, play, and watch your creativity grow.