
DIY Christmas Card Ideas to Show You Care


Is there anyone who doesn’t love getting Christmas cards? They are little reminders that someone is thinking of you and wants to stay in touch. And as great as it is to get a classic Christmas card from the store, the feeling of receiving a homemade Christmas card is even better.
Making and sending handmade Christmas cards is easier than you think—no matter your skill level—and the sentiment is unbeatable. If you’d like to create your own Christmas cards but aren’t sure where to start, or if you just need a little extra inspiration, we’ve put together some Christmas card ideas to get you started. You’re sure to love the experience of Christmas crafting, and your loved ones will appreciate the extra effort you put into your DIY Christmas cards.
Simple and Easy Christmas Card Ideas
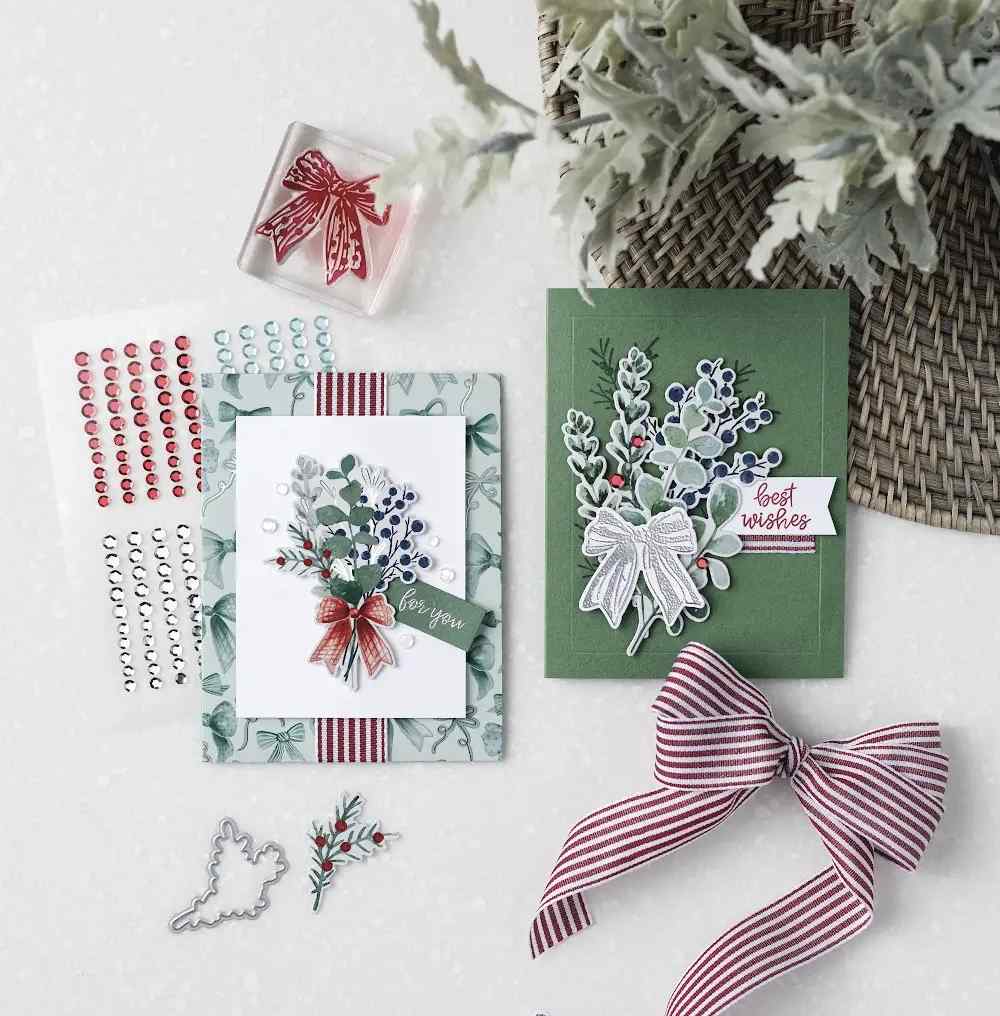
As with Christmas gifts, the best Christmas card ideas are the ones that come from the heart. But just because it’s homemade doesn’t mean it has to be elaborate and super time-consuming—even simple holiday papercrafts offer a little more heart along with them! We love a holiday DIY that is quick to pull together, still feels personal, and doesn’t add to the stress of the season.
So, from quick handmade Christmas cards and easy festive card designs to ones that might benefit from a bit more crafting experience, here are a few of our favorite homemade Christmas card ideas to help you tap into your imagination. Each of these cards can be kept super simple, or you can use more complex tools and add additional elements to make them more ornate, depending on your skill level and time available this Christmas.
Repeating Pattern
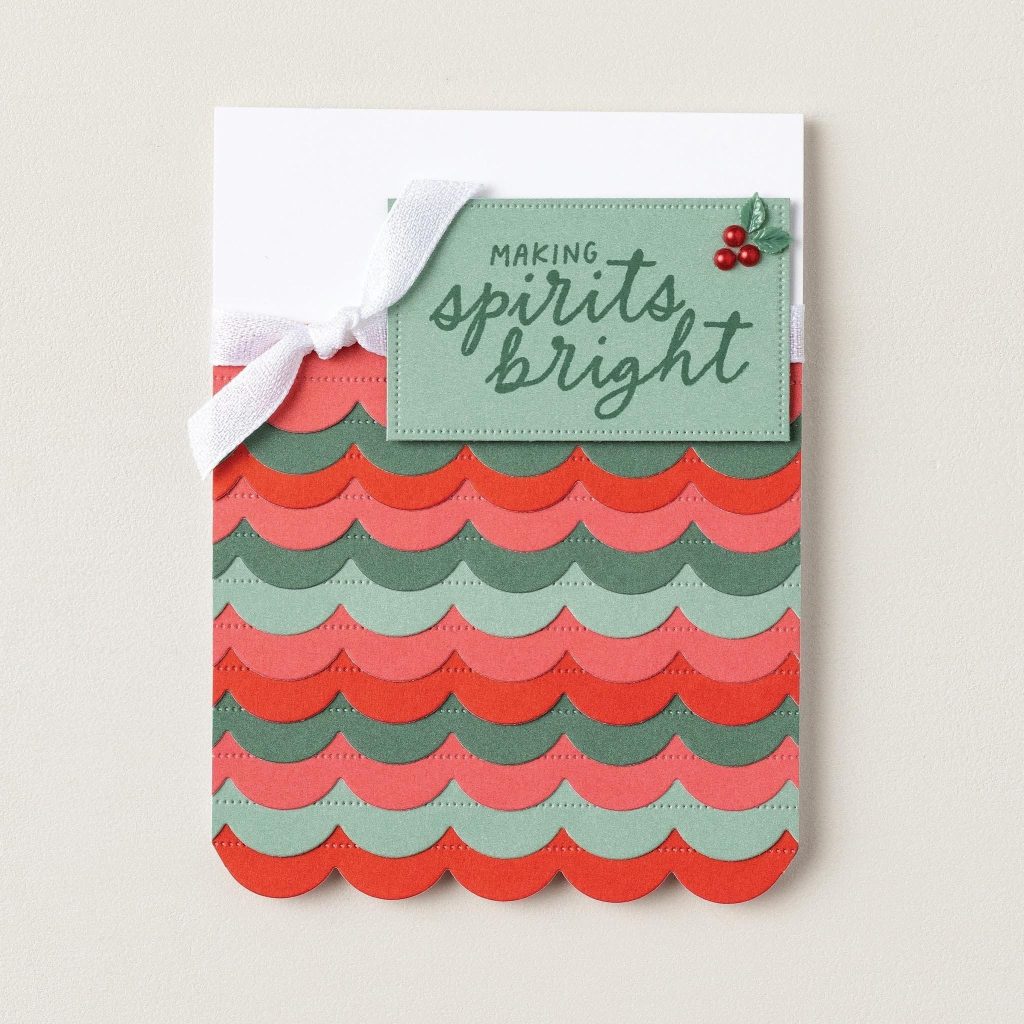
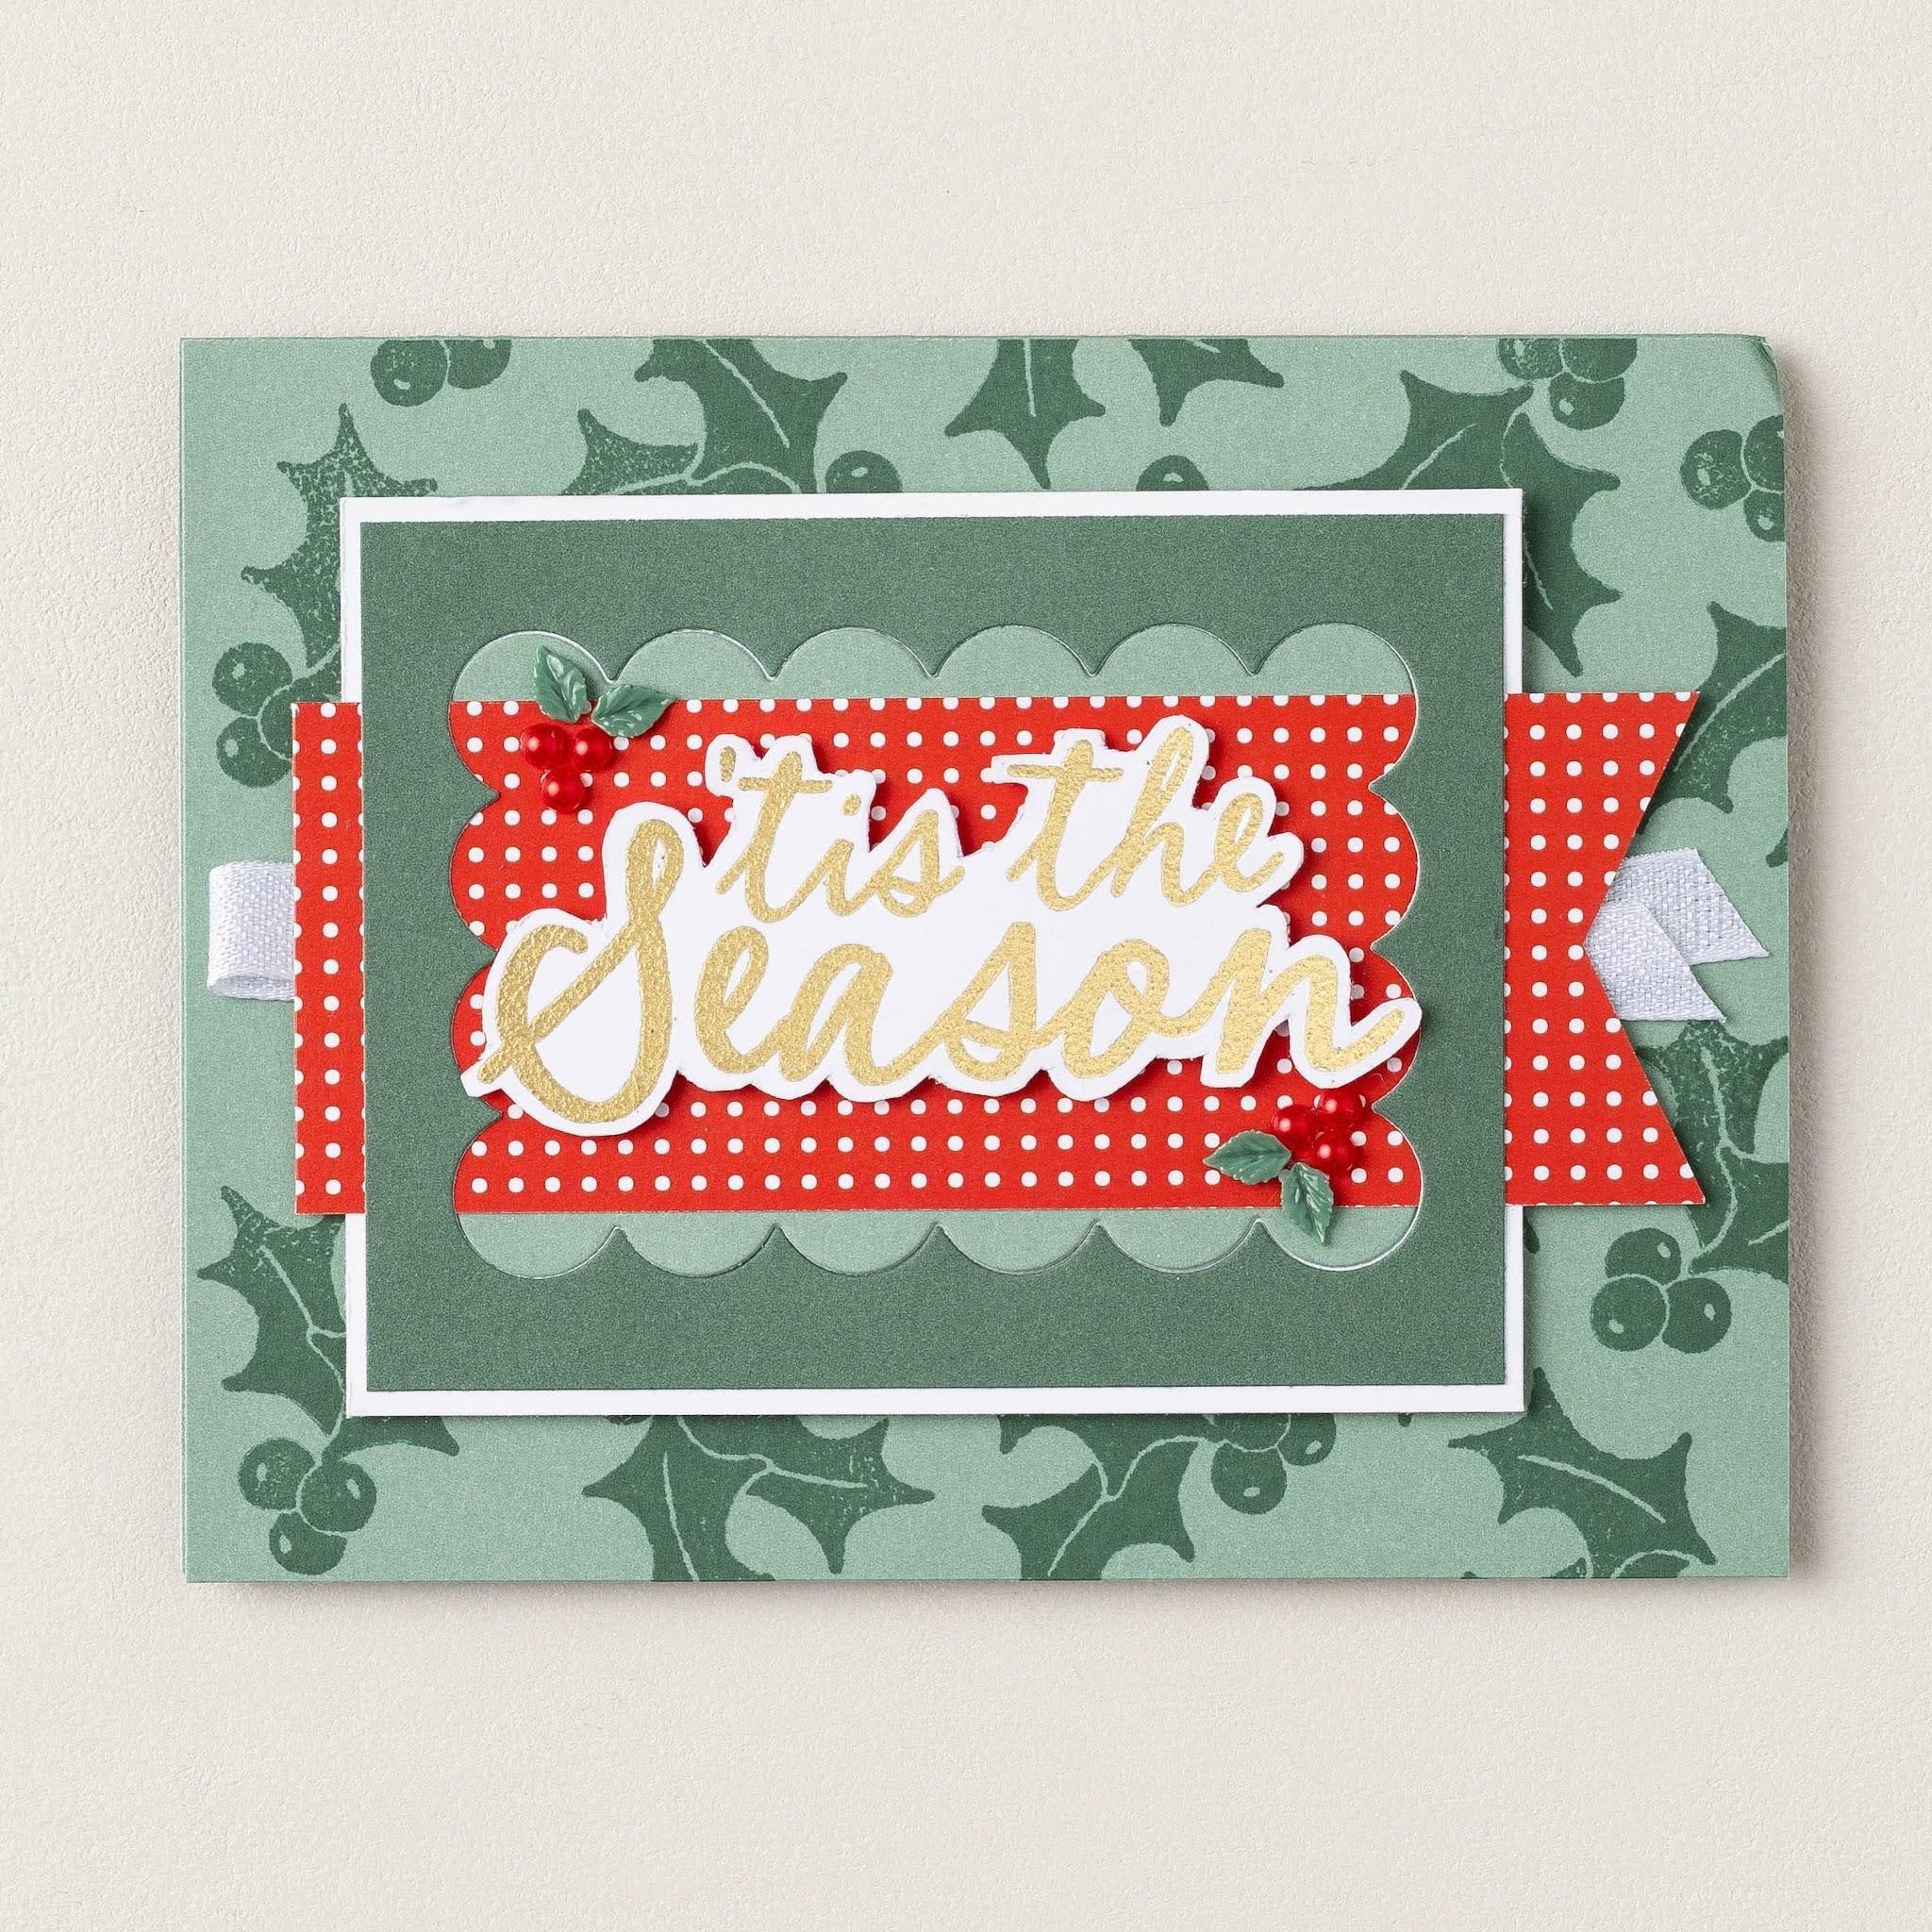
To keep things simple with your handmade Christmas cards, try repeating patterns. Whether you’re using a stamp or a fun die, repeating patterns allows you to use a few craft supplies to create a design that stands out. This technique is great for beginners and confident crafters alike! The repeating scalloped pattern in the DIY Christmas card above utilizes the largest scallop die from the Scalloped Christmas Cheer Bundle to create a festive holiday color palette.
Bonus tip: If you are going to use dies to create your repeating pattern, you will also need the Stampin’ Cut & Emboss Machine.
Layered Textures
There are so many ways to play with texture when making homemade Christmas cards. From layering stamped or die cut images to adding embellishments, the options are endless. One easy way to play with texture is to use both patterned and textured paper, like in the example below.

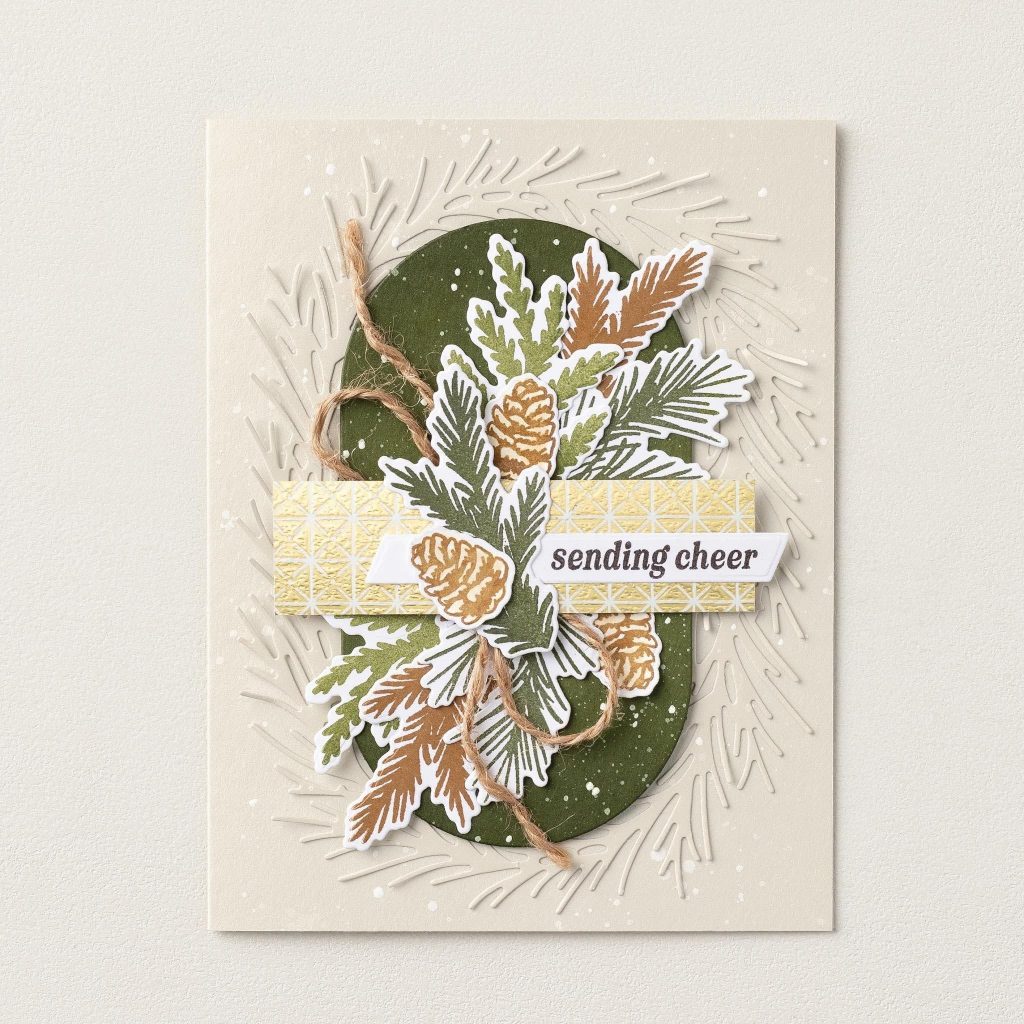
This card uses cut out paper from the Neutral Noel Specialty Designer Series Paper along with cardstock embossed with the Softly Woven 3D Embossing Folder. This creates a dynamic background that can then be layered with stamped and die cut images. The design is finished off with a bit of jute from the Neutrals Jute Combo Pack. Together, these elements create a dynamic look that makes every part of the card feel interesting without fighting for attention.
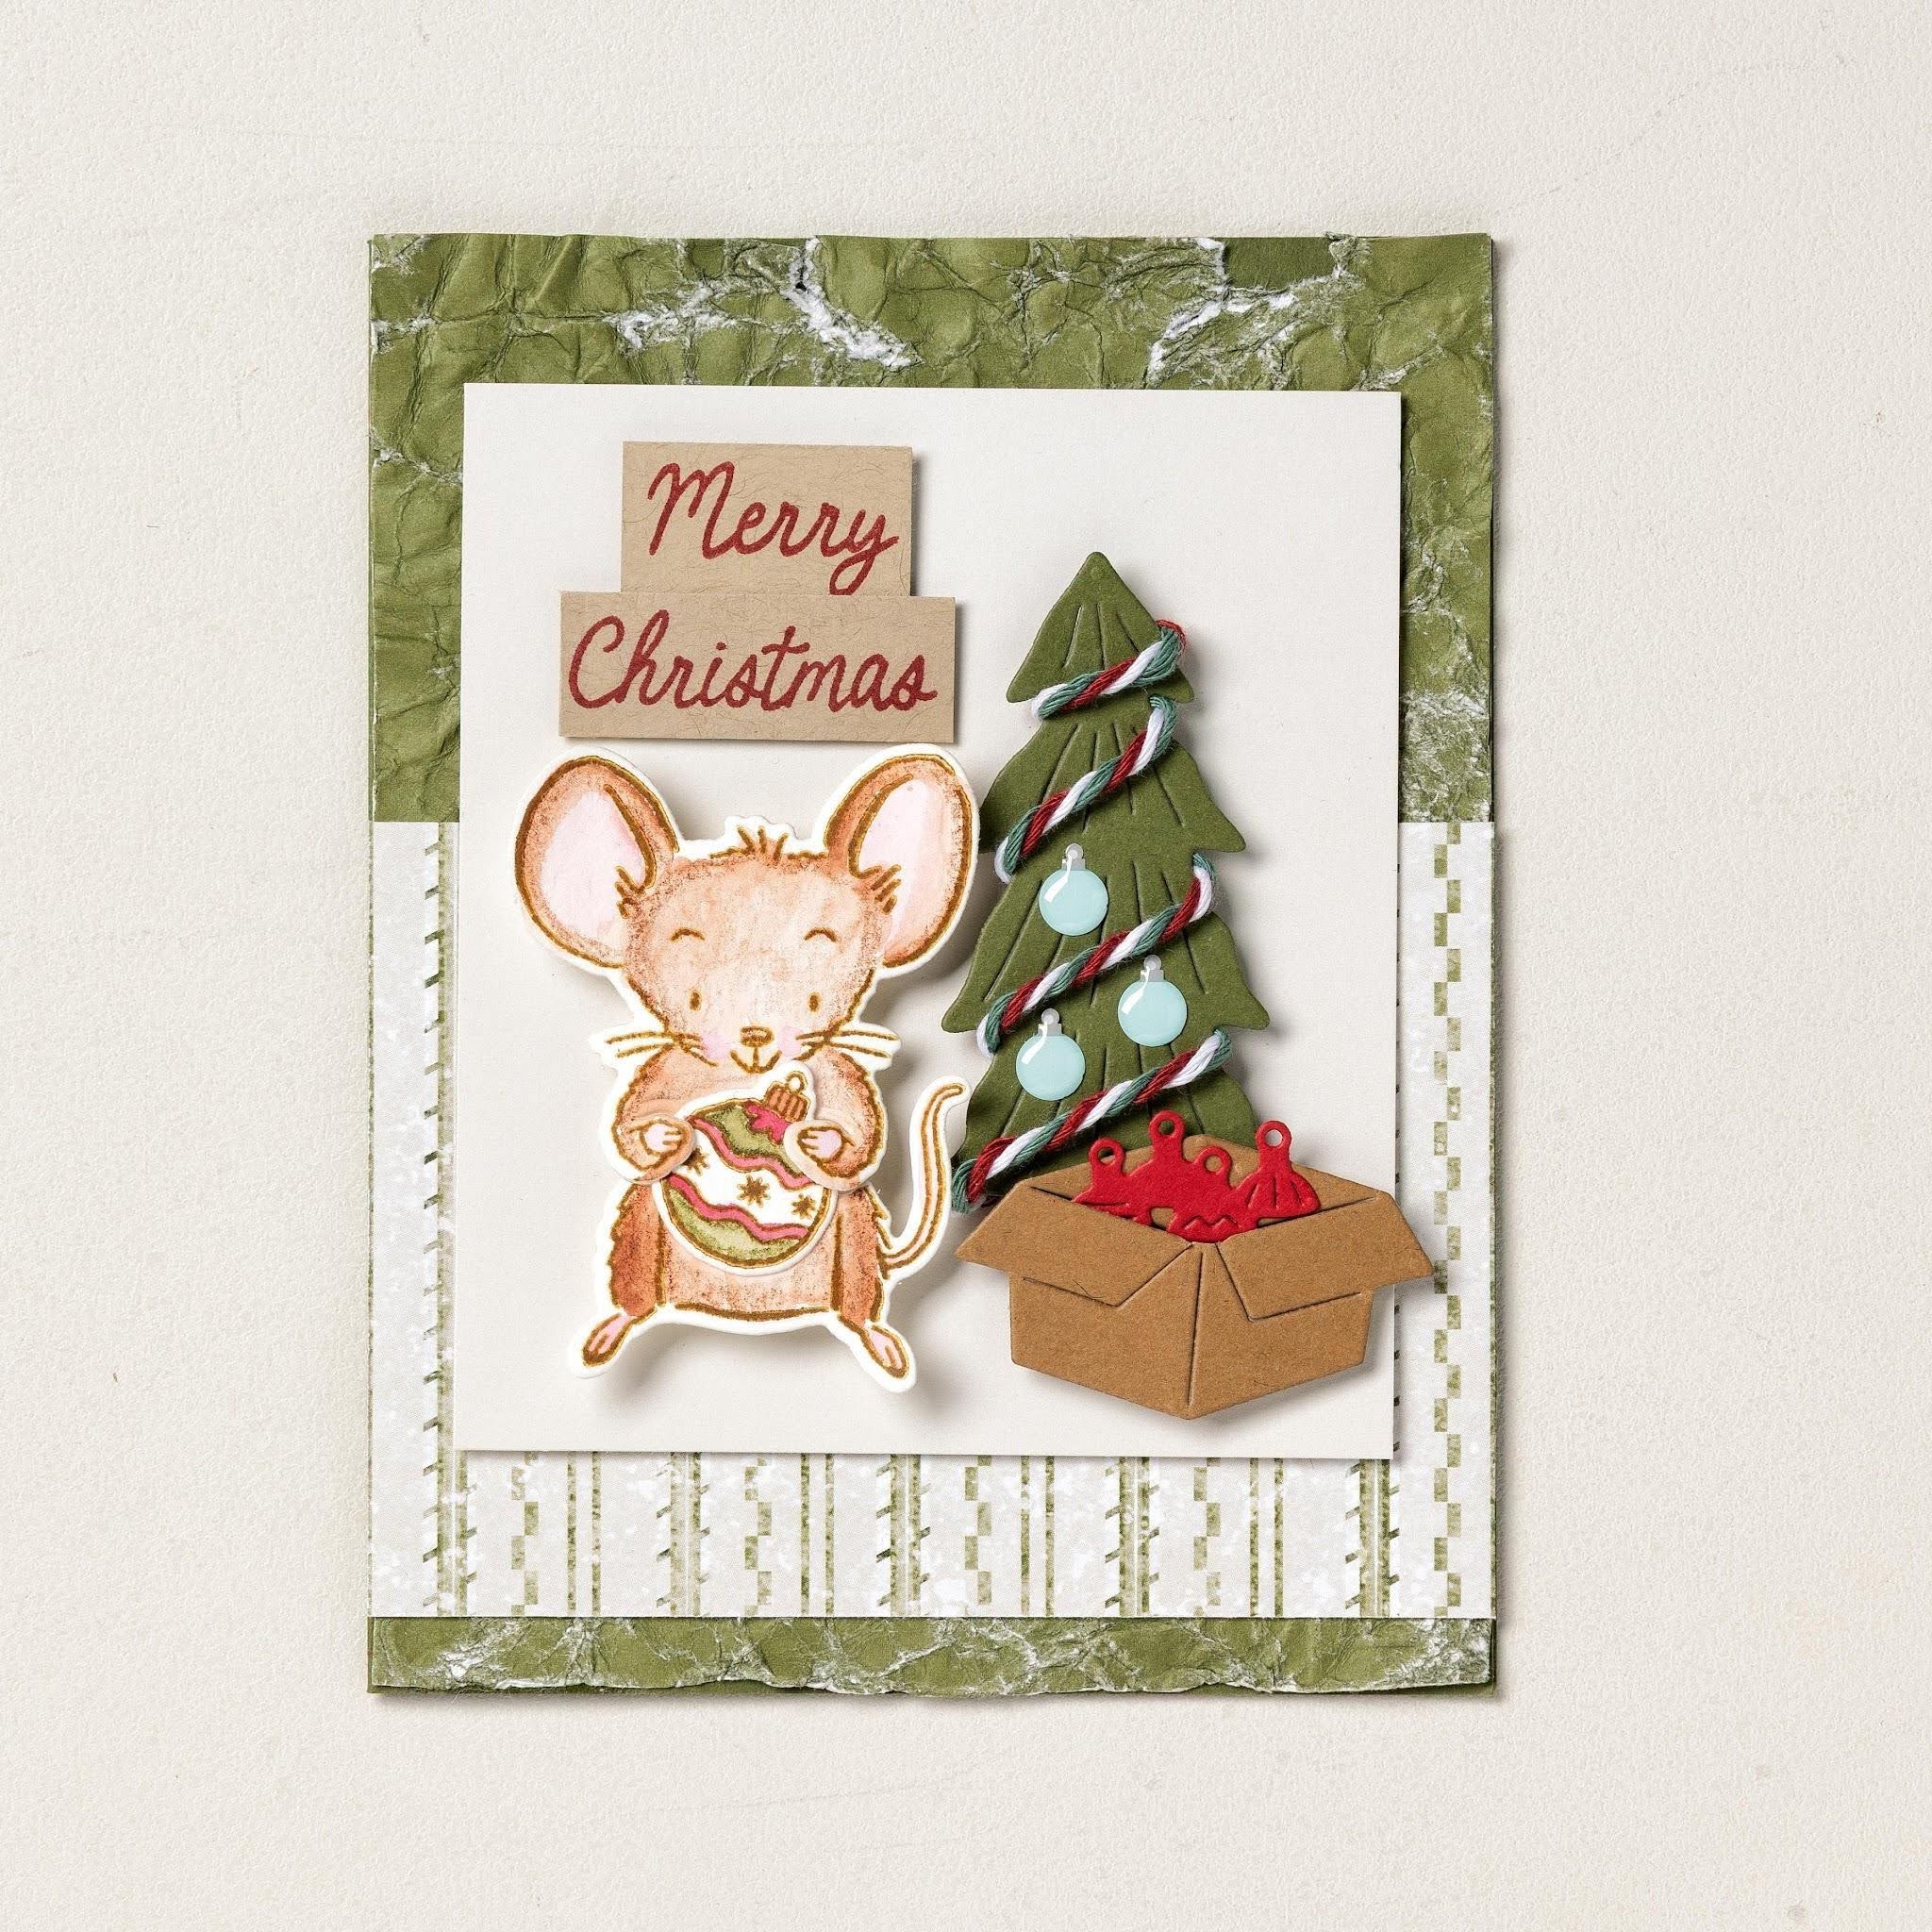
The cool thing about layering is that it doesn’t require much more than paper (unless, of course, you want it to)! Just using your fingers, you can tear paper to create a rustic textured feel. You can also use a distressing technique, as seen in the example above. The background of this card was made by taking two-tone cardstock, spritzing it with water, and then crumpling it until the desired texture was achieved. Sections were sanded to expose the core of the cardstock as well.
Matching Cards and Tags
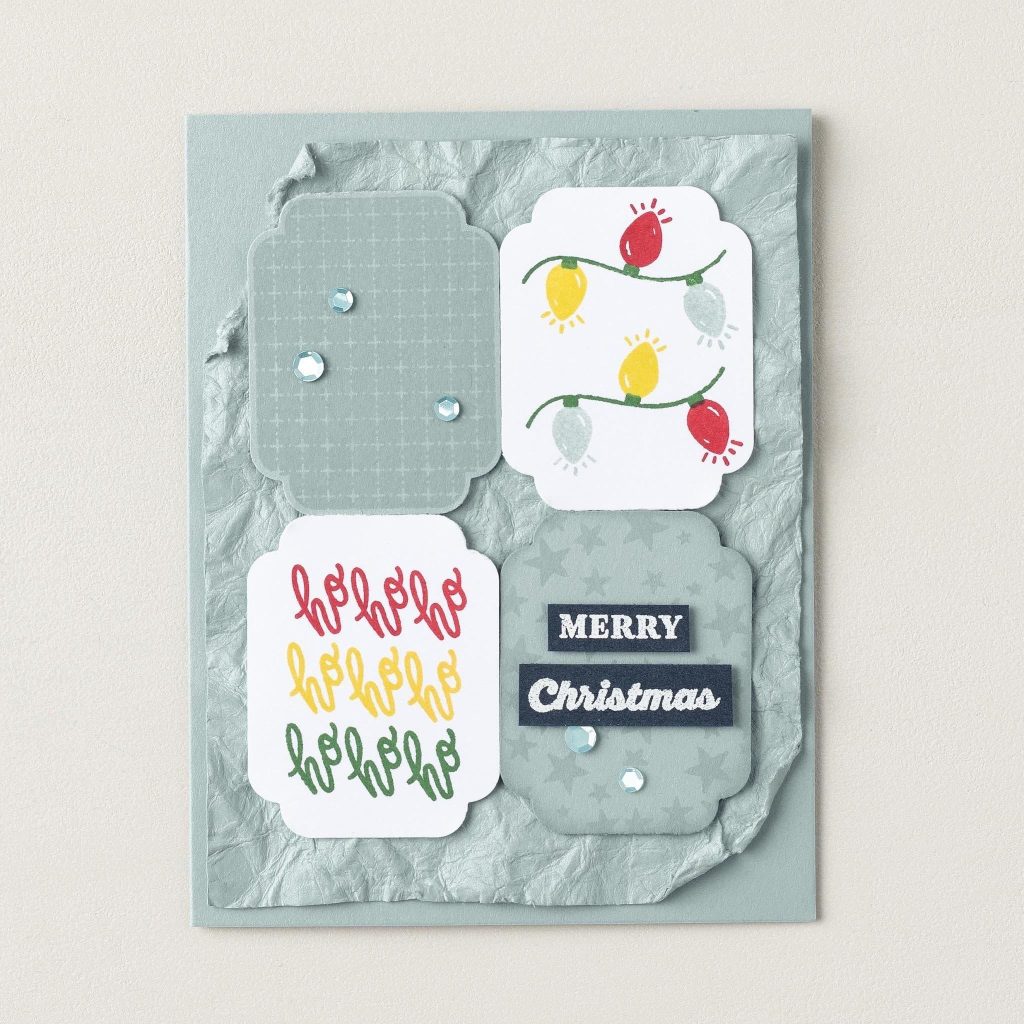
A Christmas card doesn’t have to be a standard size or shape. You can repurpose some of your supplies and best ideas to make homemade gift tags that coordinate with, or also serve as, cards. We love how one of the cards in this example utilizes the iconic gift tag design. Whether you’re making a card or a gift tag (or even one of each), our Design a Tag Photopolymer Stamp Set makes it easy to create handmade cards and tags with a variety of sentiments and images, so you’ll always have the perfect option on hand.

One easy way to make coordinating DIY Christmas cards and gift tags is to use the same paper for everything you create. This gives each of your designs a cohesive look while still allowing each one to be distinct in its own way. The Christmas gift tag in the example below uses paper from our Hearth & Home Designer Series Paper along with stamped images from our Design A Tag Photopolymer Stamp Set.
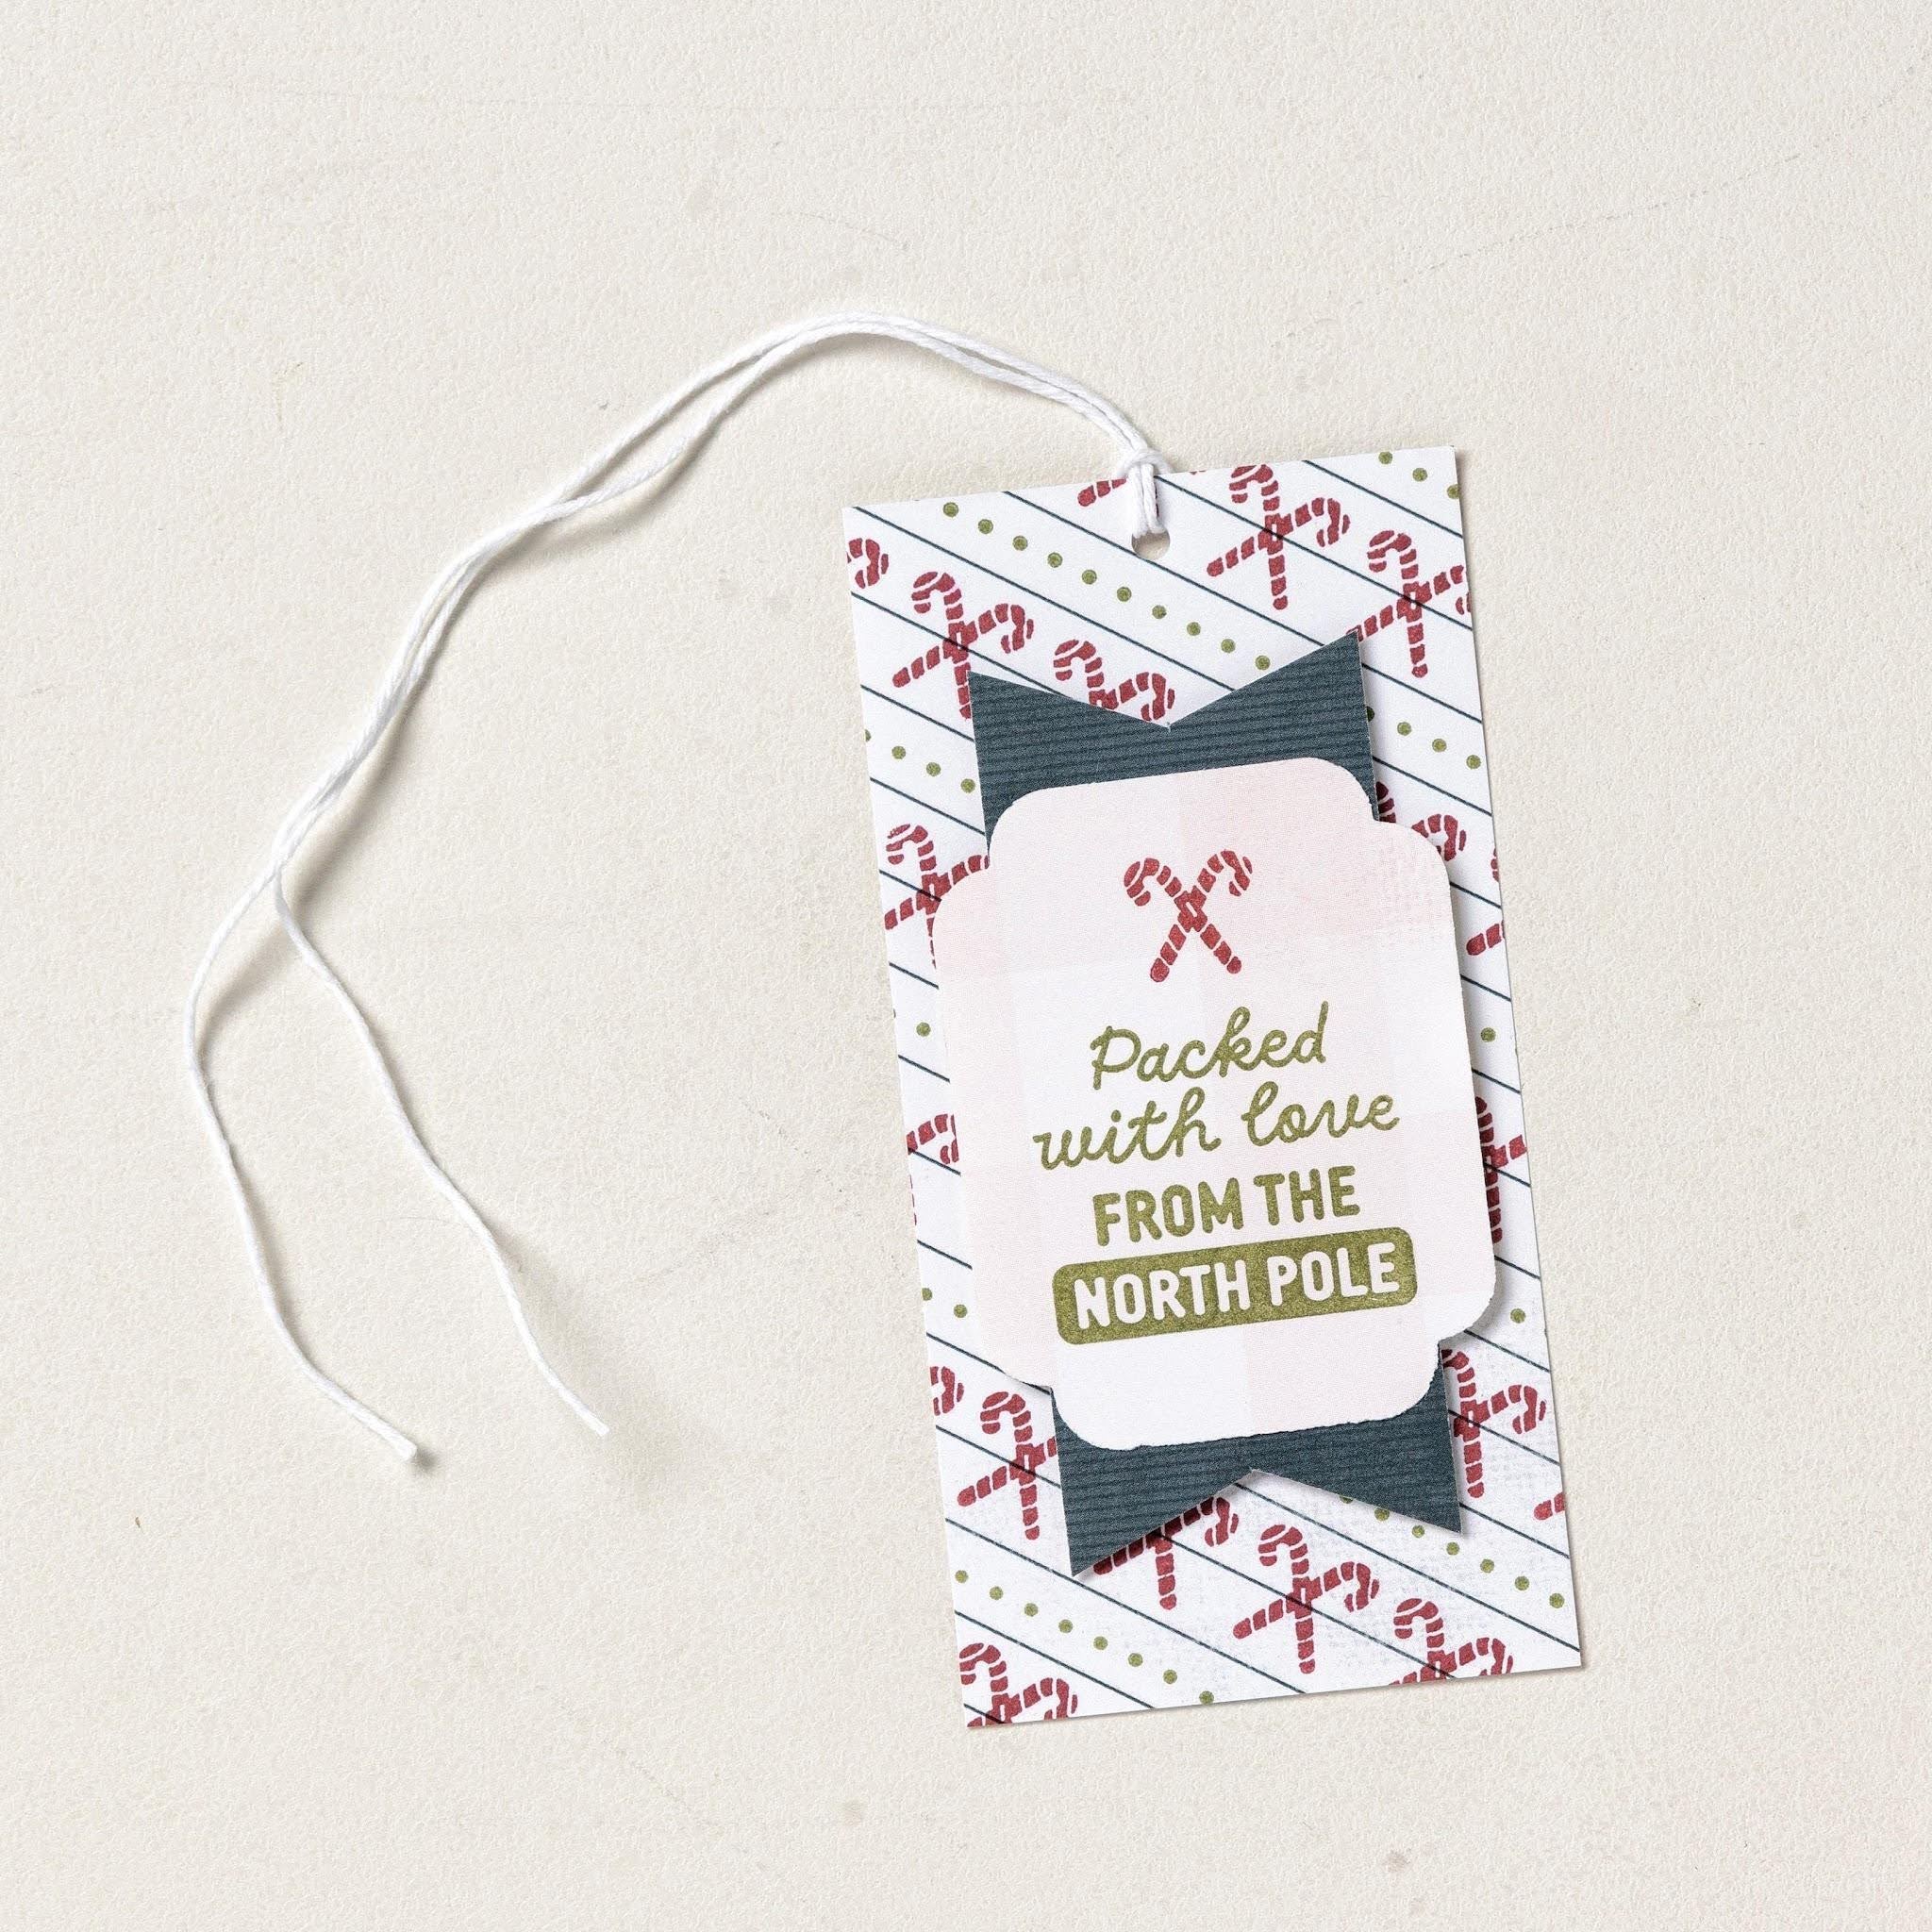
Bonus tip: Don’t forget the impact that the perfect color scheme can have! Our Harvest & Holly Premium Stampin’ Spot Assortment takes the guesswork out of your holiday color coordination.
Ready Made Elements
Ready-made elements are a great way to jumpstart your Christmas crafting creativity. This approach is especially great for beginner crafters or those without a lot of time. The example below uses the Festive Flecks Mix & Match Cards & Envelopes and Celebrations Mix & Match Specialty Designer Series Paper to create a beautiful card that doesn’t take too much work. Simply cut elements from the designer series paper and other mix and match packs and adhere them to the pre-made cards using Stampin’ Seal. Using these products with this approach enables you to make a lot of unique but coordinating easy homemade Christmas cards.

Designer Paper and Dies
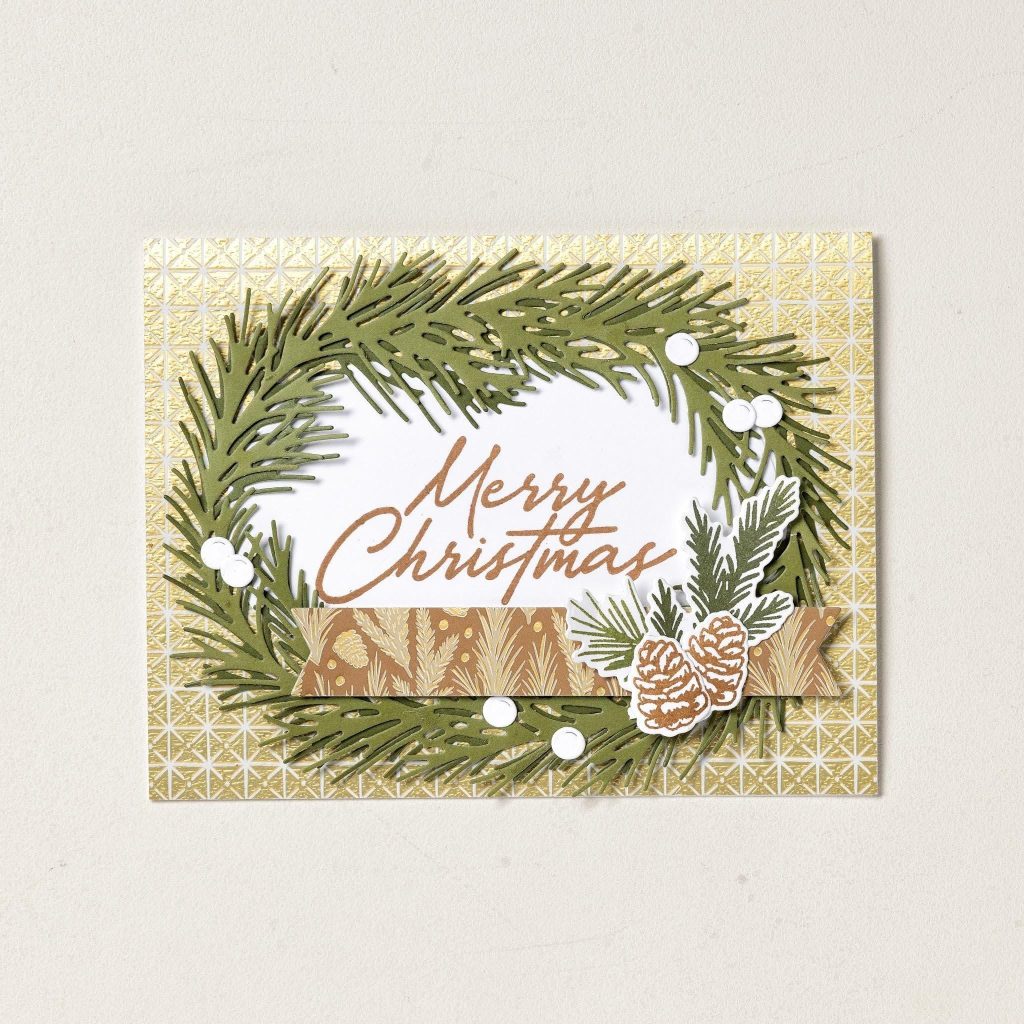
You don’t always need a lot of supplies to create an intricate and dazzling holiday card. The background and banner in the DIY Christmas card example below was made from various patterns from the Neutral Noel Specialty Designer Series Paper, while the wreath and pinecones were stamped and die cut using the Noel Tidings Bundle. All of these elements were attached using the Mini Stampin’ Dimensionals.
Progress Creatively
Collections like our A Little Christmas Suite provide endless possibilities for novice and experienced crafters alike. Beginners can utilize the patterned paper and add a simple sentiment like the one on our “Sending little moments of joy & cheer” card and the cute “From All of Us” tag on the gift bag. As you get a little more daring, you can add more intricate layers, textures, die cuts, and other design elements like the window card on the bottom right. The result is a sweet Christmas card that your recipient will treasure.

Tips for Creating Your Own Christmas Cards
So, you decided to create your own Christmas cards? How exciting! Here are a few of our favorite tips to help you make your handmade Christmas cards a beautiful success.
Plan the Design
You know what they say about failing to plan…In this case, not planning your design won’t necessarily lead to failure, but it WILL lead you to spend a lot of extra time on your creations. Come up with a plan for how you want your design(s) to look and what materials you’ll need. Pick your color scheme, think of your theme, decide what papers you want to use, and choose a sentiment or two. Then you can take inventory of what you have, place an order for the things you don’t have, and begin your project with a vision and all the tools you need.

Use High-Quality Materials
You can only perform to the level of your equipment. That’s why we recommend using high-quality materials. Photopolymer and cling stamps make it easy to see where you’re placing your stamp image. High quality adhesives make sure your design stays together. And archival quality paper ensures your keepsake stands the test of time.
Add Personal Touches
The best part of DIY Christmas cards is that they come from YOU. Don’t be afraid to add small personal touches, like a photo or handwritten note, to give your classic Christmas card an extra dash of your sentiment.

Experiment with Techniques

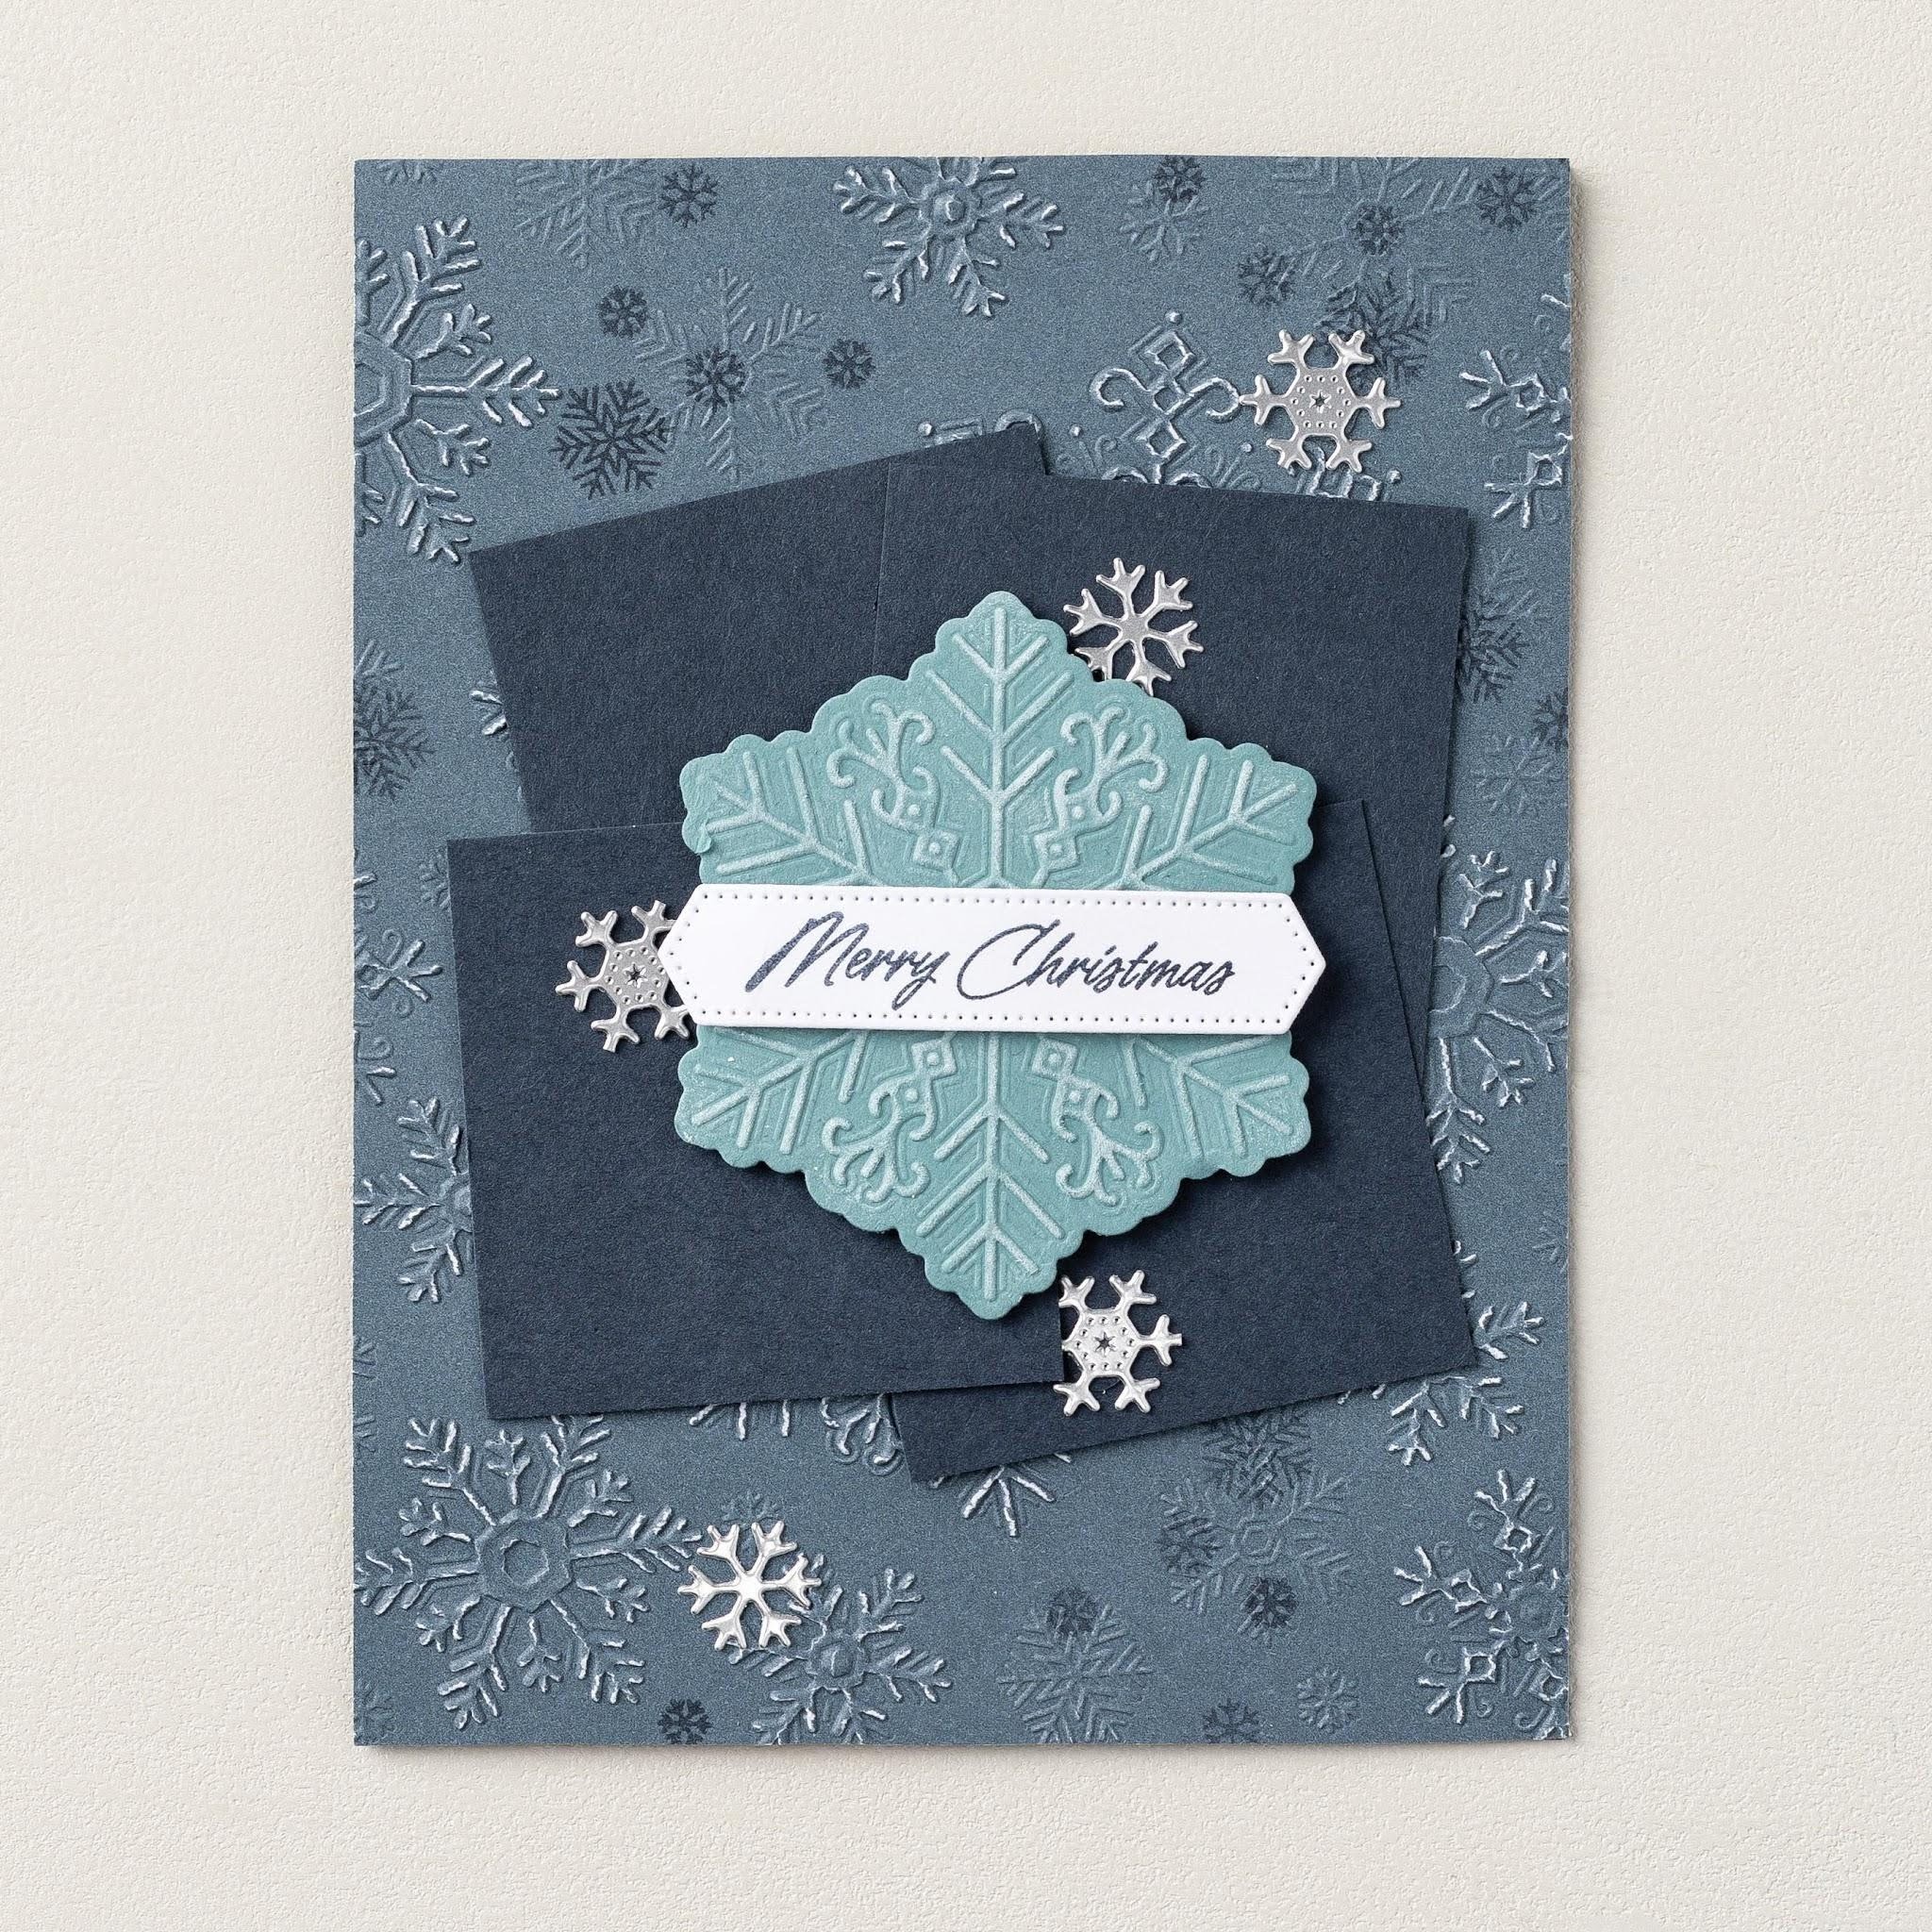
Don’t be afraid to try new things. We promise your audience will be forgiving and will appreciate the effort and thought you put into your handmade Christmas cards. For example, you could try using decorative masks to color different parts of your stamped elements, as seen in the card above. Or you could use an embossing folder, add layers, use a die cut machine, include embellishments, or test out a new stamp technique. The best way to learn is by doing, and DIY Christmas cards are the perfect way to experiment.

Batch Craft
In paper crafting, we like to say, “Design once and make multiples.” This is known as batch crafting, and you can think of it as a crafting assembly line. When you batch craft, you come up with one or two Christmas card ideas and then make multiples of each. This method saves time and brainpower and lets you get creative and share your handmade Christmas cards with your family and friends. (Hint: If you want each card to be unique, you can still add slight variations while keeping the main concept the same, like switching up the sentiment message, using different patterned papers, or using different colors and color combinations.)
Use a Kit
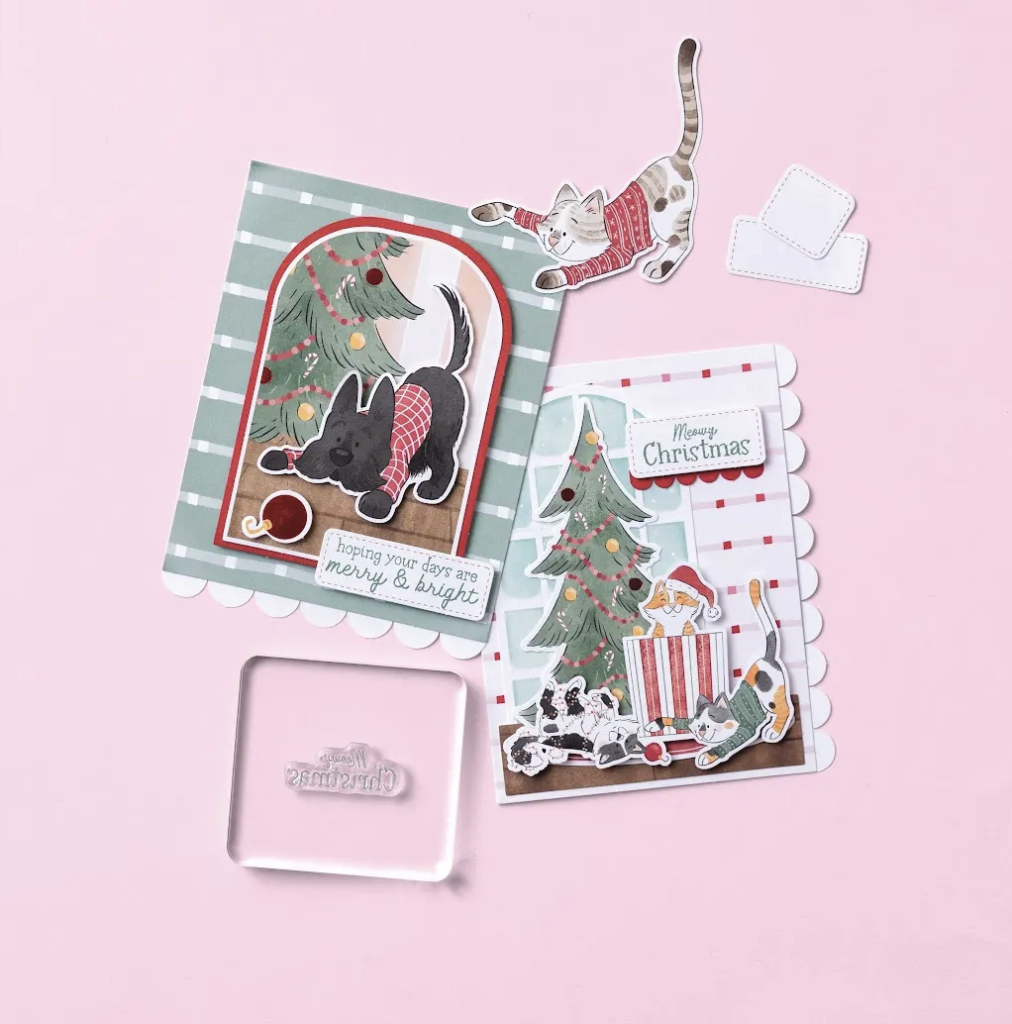
Whether you’re new to Christmas crafting, short on time, or just want to utilize a simpler approach, a kit is a simple way to create DIY Christmas cards. Our Christmas card kits come with a variety of supplies, depending on the project, some with stamps, paper, adhesive, embellishments, and everything else you need to create your own Christmas cards.
This year, we have two new and exciting Christmas card kits to choose from. Our Christmas Companions Kit includes supplies to make 10 cards to wish your pet-loving friends a “Meowy Christmas”. For a more traditional flare, try the Festive Plaids Pop-Outs Kit. Filled with decorative pieces in a traditional Christmas color palette, this kit has everything you need to create elegant handmade cards and gift tags.
Sentiment Ideas For Handmade Christmas Cards
Sometimes writing in a Christmas card can feel a bit intimidating, or maybe you’re just not sure how to express your feelings this holiday season. For those who feel unsure of what to write in a handmade Christmas card, check out these sentiment ideas—from silly to sweet!—that will help you get started on the right foot and really bring your heartfelt message to life.
Bonus tip: Be sure to match the tone of your sentiment and design of your card to the recipient. And don’t forget to leave space inside your DIY Christmas cards for a handwritten message!
Lighthearted Sentiments
- Spoiler Alert: It’s not a pony
- Dear Santa, Define nice…
- Will carol for cocoa
- Merry Everything and Happy Always
- Oh, What Fun!
- A Merry & Sweet Christmas Treat
More Personal Sentiments
- A gift for you
- Grateful for you this Christmas and always…
- Home for Christmas
- Grateful for you
- Home is wherever we celebrate together.
- With Love
- Blessings to you and yours this season
General Holiday Sentiments
- Happy Holidays!
- Wishing you a festive season
- Merry Christmas
- Winter Wishes
- Season’s Greetings
Once you’ve got one of these holiday sentiments stamped or adhered to the front of your card, the words on the inside often seem to flow a little easier. And when in doubt, share a memory, tell them why you’re grateful for them, and wish them the best for the upcoming year!
Christmas Crafting with Stampin’ Up!
No matter what techniques you use, or what your abilities are, a handmade Christmas card is a thoughtful (and fun) way to show you care. Stampin’ Up! has products to help you bring your DIY Christmas card ideas to life. Hopefully the examples and tips above have inspired you to make your own Christmas cards this holiday season. If so, be sure to stock up on your favorite Christmas craft supplies before they sell out! For more ideas or help with specific questions, contact a Stampin’ Up! demonstrator in your area today.
