
Are Your Favorite Vacation Photos Buried in Your Camera Roll?
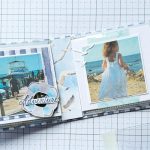
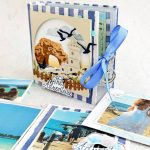
You get home from one of those vacations you’ll be talking about for years. You have hundreds of photos and every intention of doing something with them. You scroll through them once or twice, send a few to family and friends, and then everyday life takes over.
Before long, those vacation photos are buried beneath screenshots, grocery lists, and everyday snapshots.
A camera roll is great for storing photos, but it’s not always the best way to enjoy them.
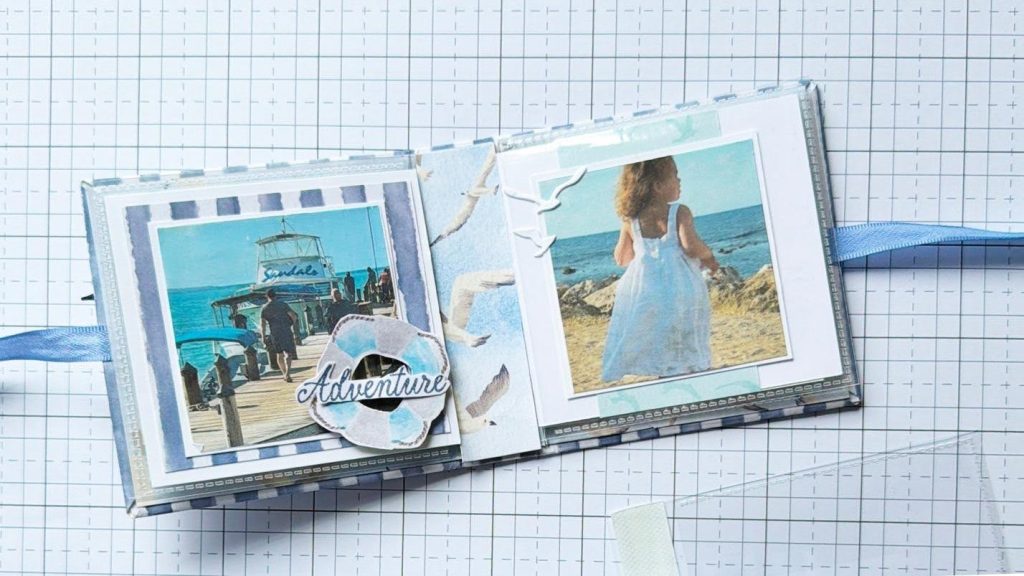
A mini photo album gives your favorite photos a place beyond your camera roll. It’s easy to flip through, share with family and friends, and revisit whenever you want to relive the trip.
Artisan Design Team member Kim McGillis created a mini travel album using Scalloped Window Boxes and Flip Flaps. The compact design leaves room for photos, journaling, tickets, and other small mementos that help you remember the little details that made your vacation special.
As you plan your own album, it helps to think of it as your vacation’s highlight reel rather than a complete photo archive. You don’t have to include every photo. That’s part of what makes a mini album so meaningful. Choose the moments you’ll want to revisit: the breathtaking view, the favorite meal, the unexpected adventure, or the photo that instantly takes you back. Those are the memories that stay with you long after you’ve unpacked.
Whether you traveled across the world or enjoyed a weekend getaway with loved ones, a mini keepsake album brings your favorite moments together in one place to tell the story of your vacation.
Ready to Make Your Own Mini Travel Album?
Kim shows you how to create the album in three simple steps.
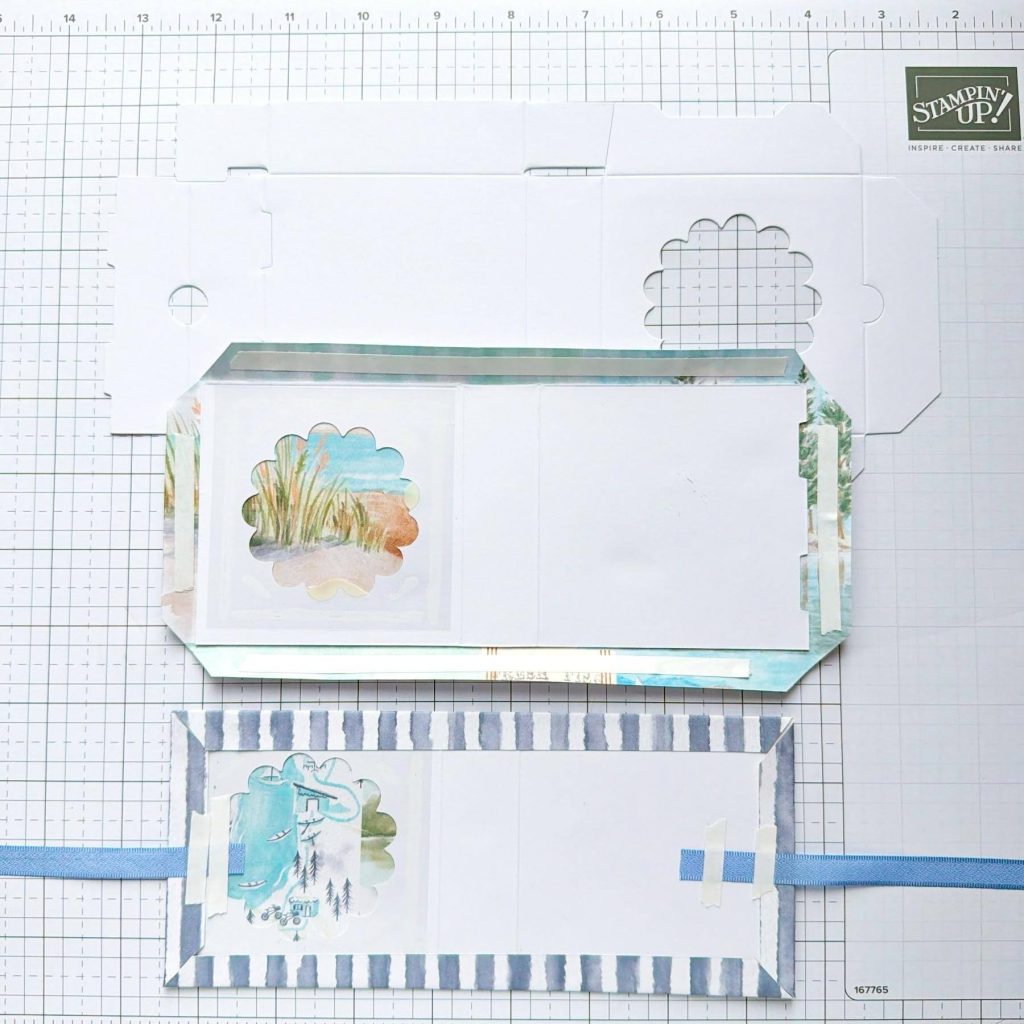
1. Create the Album Base
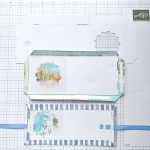
Start with a Scalloped Window Box and use a Paper Trimmer to remove the cardstock on all four sides to create the album base. Next, use a Bone Folder to burnish a 4-1/2″ x 9″ (11.4 x 22.9 cm) piece of Designer Series Paper. Adhere it to the base with Tear & Tape Adhesive, then add ribbon to both ends.

2. Add the Inside Pages
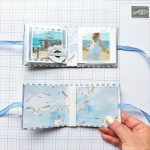
Now it’s time to build the inside of your album. Add a 3-3/8″ x 7-5/8″ (8.6 x 19.3 cm) piece of Designer Series Paper, then layer in 3″ x 3″ (7.6 x 7.6 cm) Flip Flaps. These give you plenty of spots for photos and memory keeping.
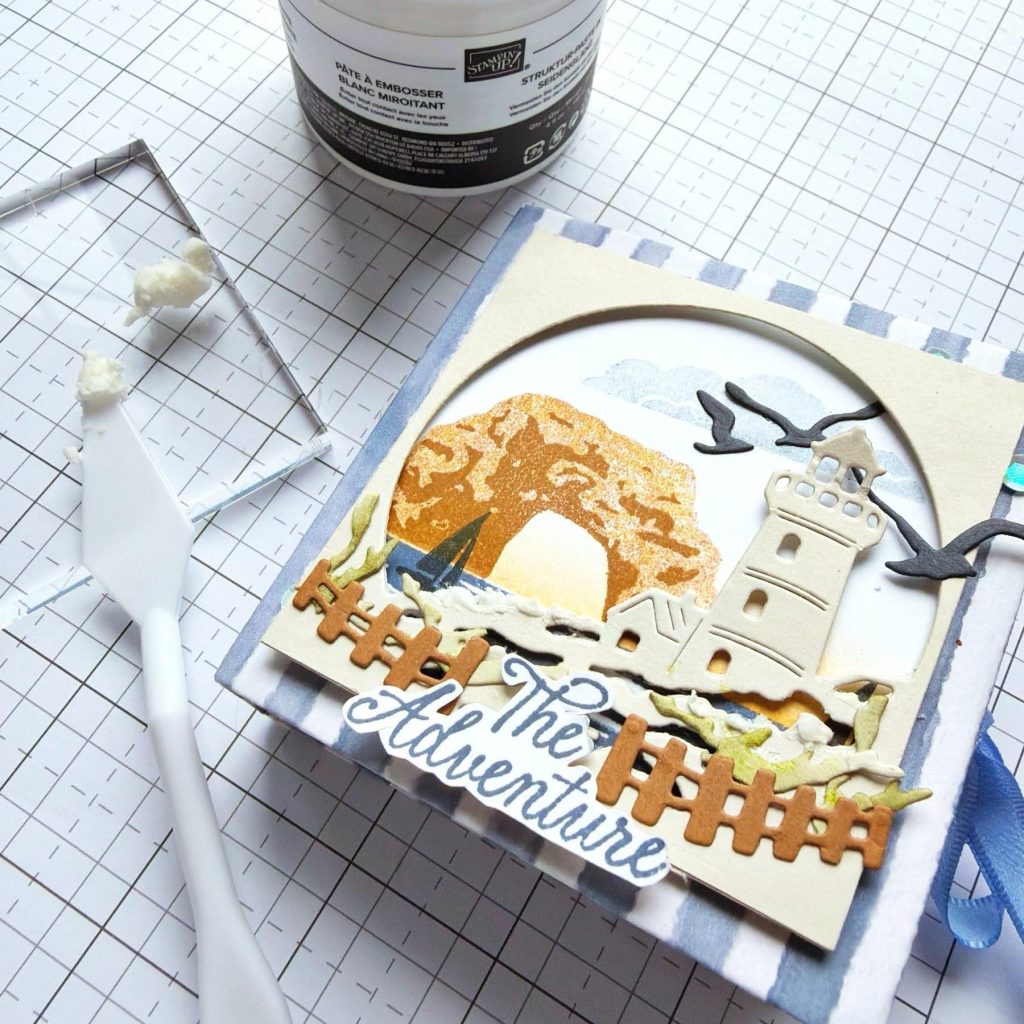
3. Add the Finishing Touches
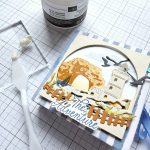
Here’s where you can have a little fun with the cover. Kim created her beach scene with waves, a lighthouse, birds, and other seaside elements. For the whitecaps on the waves, she applied Embossing Paste with a Palette Knife for a bit of added texture.
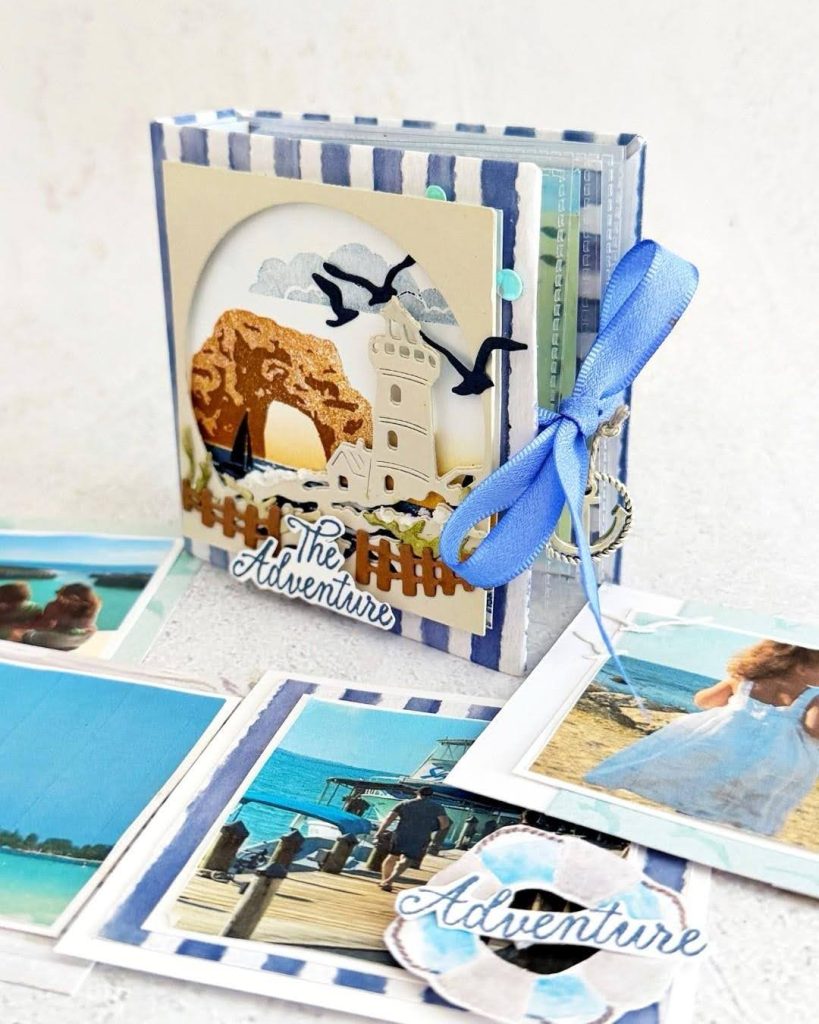
Then add your photos, journaling, and any little mementos you saved along the way.
Ready to get started? Shop Scalloped Window Boxes on our website.
