How to Use Die Cutting Machines for Beginners


A die cutting machine cuts out shapes so you don’t have to do it by hand. It’s more precise, saves time, and can produce more advanced shapes that are difficult—if not impossible—to achieve with just scissors alone. For papercrafting, cardmaking, and scrapbooking, this tool is a total game-changer. This machine simplifies your creative process and gives your projects a professional look.
How to Use a Die Cutting Machine
Using a die cutting machine is easier than you might think. Follow these steps to get started with the Stampin’ Cut & Emboss Machine.
Step 1: What’s Inside
When you open your Stampin’ Cut & Emboss Machine, you’ll find everything you need to get started:
- A Base Plate (Plate #1)
- A Die Plate (Plate #2)
- Two clear Cutting Plates (Plate #3)
- A Specialty Plate (Plate #4)
Each one is numbered to make the assembly process as easy as possible.
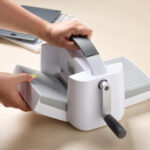
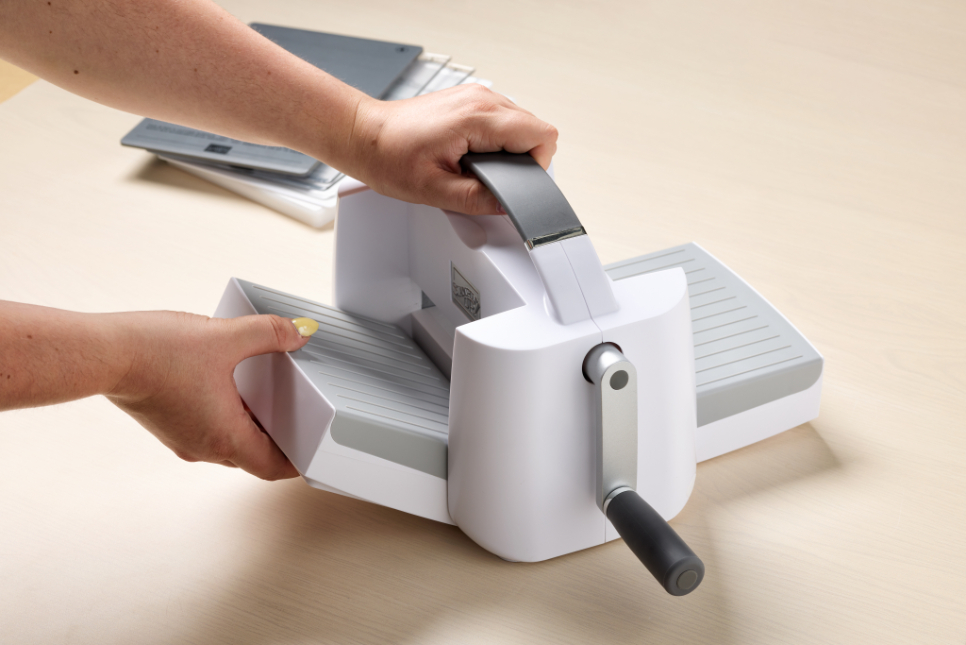
Step 2: Assembling Your Machine
Your die cutting machine arrives with the handle unattached. Inside the box, you’ll find the handle, screw, insert, and an Allen wrench. To attach the handle, simply insert it into the machine and tighten with the Allen wrench until snug. Once assembled, your machine is ready to use.
Step 3: How to Use
Now it’s time to start crafting!
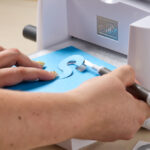
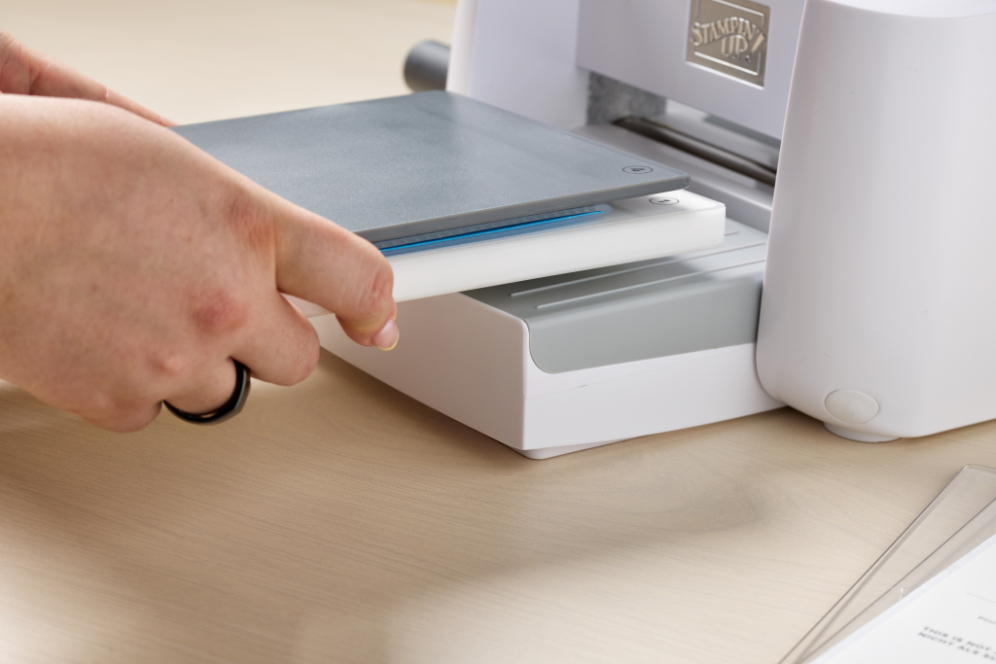
Begin by building a “sandwich.” This refers to the layering of plates you need for cutting and embossing. The plates used in the sandwich will vary based on whether you are cutting or embossing.
Diagrams for all the different sandwiches you can build are printed on the Base Plate for easy reference.
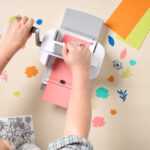
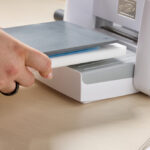
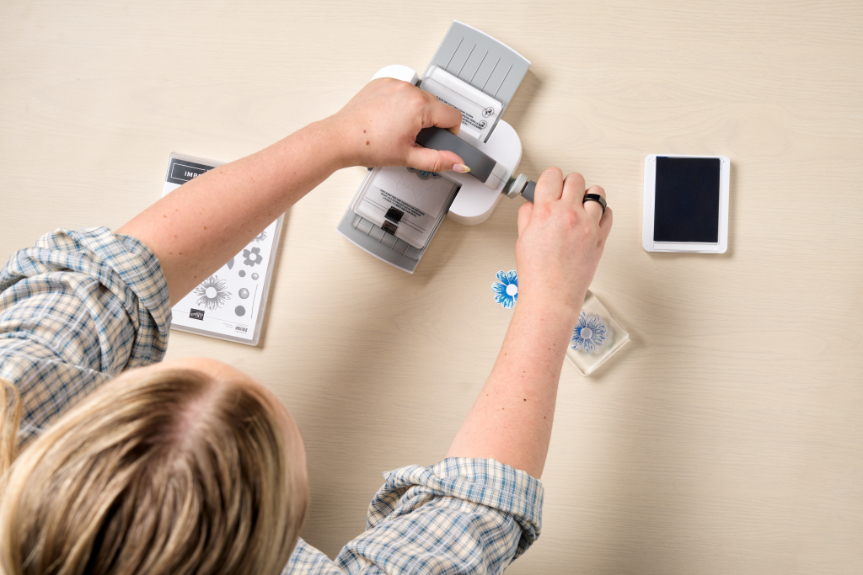
Unfold the platforms on each side of the machine until you hear a click. Place one hand on the top handle for stability while rotating the side handle with the other hand. Gently slide your sandwich through the rollers.
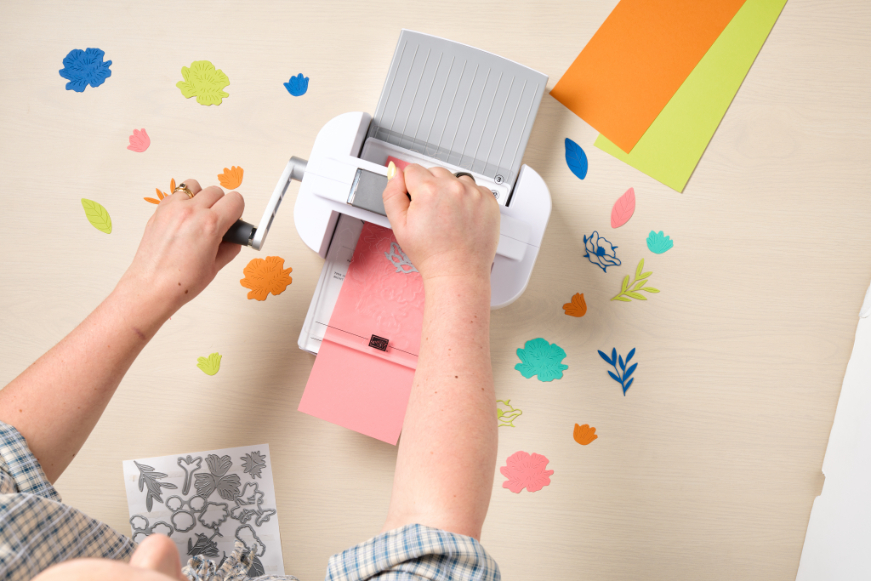
Make sure your plates are slightly staggered—this makes it easier to feed them into the machine. Never force a sandwich through the machine. If it feels stuck, double-check your plate order. Forcing something through could cause damage.
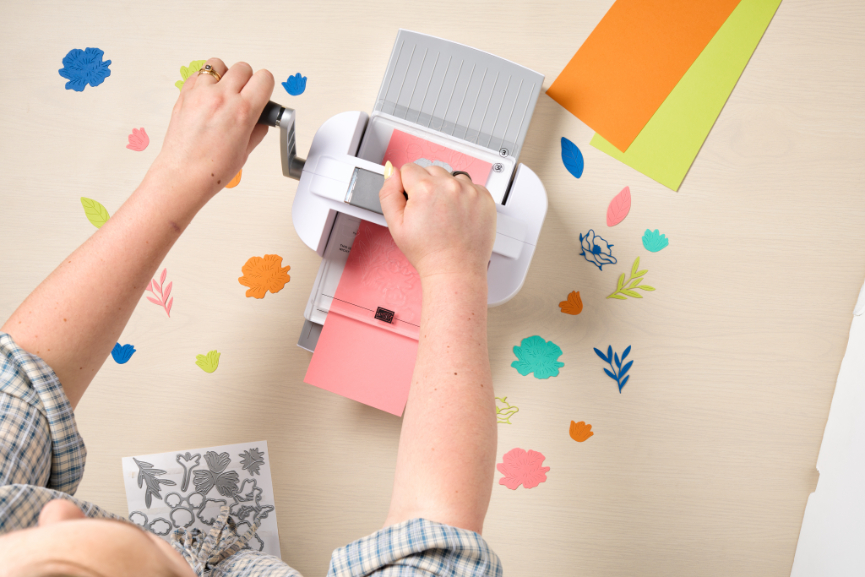
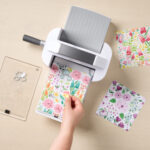
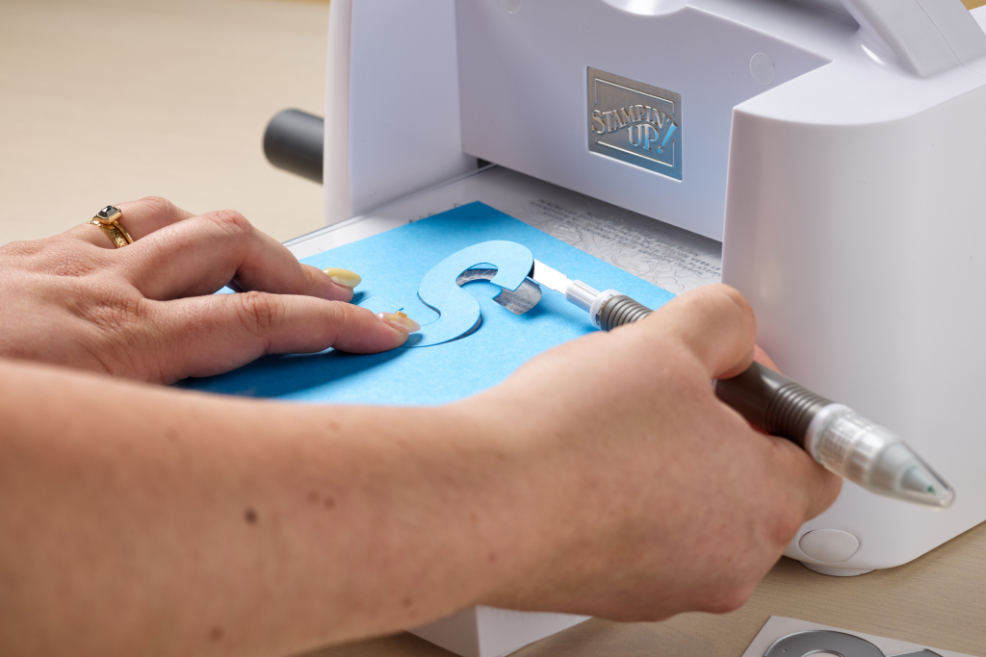
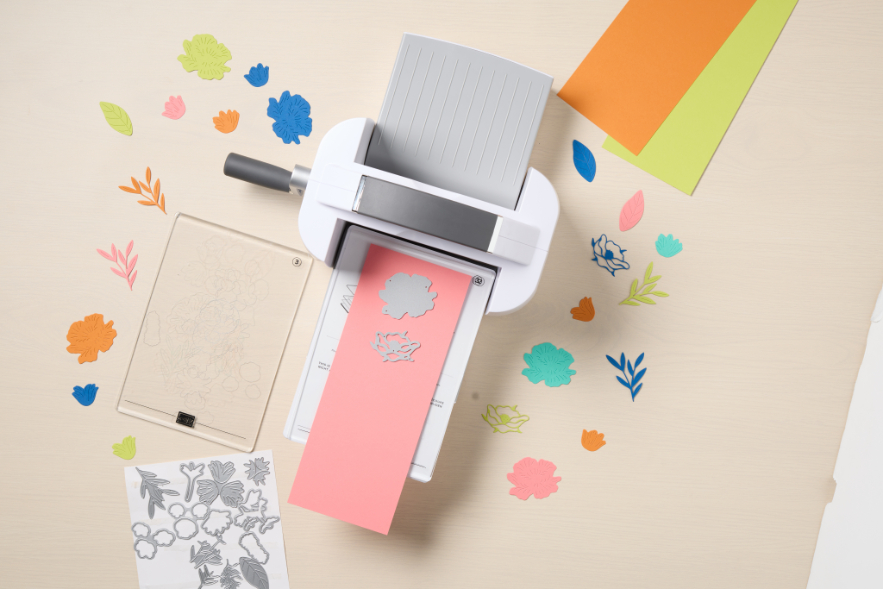
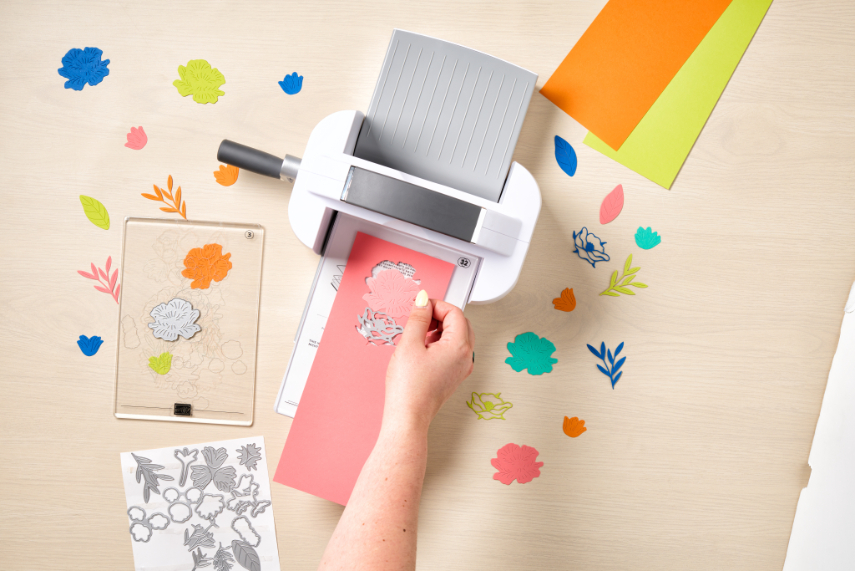
When you’re done, you’ll have precisely cut shapes for crafting!
Step 4: Cleaning up
When you’re done, simply fold the platforms back up and store your machine.
Tips and tricks for best results:
- Place the die blade side down for clean cuts.
- Run dies through the machine lengthwise whenever possible.
- Don’t overcrowd your cutting plate — leave some space for the best results.
- To extend the life of your cutting plates, flip them regularly so both sides wear evenly.
FAQs About How to Use A Die Cutting Machine
Below are answers to some of the most common questions about die cutting machines.
What is a die cutting machine used for in paper crafting?
A die cutting machine is used to cut or dry emboss shapes, letters, and intricate designs from paper, cardstock, and other materials. It saves time and creates consistent, professional-looking results.
You can also use your dies in unexpected ways, like stenciling! Check out our tutorial on how to use a die as a stencil here.
What is a die cutting “sandwich,” and how do I make one?
A sandwich is the stack of plates, dies, and paper that you feed through the machine. The order depends on whether you’re cutting or embossing, and diagrams are printed directly on your machine plates to guide you.
What’s the difference between a standard embossing folder and a 3D embossing folder?
A standard embossing folder creates a raised texture, while a 3D embossing folder produces deeper, more dimensional designs. You’ll use different plates for each type, so always follow the instructions on your machine.
Can I use any dies or embossing folders with my Mini Stampin’ Cut & Emboss Machine?
Not all dies and folders fit the mini machine. Be sure to check the size—dies and folders must be 3” wide or less to be compatible.
Elevate Your Crafts with the Stampin’ Cut & Emboss Machine
The Stampin’ Cut & Emboss Machine takes your paper crafts to the next level with clean cuts and gorgeous embossed textures. It’s designed for ease of use, durability, and endless creativity.
Want more inspiration? Check out the Stampin’ Up! YouTube channel for more tutorials, kits, and guides.
Explore more Stampin’ Up! Products to make crafting easy, fun, and beautiful. With the right tools, your creative possibilities are limitless!