Scrapbooking for Beginners


If you’ve ever even taken a picture, you know what it feels like to want to preserve a memory forever. And what better way to capture the magic than in a personalized scrapbook? Beyond just the photo, you have the chance to embellish your layouts with your own unique style, stories, and stamp of approval—one that can help connect friends and family for years to come!
And what about those who have never scrapbooked before or don’t fancy themselves the creative type, you ask? Well, what better place to learn how to scrapbook for beginners than right here? We’re here to break down all the memory-keeping basics from beginner scrapbook supplies to easy scrapbook page ideas and the best tools to get the job done right!
Essential Scrapbooking Supplies to Get Started
Papercrafting and memory keeping can be much simpler hobbies than most people think, and the essential supply list for a new scrapbooker is actually pretty short. Don’t get us wrong, there are millions of ways to embellish your scrapbook layouts and plenty of incredibly fun tools you’ll likely be tempted by (no judgment here!), but to begin with, here are some necessities that will help you create a quality scrapbook you’ll love and want to share.
Basic Scrapbooking Tools
Basic scrapbooking tools and supplies include the kinds of things that allow you to create with ease. That list includes:
- Paper Trimmer or Scissors—Both are great for cutting foundational paper elements, photo mats, and the pictures themselves, but the convenience and precision of a quality paper trimmer can’t be beat!
- Adhesives—Whether you choose to use glue or a tape runner, you want a good adhesive, specifically made for memory keeping. This often means it’s acid-free, which helps with longevity and durability.
- Writing Utensil—We love a good journaling pen and pretty colored markers, so we’re happy to call both essential tools for scrapbooking. You need something to help tell the full story on the page.
Must-Have Scrapbook Materials
Memory keeping basics also include all the “stuff” that will actually show in the final product. We’re talking:
- Patterned Paper & Cardstock—These will serve as the background and trim elements on your scrapbook page, bringing some energy and style to even the most basic scrapbooking layout ideas.
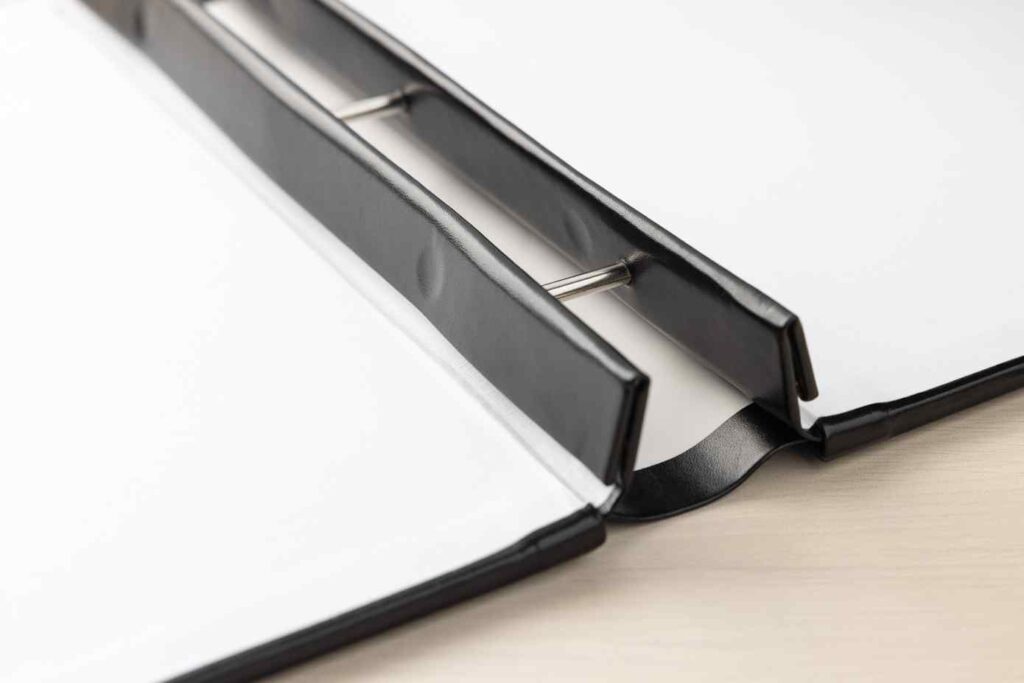
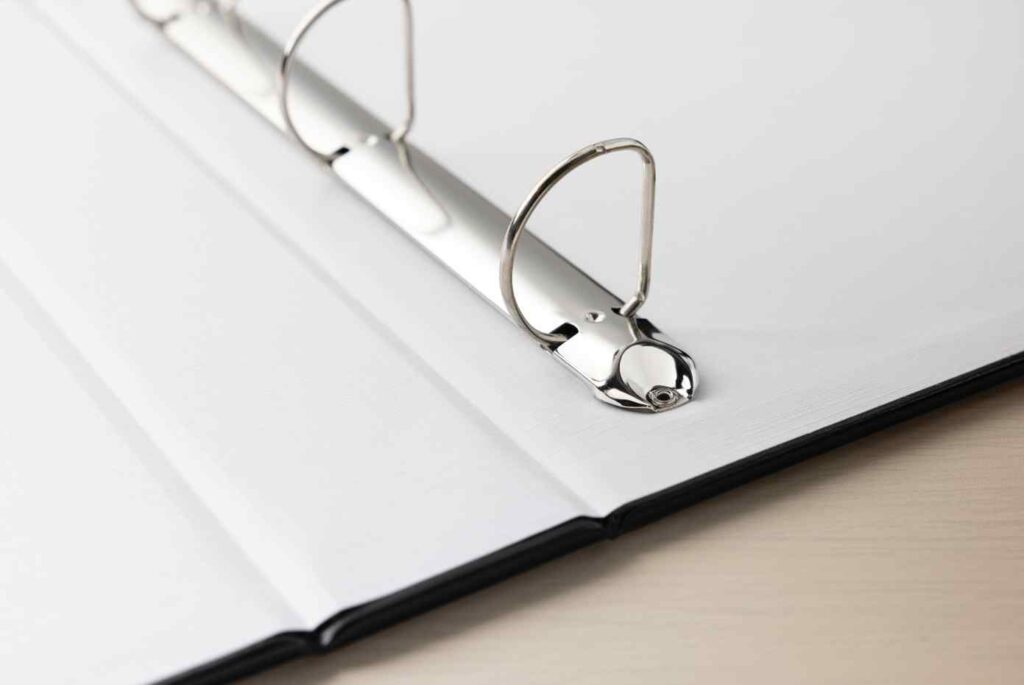
- Scrapbook Album or Binder—Keeping your scrapbook pages in an album serves multiple purposes. First, it’s a great way to stay organized and easily reflect on and share memories. But it also provides a level of protection and ease of storage due to their often rigid covers.
Keep in mind that each scrapbooker has their own opinion on which works best for them! Some love a post album for its durability and ‘final product’ feel, while others prefer the ease of use a D-ring binder brings, which makes adding, removing, and reorganizing pages a breeze.
- Page Protectors—Page protectors are a perfect way to keep everything tucked exactly where it belongs, preventing lost bits if a photo or embellishment were to fall off, and also to protect from fingerprints as loved ones examine your scrapbook pages.
Extra Embellishments
We wouldn’t actually call these “extra” because they bring so much to the table in terms of the style and personality in your scrapbook. So feel free to gather some:
- Stamps & Ink—These can be the perfect way to add a professional level of design and detail to your scrapbooking layout ideas. Starting with a titles stamp set and your favorite color ink is a great way to bring cohesion to page titles and more!
- Die Cut Ephemera—Even the easiest scrapbook page ideas are going to be elevated by utilizing precut and designed imagery. From sweet sayings to illustrations for every occasion, you’ll never stop pulling these out to give your layout a little oomph.
- Stickers & Patterned Paper—Stickers and patterned paper are a great way to embrace the whimsical aspect of scrapbooking. Some of our favorites are ones designed to work in perfect harmony with beautiful papers for next-level layouts.
Simple Scrapbooking Techniques Every Beginner Should Know
There are a few techniques you’ll end up using in essentially every DIY scrapbook page you make so let’s walk through everything a beginner would need to know in order to confidently create!
First up, you’ll need to plan your layout. This can be done in various ways but we particularly love two simple strategies for beginners.
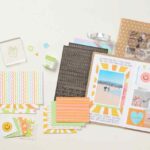
One is to focus on a photo you love. It can even be two or three placed together, maybe slightly overlapping, in the center of the page. This way, the eye is drawn exactly where you want the focus, and there is plenty of space to journal and embellish around it. Straightforward, clean, and beautiful!
Another strategy is to utilize others’ experience and work from an existing layout template (even clever card templates can be expanded to inspire scrapbook page designs!). Templates can also help you bring your story or theme to life on the page.
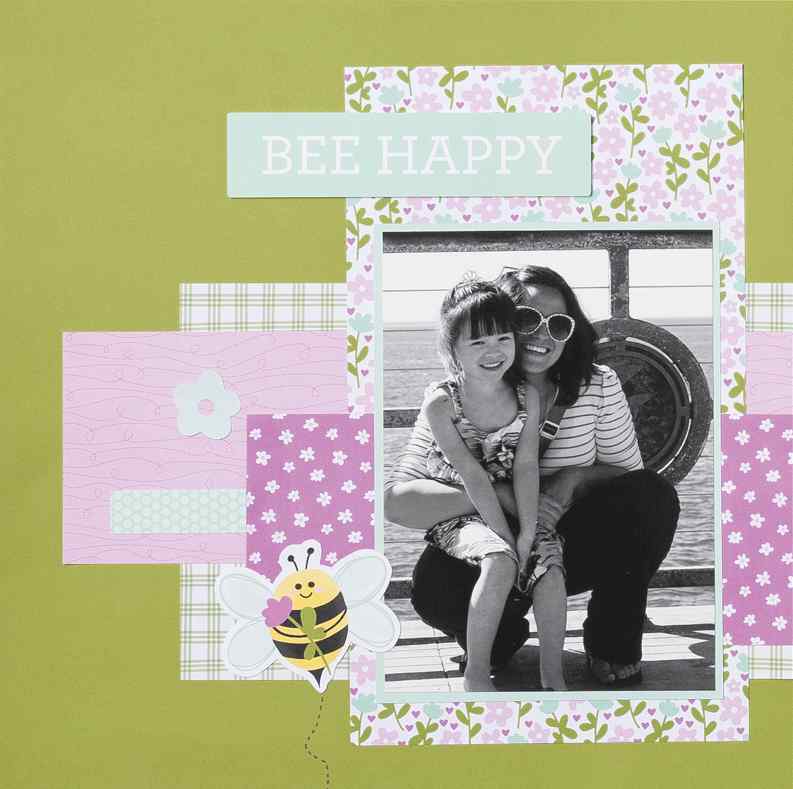
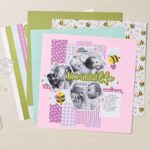
Layering is another great beginner scrapbook technique, and it can serve several purposes. One is to create unique texture and design when you have limited supplies or simply want to express your own style. Another is that it’s a great way to help pull focus to photos by matting them with a pop of color or pattern. You can also create depth and dimension with foam tape, layers of paper, and other dimensional embellishments on your page for a dynamic and professional look.
Stamping and other methods of embellishment are key to ensuring your DIY scrapbook ideas are executed with creativity and personal flair. We love using stamps to create unique background patterns, perpetuate a cute theme, and add crisp, clean titles and sentiments to your layouts. They also help bring color and energy to a design—which is likewise true of well-designed stickers, ribbons, and washi tape!
One of the most important techniques in scrapbooking is adding your heart to the memories. Journaling—either handwritten or typed, though we do have a soft spot for the former—is a great way to help you and others connect to what you’re really hoping to remember in these pages. So while you certainly want to get down names, dates, and locations, make sure you don’t skip the personal storytelling. Add in things like:
- Why did this day mean so much to you?
- What would you want your grandkids to know about this person?
- How did this vacation change you?
- What did this trial help your family learn?
- Why were you all laughing that hard?
- What are your favorite parts about…?
You get the idea—your story matters, so share it!
Looking for a few more bonus tips that can help take your scrapbooking layout ideas to the next level?
Album Sizing
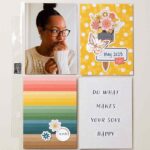
Full 12”x12” scrapbook pages might feel intimidating to some, so starting with a smaller album size can be a great introduction to scrapbooking for beginners. Trying a simple 6”x8” album with pocket pages requires less design experience, less time, and plenty of fun as you plug and play with photos and cards already cut to fit the slots!
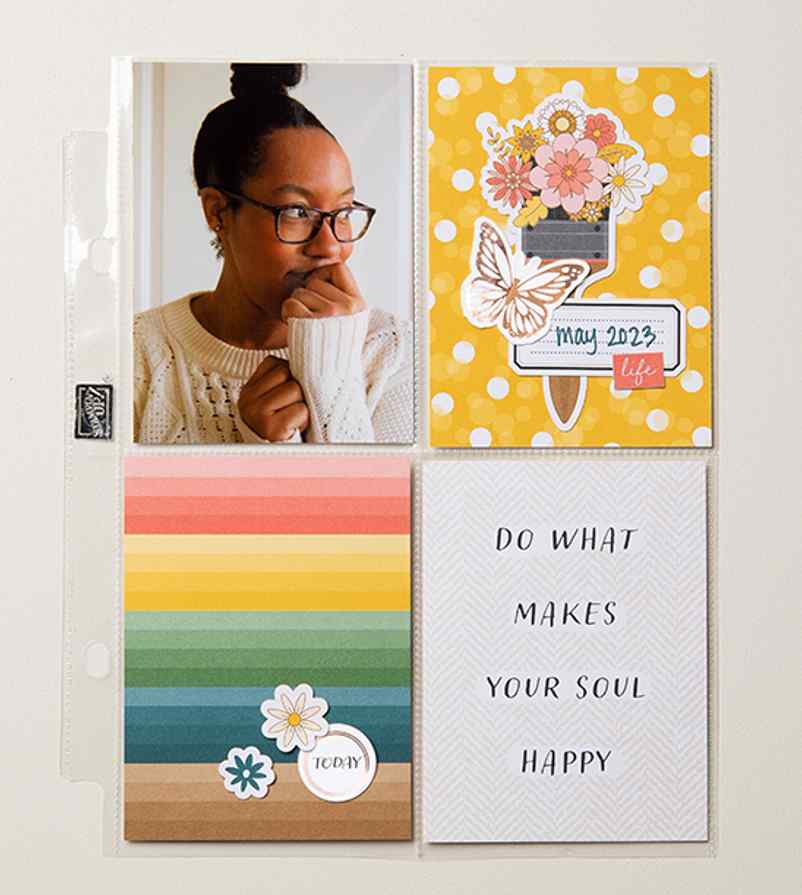
Photo Cropping
Here are a few good things to keep in mind before you start snipping into your freshly printed pictures. What’s the most important thing about that photograph? Do the details outside the focal point help tell the story? Is the overall layout enhanced by cropping the photo? One technique we love is to use Window Sheets and cut them into common photo sizes, like 3”x4”, 4”x4”, and 2”x2”, then place them over your photos to easily see what they would look like if cropped to that size. This way, you can play with the exact framing before ever making a real cut.
Color Coordinating
Understanding color and coordinating strategies will go a long way in helping you at the beginning of each scrapbook page design process. There are three simple ways to hack your way to great color in every layout:
- Pull colors from your photos—this could be inspired by outfits, scenery, or any beautiful detail (think seashells, flowers, etc.).
- Use a color wheel to find monochromatic, analogous, and complementary color combinations.
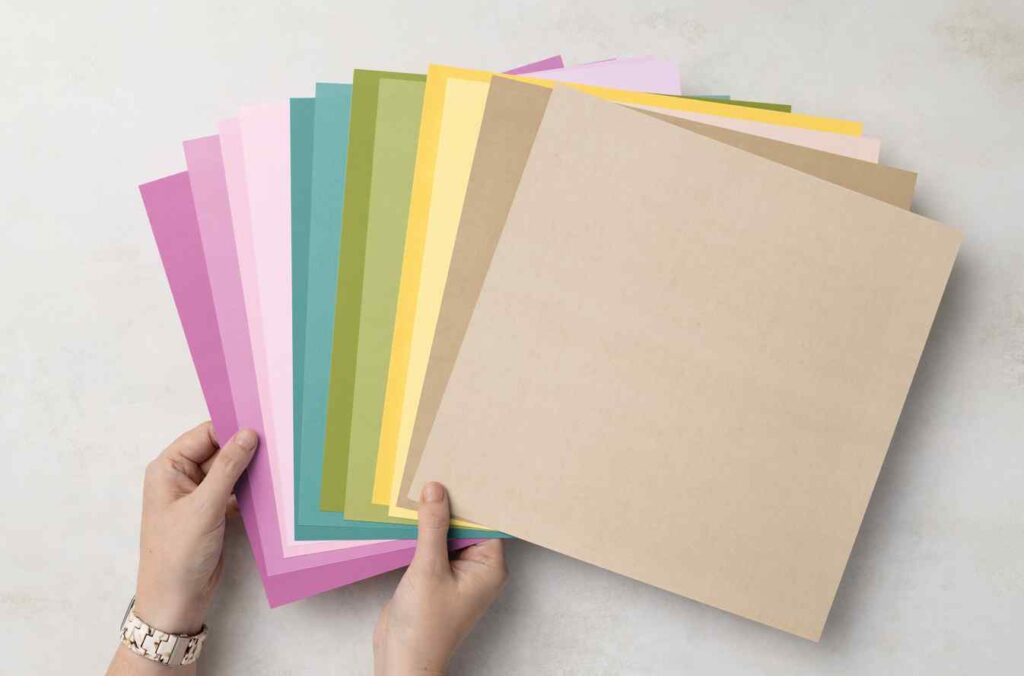
- Purchase paper in packs of pre-coordinated colors to make matching a breeze.
Making Space
Sometimes, even if you’re working in a 12”x12” space, there’s just more you want to show or say! One mistake beginners may make is to try and cram it all in, thinking there’s no other way to solve the problem. Start by using the rule of thirds and allowing for some white space so the eye has somewhere to rest. Then if you still find there’s more you want to add, try using Flip Flaps to add an interactive element to the page, which, when flipped up, reveals an extra photo or bit of journaling!
Using A Scrapbook Kit to Make Your First Layout
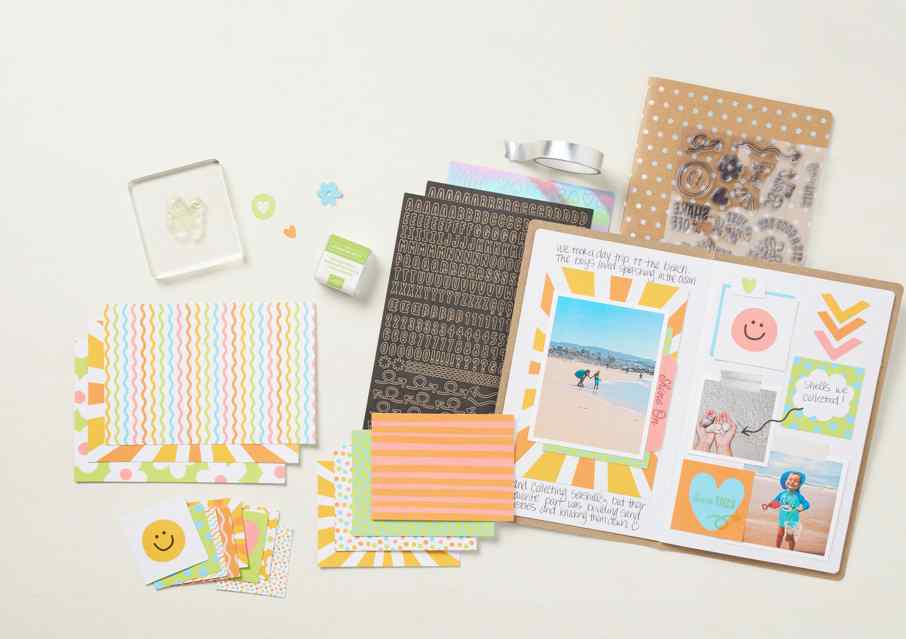
One of the most simple (and fun!) ways to get started with scrapbooking for beginners is to utilize a ready-made kit full of many of the materials you’ll need or want for darling scrapbook pages. It helps take the guesswork out of supply selection and coordination, eases the nerves when you just don’t know where to start, and still allows for plenty of personalization and creativity where desired. And, as a bonus, the best scrapbooking kits make it so all you really need to keep on hand is a paper trimmer or scissors, adhesive, and a pen, helping keep costs and storage necessities at a minimum.
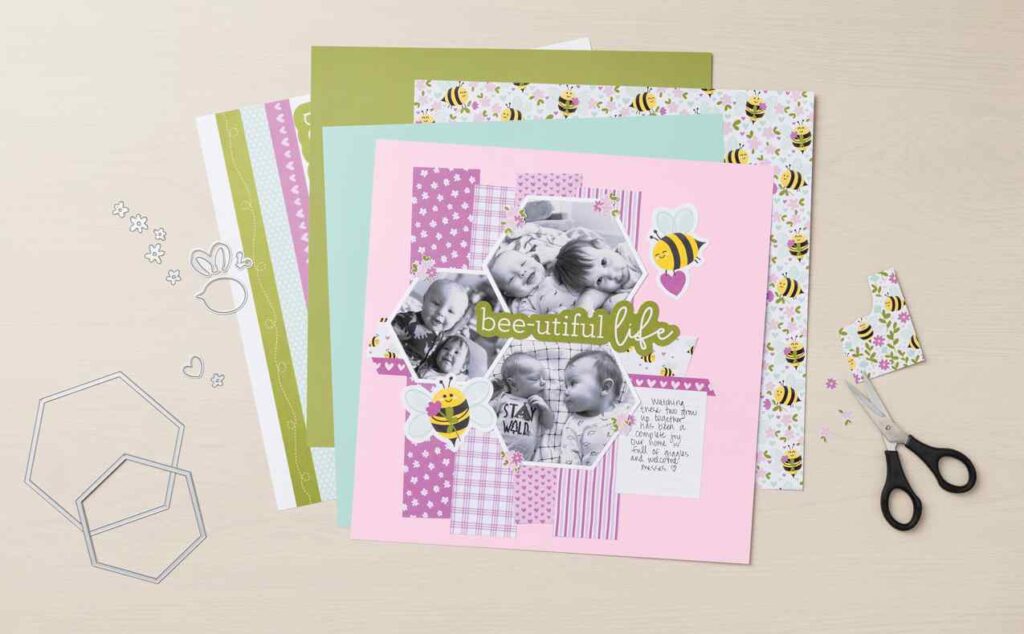
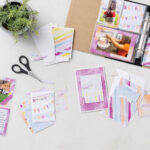
Let’s take a closer look at one such memory-keeping set—the Lovely Florals Scrapbooking Workshop Kit by Stampin’ Up! Perfect for papercrafting newbies, this kit comes with all the beginner scrapbook supplies necessary to create three gorgeous 2-page 12”x12” spreads: easy-to-follow step-by-step instructions, 10 sheets of Designer Series Paper, 7 sheets of Two-Tone Cardstock, 3 sheets of White Willow Cardstock, 3 sheets of printed stickers and precut images, and photo placeholders in case you haven’t printed your own yet.
Every part of this kit has been seamlessly designed to work in harmony with the next, ensuring a cohesive look and feel throughout your pages. The Meant to Bee kit is perfect for baby albums, a celebration of spring, or any other layout you want to bring its playful vibes to!
Scrapbooking for Beginners with Stampin’ Up!
Stampin’ Up! provides high-quality, beautifully designed, and perfectly coordinated products that make scrapbooking for beginners not only easy but incredibly fun! Stock up on the essentials like a paper trimmer, some adhesive, and your favorite color marker, and then try a Scrapbooking Workshop Kit to get started on beautiful scrapbook layouts you and your family will love!
Have any more questions or need a little inspiration before you get started? Contact a Stampin’ Up! demonstrator or check out our Instagram today!