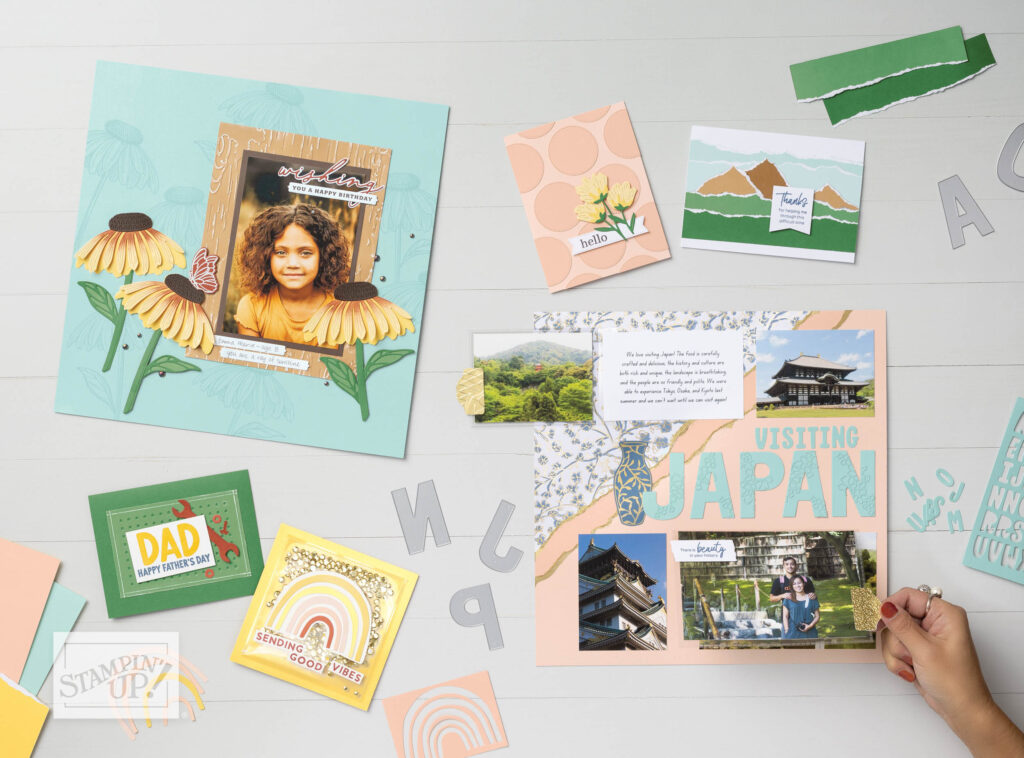
How to Organize Scrapbook Supplies


There’s something about a well-organized space that just makes things feel…possible. Right? Knowing everything is exactly where it should be, where you can reach to get any given supply, fully confident that it’s all being taken care of even when you’re not there to care for it all—it’s that sense of peace that brings confidence and the potential for creation!
Organizing your scrapbook materials can do wonders for any crafter looking to keep their tools in good working order, their beautiful papers wrinkle-free, and their ink pads, well…inked! But it’s also a great way to prevent waste and stop overwhelm and frustration in their tracks because you can easily see everything you already have in stock.
Need some ideas for how to store your scrapbooking tools and materials with or without a craft room at home? Check out these brilliant scrapbook supply storage solutions from Stampin’ Up!
Getting Started: Building A Scrapbook Organization System That Works
If our purposes for organizing our scrapbook materials are to minimize frustration and overspending, keep things tidy, and increase our ability to have fun creating, we need a system of organization that reflects those very purposes. And because every crafter’s space, supplies, and methods for order are different, we need to rely on a few basic principles.
Keep your supplies together.
The most important principle—no matter how big or small your crafting space may be—is that your scrapbook materials and tools should stay together. Maybe this means you have one decorative tote to keep your minimal stash in, and it comes with you to the dining room table to create, and then goes back in the closet when you’re done.
Or it could mean that one wall of your dedicated craft room is reserved for nothing but scrapbook supplies, all in their respective cubbies or shelves. Either way, the idea remains the same: your albums, papers, stamps, ink, adhesives, and scissors should all be easily found in one spot.
Maximize visibility.
No matter how much or how little space you have for scrapbook supply storage, making sure you can easily see what you have to work with can make all the difference. This doesn’t mean you have to keep everything out on the table; it simply means it’s a good idea to look for storage tools and systems that make it easy to access all your supplies.
Prevent clutter creep.
Whether you start something and don’t quite finish, or things start to overflow over time, set limits on your stash and clean up your supplies regularly.
For example, if you have so many papers that have outgrown their designated bin, it might be time to sort and purge. Or, you could have regular reset sessions—say, once a month or once a quarter—when you have a time set aside to reorganize and tidy your space to keep things under control.
Using these three basic principles, you should be able to come up with a strategic organization system that works for you, your space, and your supplies!
Smart Storage Ideas for All Your Scrapbook Supplies
After decades dedicated to crafts of all kinds, we’ve learned a thing or two about clever storage solutions for so many of those scrapbook supplies that just don’t seem to have a place. Digging through larger bins or deep shelves can be frustrating and impair our crafting experience, so having smaller containers for all the bits and bobbles is a great way to streamline the look and feel of your craft space.
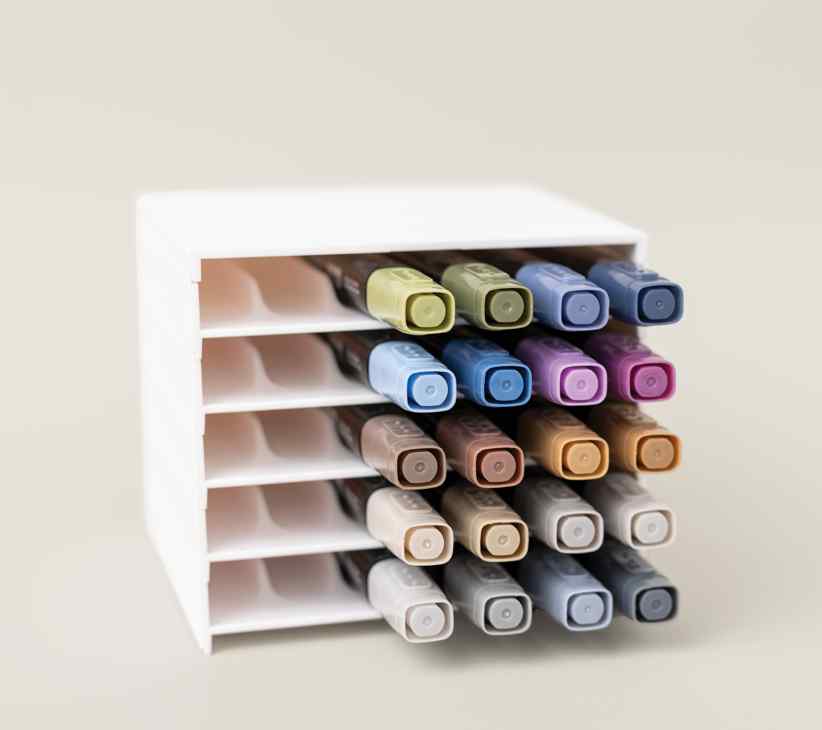
Ink Pads & Markers
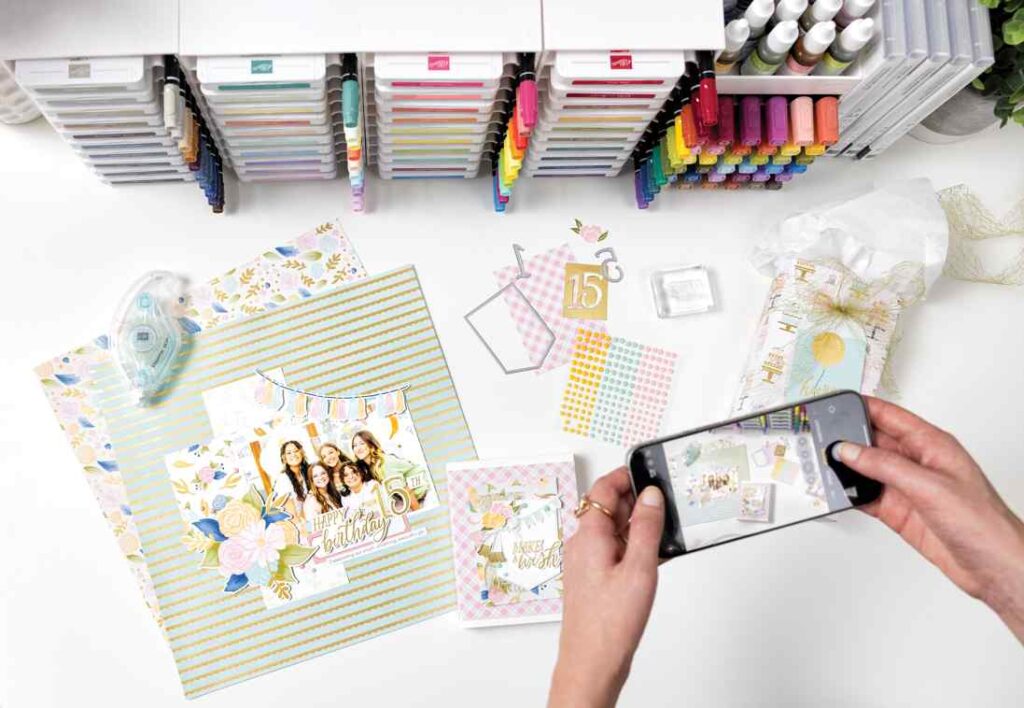
Storing your ink pads properly is key to extending their life and having a better stamping experience overall. Keeping them on their sides or upside down can make the ink pool or dry out, causing uneven or ghosted images! Stampin’ Up! ink pads are specifically designed to be stored flat (label up) for great results every time. Our Ink Pad & Marker Storage allows you to stack, see, and use your ink pads (and favorite markers) easily, without risking an avalanche of supplies! This is also the best way to store markers and pens, which prevents their drying out, and can help you coordinate colors for easy crafting.
Stamps
While Stampin’ Up! stamps are easily kept in their cases or envelopes, other miscellaneous stamps can be less than ideal to store. We’ve found that keeping a small plastic drawer stacker on the shelf near your other stamp sets is a good way to keep things organized. Try having one drawer or bin labeled for sentiments and letters, one for imagery, and one for border patterns and other basic designs.
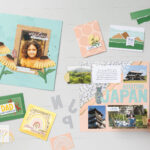
Photos
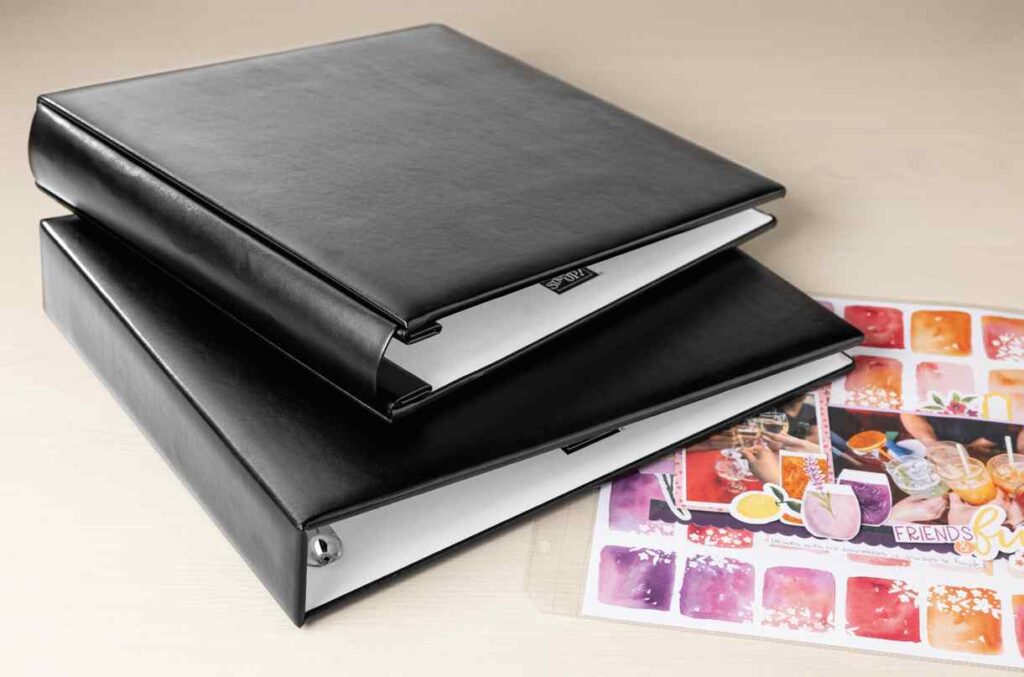
Photos are an important part of your scrapbooking supplies and need a bit of special consideration. You want to make sure they’re kept flat and, maybe most importantly, away from any sun or heat exposure. A shoe box can work in a pinch, but we love the idea of keeping them in an album using memory protectors so your printed pictures are easy to sort and find when it comes time to place them in your scrapbook layouts.
Adhesive, Scissors, & Stamp Blocks
Adhesives and scissors particularly need a space that remains constant. Topping your other stackers with a little open storage container is a great way to corral all the everyday scrapbooking necessities into one easily accessible spot.
All The Little Extras
We’ve found that having a few empty stamp cases or an extra 6×8 Basic Black Album full of pocket pages on hand can be a brilliant solution for organizing scrapbook materials! We know many people who use them for a variety of supplies, including:
- Ephemera & Die Cuts—Sometimes ephemera and die cuts can be tricky to keep track of, but stashing them all together in a clear stamp case or separating them into the clear pocket pages makes it easier to see and organize them into recognizable themes or categories.
- Scrapbook Titles & Lettering—Again, you can keep all your pre-cut lettering and scrapbook page titles together and free from potential crumpling or tearing inside a clear stamp case or protected inside your mini album.
- Paper Bits—If you love to fussy cut (freehand cutting with scissors) or hate to waste all those extra little strips you trim off because you just know they would make a great card design someday, slip them into your case or album. Feel free to organize by color, pattern, or even size of scrap.
- Markers & Pens—Stampin’ Up! markers and pens fit perfectly inside a standard stamp case, making it easy to keep your most used writing utensils right at your fingertips.
- Mobile Scrapbooking Stash—Looking to scrapbook on the go? We adore a crafting get-together, but we also know it can be tough to lug all your supplies to another location. Stashing your precut title, some photos, adhesive, and a journaling pen in a stamp case makes it simple to keep all your necessary supplies in one safe place!
Storage Ideas for Compact Craft Areas
If you’re low on space when it comes to organizing scrapbook materials, we’ve got a few tips and tricks to make the most of the area you do have available. Check out these craft room storage ideas to find a little inspiration for your own scrapbook supply storage.
Label everything.
This first tip goes for any amount of storage space, but small areas benefit greatly from a clear labeling system, especially if you’ve got boxes stored under a table or up on shelves. Clear labels will help you and others identify exactly what you can find in a given area and make cleanup a breeze. Even giving short-term labels to the albums you’re working on can help streamline and guide your crafting process, making it easier to focus on the story you’re preserving and the fun you’re having!
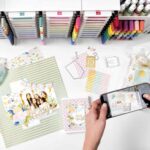
Utilize vertical space.
Even if all you’ve got is a small desk in the corner of the home office, you can still store your scrapbook supplies in easy-to-use and visually appealing ways! First off, think vertical! If you’ve got wall space, use it. Think floating shelves or a small pegboard with hooks and buckets for things like scissors (which should ALWAYS have a dedicated space, by the way!). Another way to utilize vertical space is to make the most of your tabletop. We love clever stacking systems for ink pads, markers, and embellishments, helping ensure that your papercrafting and scrapbooking is as painless and full of joy as it should be!
Keep it in your desk.
Even if all you’ve got is a few drawers in a desk, slip all your papers, in progress pages, pictures, and ephemera into albums that can be stored flat. That way, they’ll stack nicely and can be put away without having to puzzle everything together just right. This is another time when pocket pages and clear stamp cases will be your best friend so that no little bits of paper or adhesive are floating around, getting lost, or cluttering up your space.
Treat progress like the final product.Whether you’re prepping for a few scrapbook layouts or you find yourself having to put things away in the middle of a page’s progress, we love the idea of keeping everything tucked away in its album. You can use D-ring (these make it especially easy to remove and reorganize pages!) or post albums to store loose photos and other design elements right inside the page protectors to keep it all organized and safely within the rigid confines of the album covers. That way, when you’re ready to scrapbook again, you can simply pull out the album, slip your materials out of their protector, and get to work without searching for every piece you intended to use on the page.
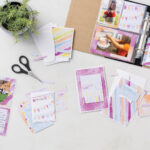
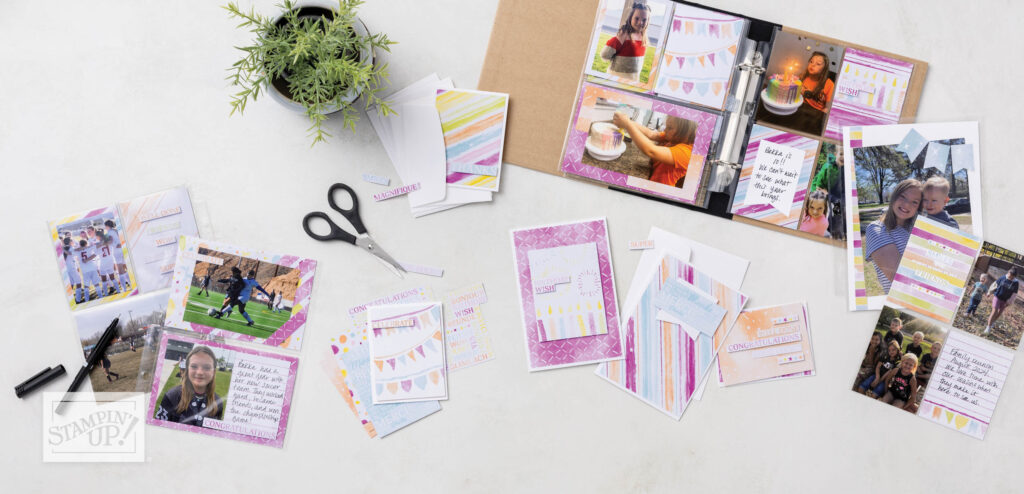
Simplify with Workshop Kits & Pocket Pages.
Organizing scrapbook materials becomes a lot easier when you take advantage of ready-made and coordinated supply sets. Often, they come with just enough paper and ephemera to complete the pages you’re working on, leaving you with minimal leftover scraps to worry about storing. Try pocket scrapbooking to keep things incredibly simple, or venture into Scrapbooking Workshop Kits for beautifully-designed ways to preserve your favorite moments and memories with minimal mess and essentially no storage required. Just make sure you’ve got a good paper trimmer, some adhesive, and a pen for journaling on hand!
Learn from the pros.
Take it from those who’ve got the process on point; these papercraft design professionals know how to make storage work for them. Every month on Instagram, we highlight another team member and their craft room storage ideas so we can all learn from the best!
Stay Organized with Stampin’ Up!
No matter what you choose to scrapbook about, staying organized and clutter-free is the best foundation for fun and successful papercrafting. It doesn’t take any fancy systems, but it can certainly be made easier with the tips and tricks we’ve shared here!
And don’t miss out on more inspiration for how to organize your craft supplies with us over on Instagram, or reach out to a Stampin’ Up! demonstrator in your area today!