Sticking to Creativity: The Foundational Guide to Crafting Glues
Sometimes, the wrong type of crafting glue is the thing standing between you and your vision for your project. Whether the glue is too thick, doesn’t dry fast enough, or dries out too fast, these sticky situations can add frustration to the crafting process.
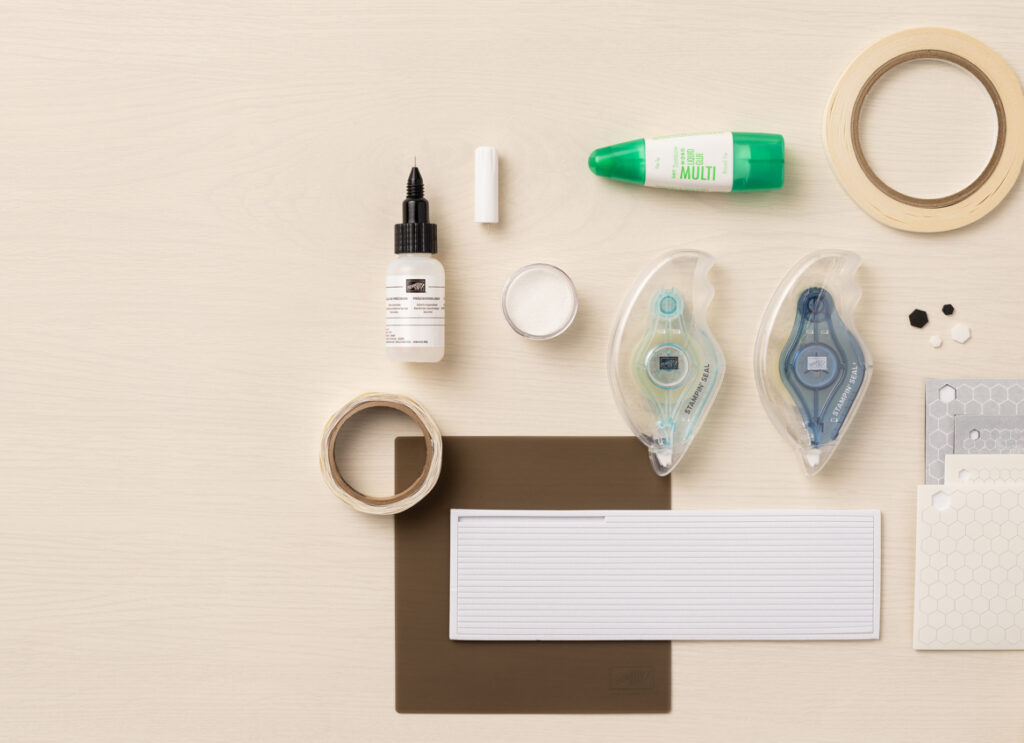
Let’s walk through the different types of crafting glues and how to use them effectively.
What are Crafting Glues and Why Are They So Important?
Crafting glues hold creative projects together. However, pairing the wrong type of glue with the wrong paper could change the paper’s texture or fail to hold things together. There are six types of crafting glues that are important to know as you create a variety of paper crafts.
Multipurpose Liquid Glue
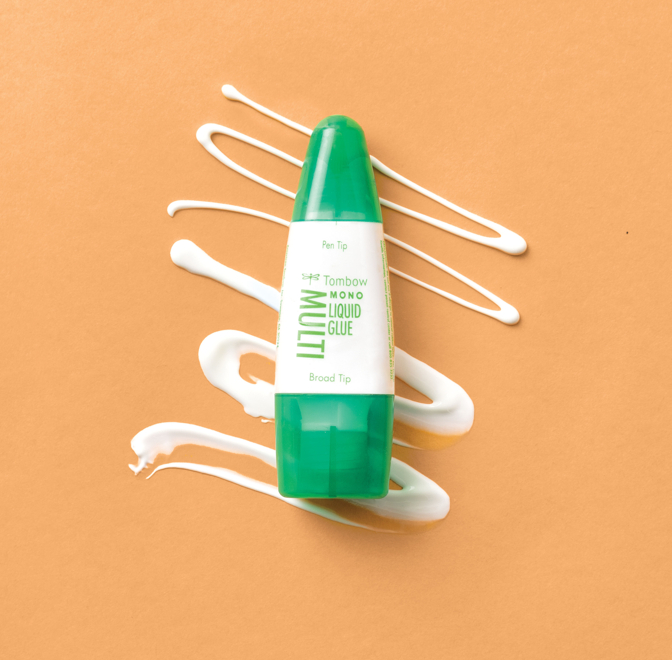
Multipurpose liquid glue is a versatile and reliable crafting glue. It’s a staple in your toolkit and great for use on cardstock, patterned paper, detailed die cuts, glitter, 3D accents, and embellishments. This type of glue gives you the flexibility to reposition elements on your paper and keeps things firmly in place once dried. Just remember, a little goes a long way.
Fine-Tip Glue Pen
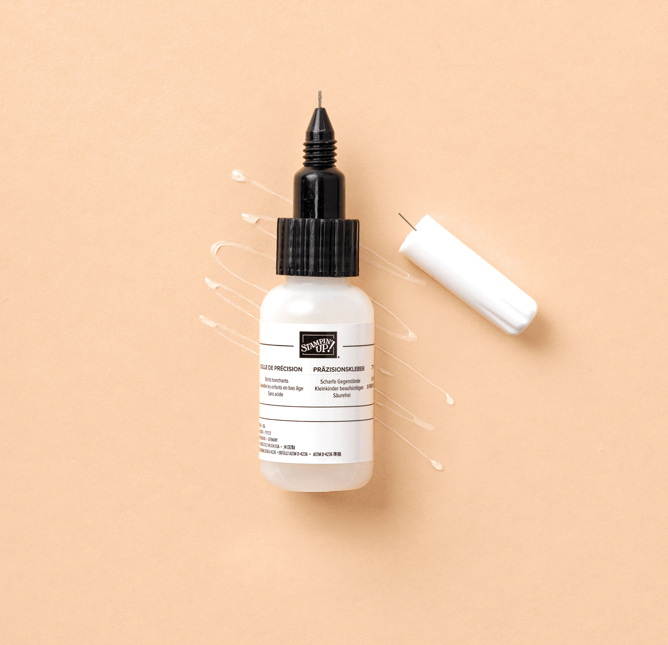
Fine-tip glue pens are fantastic for easily attaching small details, delicate die cuts, and intricate embellishments. The precise, thin tip gives you more control as you apply the crafting glue, which helps prevent excess glue from forming around small details.
Mini Glue Dots®
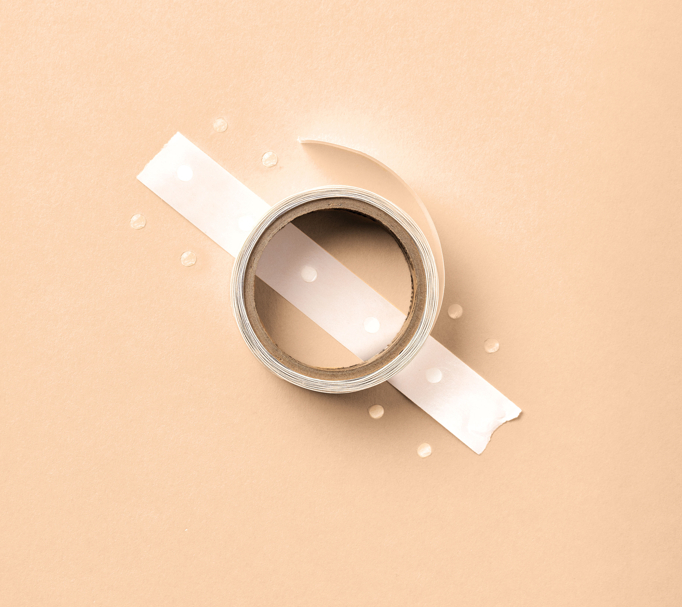
Mini Glue Dots® are a foolproof way of adding heavier die cuts, embellishments, and ribbons to cardstock and paper. This instant crafting glue has no fumes and no drying time, so it’s great for quickly assembling a unique card with a variety of elements.
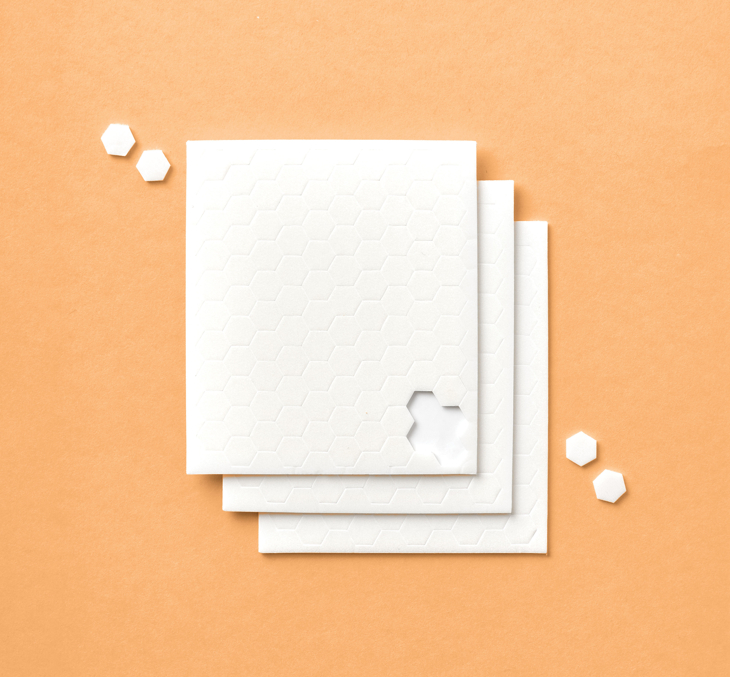
Adhesive Dimensionals
Adhesive dimensionals are small, foam hexagons with sticky adhesive on both sides. These are also great for adding heavier embellishments to your paper crafts, but the key difference compared to glue dots is the extra lift. The unique thickness of adhesive dimensionals creates a fun emphasis on certain aspects of your papercraft by making them seem as if they’re jumping out of the page.

Crafting Glues in Action
Now that we’ve covered the key differences between each crafting glue, let’s see some practical examples and tips for getting the best results in your papercrafts.
Multipurpose Liquid Glue
Multipurpose liquid glue is one of the most commonly used crafting glues. It’s great for securing paper embellishments and accents to your crafts.
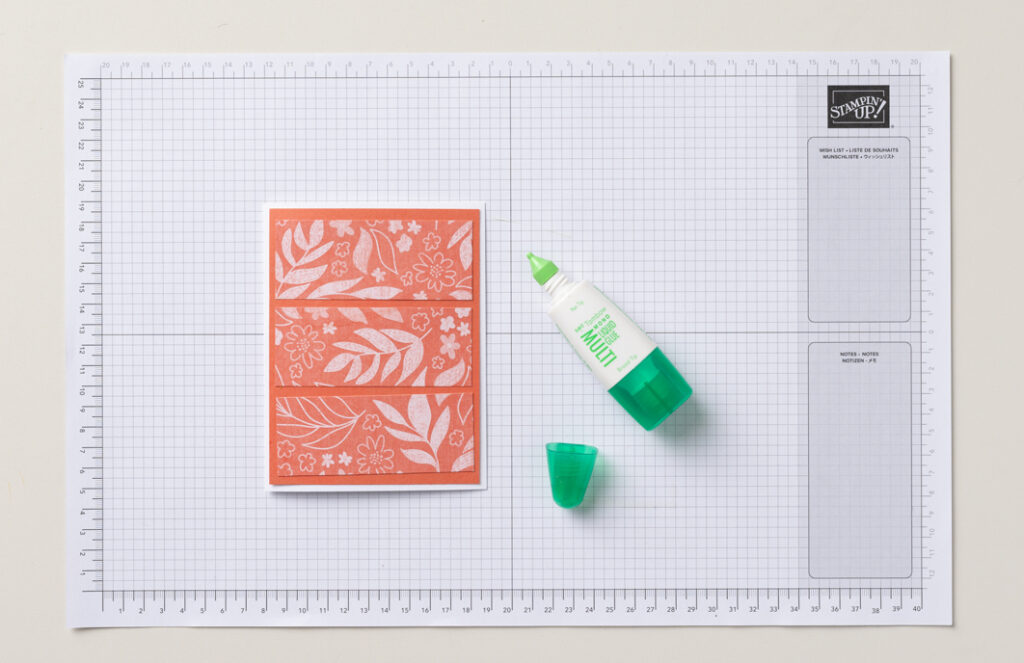
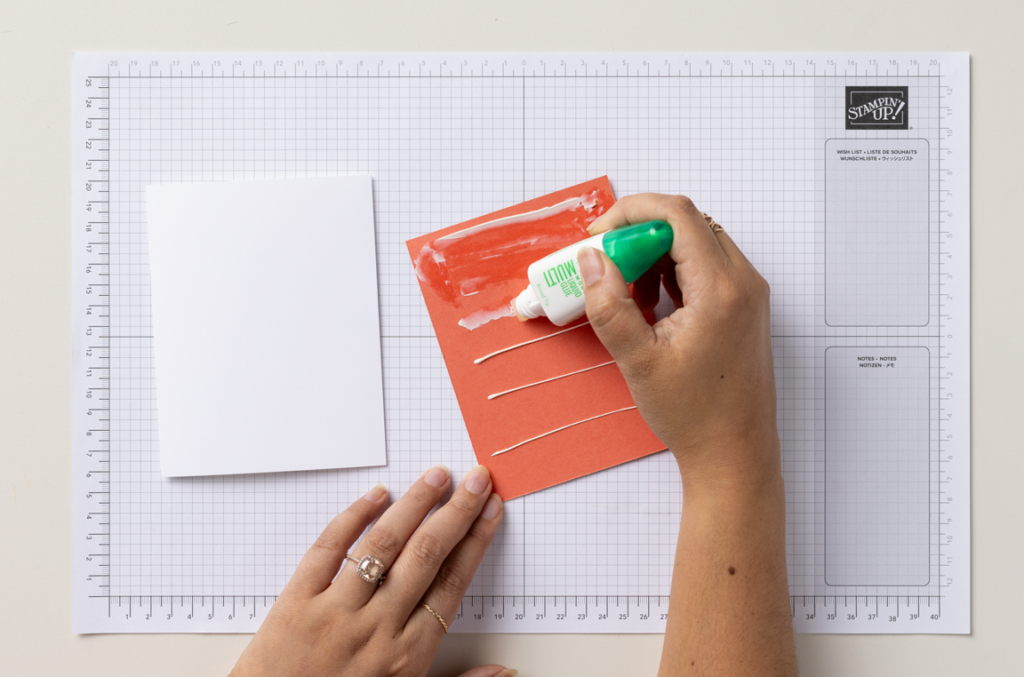
As you’re applying the multipurpose glue to your paper or embellishments, it’s important to keep in mind that a little goes a long way. There are a couple of simple techniques you can use. One option is to squeeze a thin line of glue along the shape of your paper, making sure to leave some space from the edge to prevent glue from seeping out.

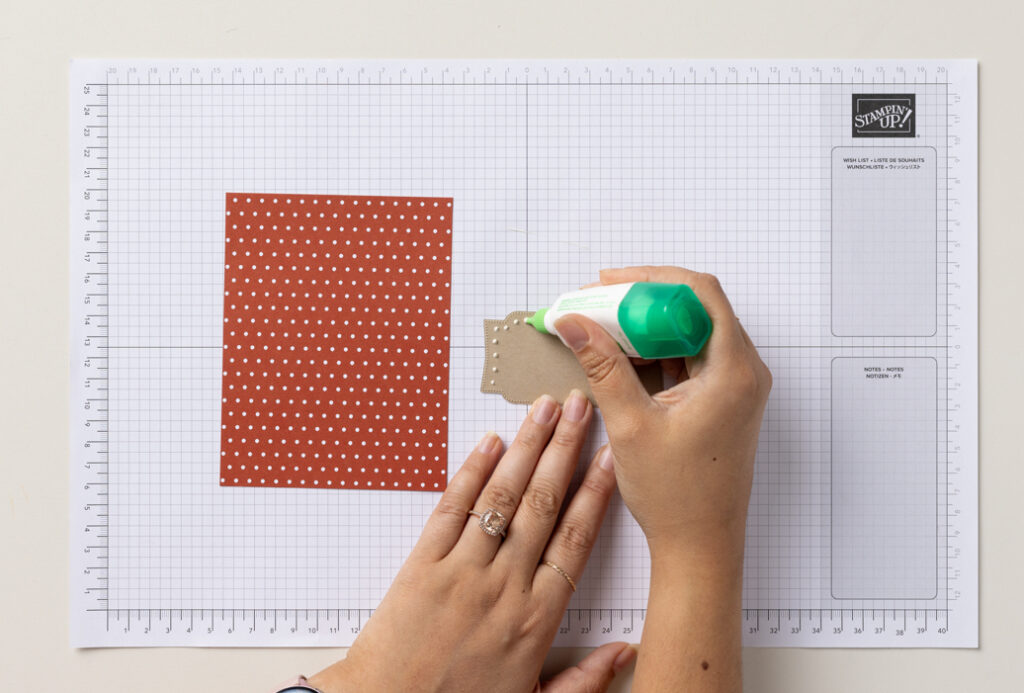
Another technique is to dot the glue along the edge of the paper. This dotting method helps control the amount of glue while still being effective in attaching pieces together.
You can use the broad tip to cover paper or elements with more surface area. Start by gently squeezing out a small amount of glue. Then, without squeezing the bottle, use the broad tip to spread the glue evenly across a large area.
Fine-Tip Glue Pen
The fine-tip glue pen is great for use on small, detailed embellishments like jewels, thin die cuts, sequins, small spots of glitter, or the butterflies in the photo below. The fine-tip glue pen is not intended for use on heavier embellishments, such as buttons.
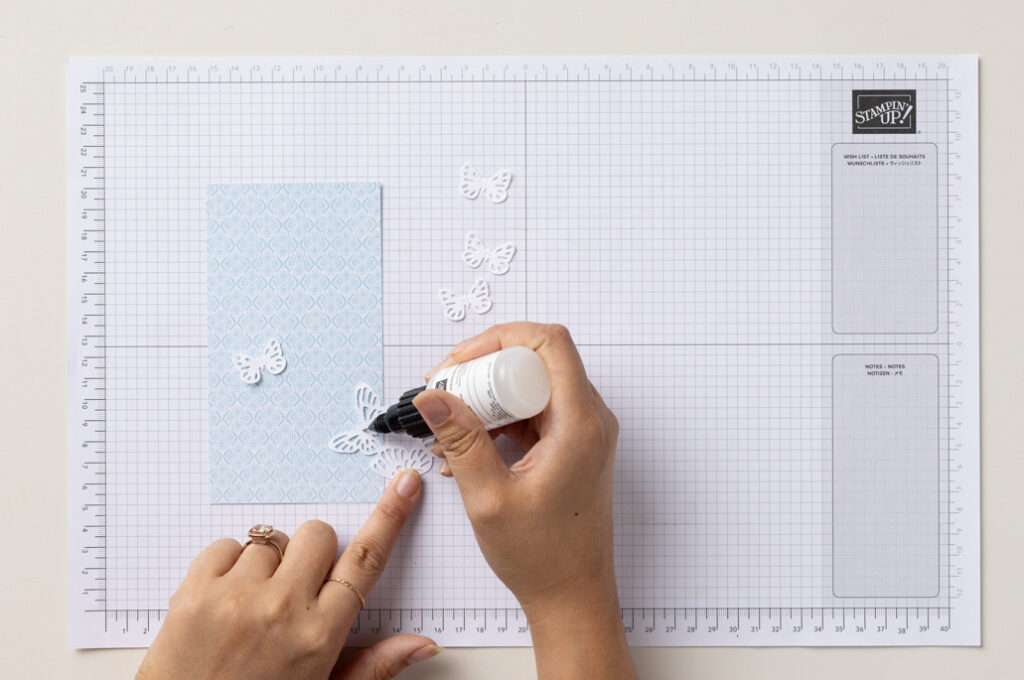
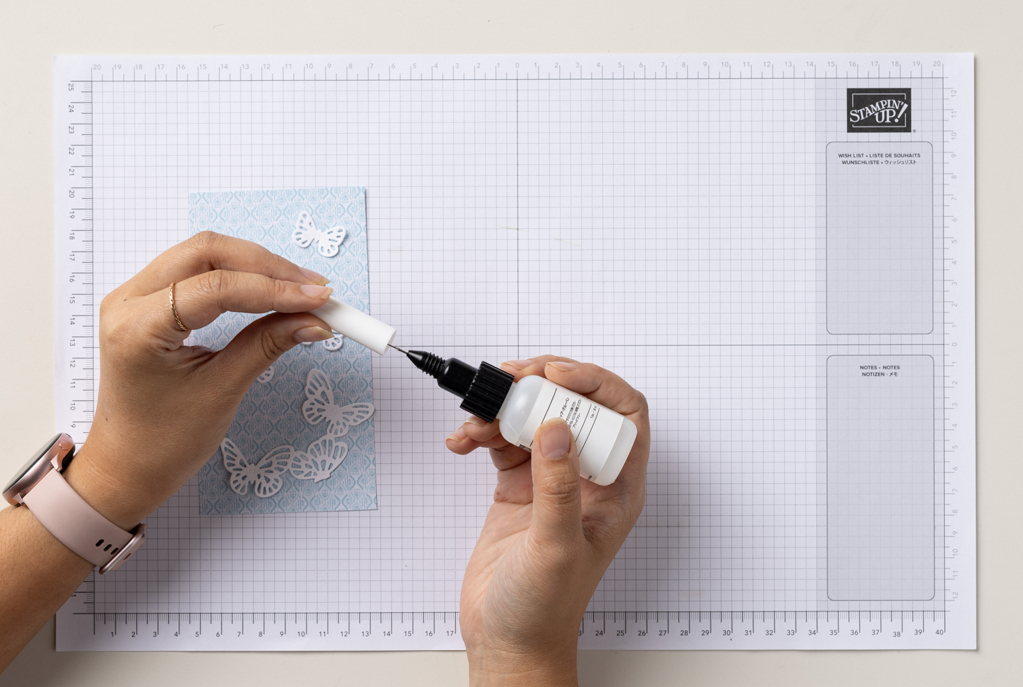
Our Stampin’ Up! Fine-Tip Glue Pen includes a pin in the cap to prevent the glue from drying out and getting clogged, so there are a few things to note as you open and close the bottle. To open, hold the black portion of the top firmly with one hand while gently twisting off the white cap with the other. You’ll see that there is a pin in both the bottle and the cap. These two pieces are designed to fit together when closing the bottle.
LEARN MORE: Reasons To Craft: Celebrate The Year
Remember to close the bottle after use so it doesn’t dry out. To close the bottle, carefully line up the tip with the pin in the cap before screwing the cap shut. It’s helpful to gently rest the tip of the glue pen on your finger to keep it steady as you line it up with the pin in the cap.
When using the fine-tip glue pen, it’s best to apply a small amount of glue to the paper first and then place your embellishment on top. This simple technique offers better control and less hassle. Here’s a quick video tutorial of how to open, close, and use the fine-tip glue pen.
Mini Glue Dots®
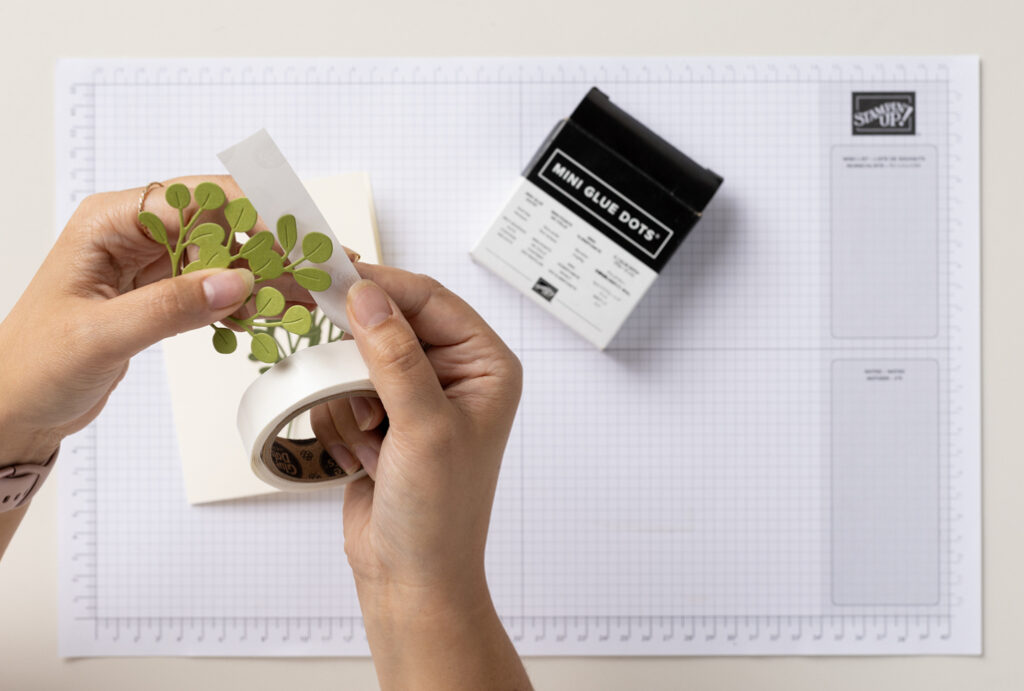
Mini Glue Dots® are perfect for attaching heavier embellishments like buttons, ribbons, and cardstock to your projects. They’re especially convenient because there’s no dry time and no mess.
One tip that makes application easier is to attach your embellishment to the glue dot first before placing everything on paper. Take your embellishment to the roll of glue dots, adhere it to one of the glue dots, pull both the embellishment and glue dot from the adhesive roll, then place your embellishment on your paper as if it were a sticker.
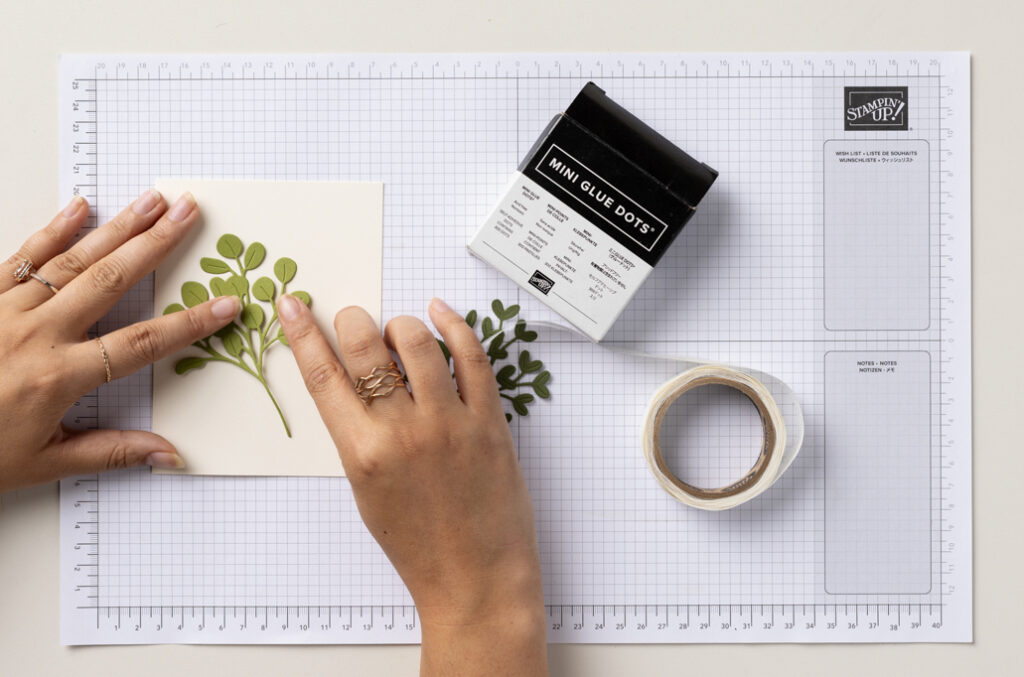
If you prefer to apply the glue dot to your paper first, use a precision pick-up tool like our Stampin’ Up! Take Your Pick tool to carefully lift the glue dot from the roll and place it on your paper.
Sometimes, mini glue dots are too large for more intricate embellishments like thin ribbon or twine. In this case, cut the glue dot into a smaller size with scissors before peeling it off the roll. You can also slowly peel and form the glue dot into a thin roll to use behind a thin embellishment. It’s important to make sure you don’t have any exposed glue dots on your project to prevent it from sticking to things unnecessarily.
Adhesive Dimensionals
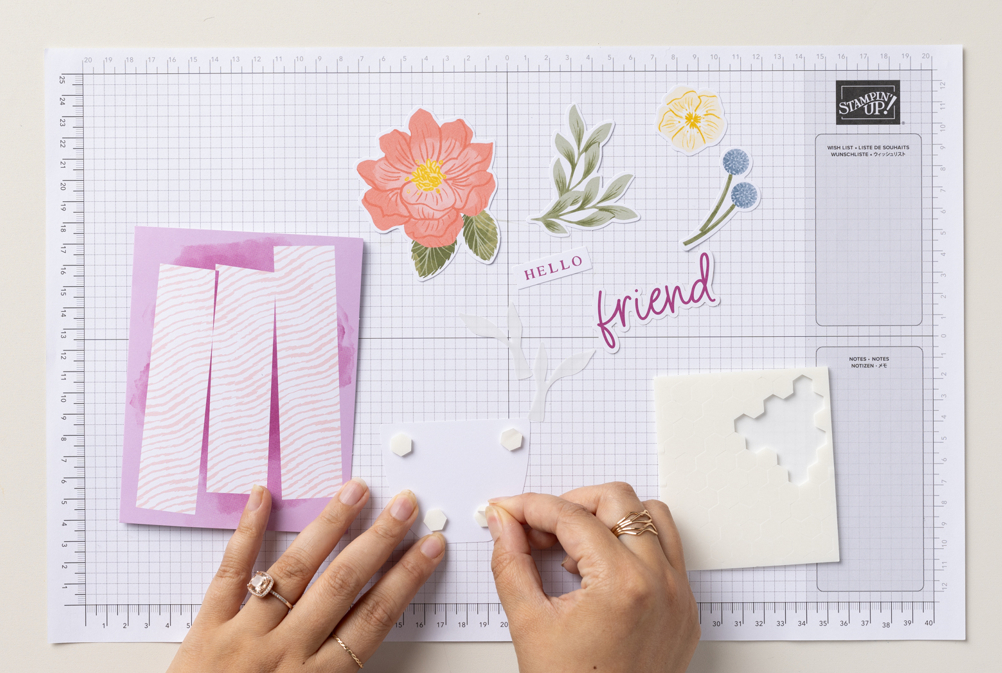
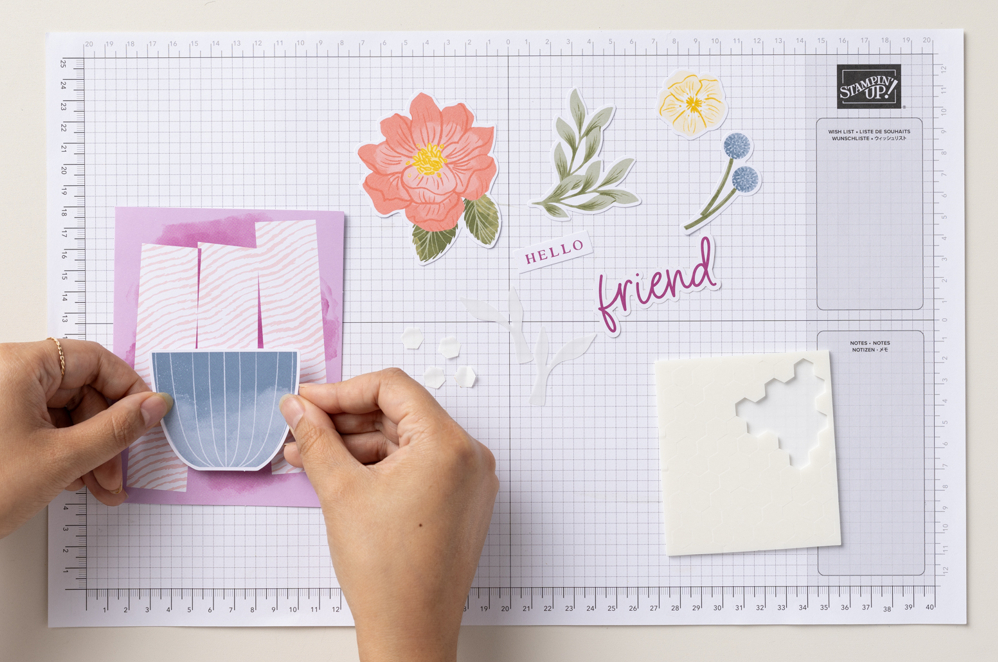
Adhesive dimensionals provide a fun way to add layers and levels to your projects easily. They come in double-sided, adhesive foam sheets in regular and mini sizes. Unlike glue dots that keep your embellishments flat on the page, adhesive dimensionals give your design accents a nice lift. Using adhesive dimensionals is also an effective way to securely attach heavier embellishments.
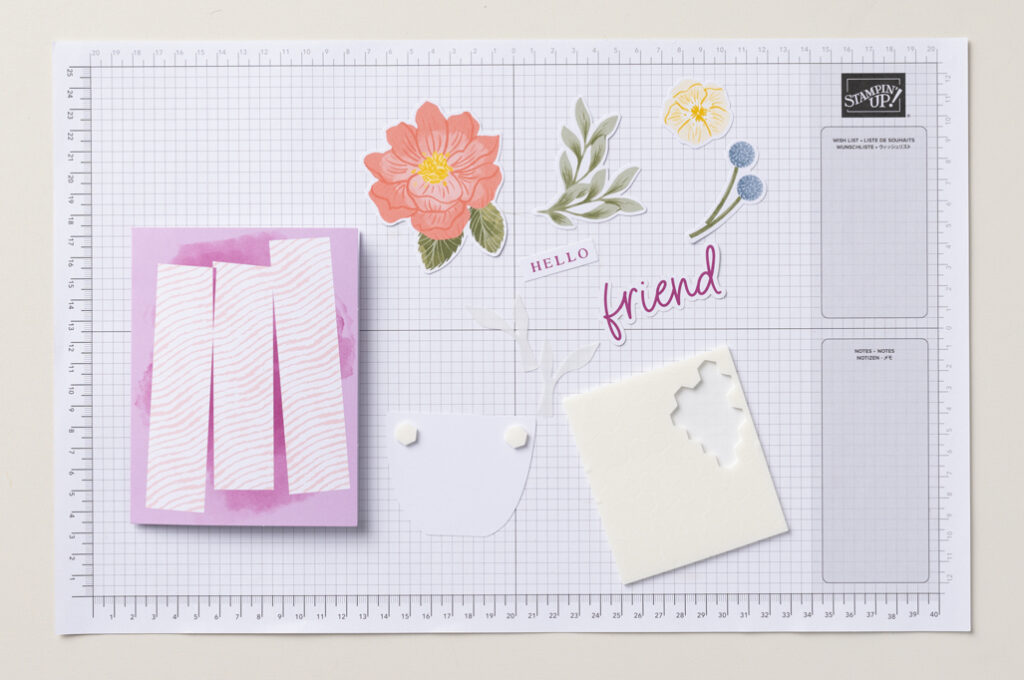
To use adhesive dimensionals, pop them out of the foam sheet, put them on the piece you want secure, then remove the adhesive backing once you’re ready to place the embellishment on your paper. One or two adhesive dimensionals per embellishment are usually plenty, but use more for larger pieces as needed.
For more ease and precision in peeling off the adhesive backing, use our Stampin’ Up! Take Your Pick tool or something with a fine tip.
FAQ: Adhesives In Crafts And Scrapbooking
Q. What are the advantages of using a fine-tip glue pen for intricate designs?
A. Fine-tip glue pens offer better precision and control when attaching thin, small, and lightweight embellishments to your projects.
Q. How do adhesive dimensionals contribute to the depth and texture of projects?
A. Adhesive dimensionals are made with one centimeter of thickness, which adds a raised effect when applied to different embellishments on your design. They’re great for adding layers and emphasis.
Q. What are the best crafting glues to make sure your creations last?
A. The best crafting glue to use depends on your project. It’s recommended to have a variety of glues in your toolkit to fit each project’s unique needs. Refer to our guide above to find the best crafting glue for your design.
Q. How can you avoid glue stains, especially on delicate paper crafts?
A. Plan out each layer of your design before applying any glue to make sure you feel confident about where each element goes. It’s best to use a fine-tip glue pen for delicate papercrafts for precision and control.
Create Memories That Stick
Using the right crafting glue for your project not only leads to a smoother crafting process but it also contributes to the longevity, quality, and durability of your finished work. Every aspect of crafting has opportunities for creativity, even the glue you use. Make new memories and document cherished ones with Stampin’ Up!’s collection of high-quality crafting glues. We’re so excited to see what you’ll create!
Connect with our community of Stampin’ Up! demonstrators for more ideas and paper crafting support. We’re so happy you’re here. Let’s create together!