Stamping Techniques for Creative Paper Crafts

Stamping is the art of applying ink to a stamp and transferring that stamp’s design to paper. Stamps come in a variety of sizes, designs, sentiments, and textures. Whether you’re just getting started or already an expert, stamping offers endless creative possibilities that are both simple and exciting to explore.
While there is plenty of creative freedom in stamping, it’s helpful to start with some foundational techniques that you can apply to your scrapbooking, card-making, and other paper craft endeavors. In this blog, we’ll dive into the basics, stamping techniques, tips and tricks for successful stamping, and some problem-solving inspiration for those moments when your stamp isn’t what you expected.
Understanding the Basics of Stamping
The core supplies needed for stamping include stamp blocks, stamps, ink pads, and cardstock. Let’s walk through each one and things to keep in mind as you build your stamping toolbox.
Stamp blocks carry your stamp from ink to paper, and they come in a variety of sizes to account for different stamps. Ours are clear, which improves visibility and alignment as you stamp.
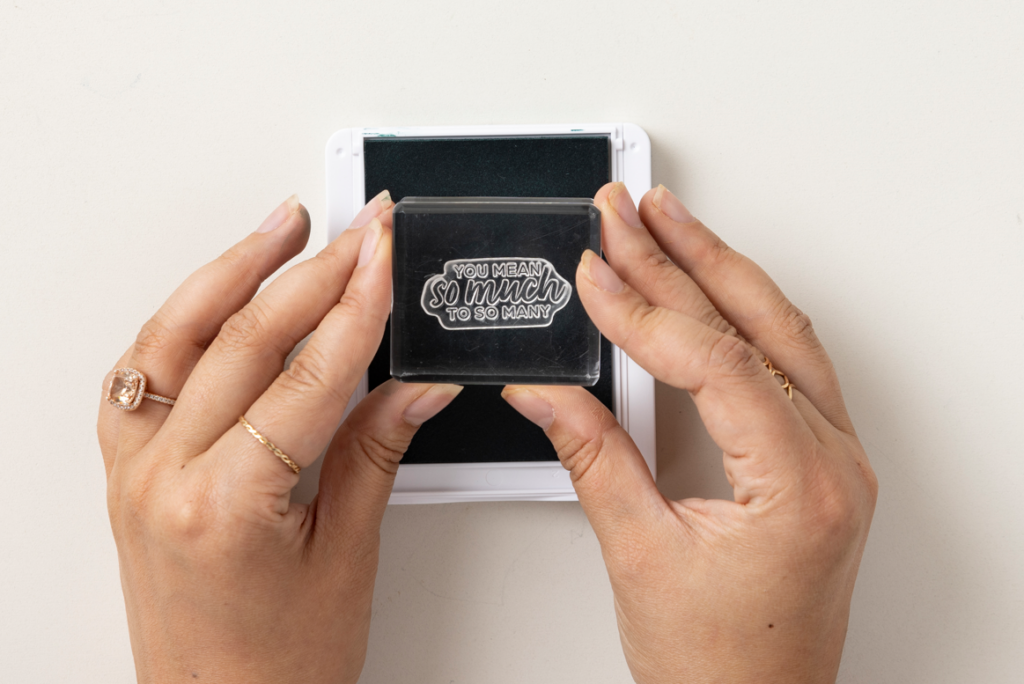
As for stamps, there are two main types —cling stamps and photopolymer stamps. Cling stamps are made of opaque, red rubber. Due to the rubber material, cling stamps are great for stamping intricately detailed images and sentiments. Photopolymer stamps are made of transparent, flexible resin, which allows for easy placement and alignment. Since these stamps are clear, you’ll be able to see right through the stamp to get a better idea of where it will go. Both types of stamps can be attached to a stamp block without any additional adhesive, and you can use creative techniques with each type of stamp to produce unique results.
Choosing the right ink is another important part of stamping. Some popular types of ink include water-based dye ink, watermark ink, fade-resistant ink, and solvent ink.
- Water-based dye ink is slightly transparent, and it produces the best results on white and light-colored cardstock. They’re great to use for stamping techniques, and they also dry fast.
- Watermark ink results in a shade a few tones darker than the cardstock it’s stamped on. This ink is great for creating watermark effects and heat embossing, which we’ll dive into more detail about later.
- Fade-resistant dye ink lasts well even after exposure to sunlight over time. The Tuxedo Black Memento Ink Pad is a great example of a staple fade-resistant ink that works well when paired with alcohol markers.
- Solvent inks are permanent inks that can be used on most surfaces except fabric. Due to their permanent nature, cleaning your stamps after using solvent inks requires a more specific cleaning product, such as StazOn® cleaner.
For regular stamp maintenance and reduced staining, cleaning your stamps after each use is essential, especially if you’re switching colors. A few quick and easy tools that will keep your stamps clean include the Simply Shammy, Stampin’ Mist cleaning spray, and the Stampin’ Scrub™.
Easy Stamping Techniques for Beginners
Now that we’ve covered the basics, it’s time to start stamping! Here are some easy stamping techniques you can practice to get started.
Basic Single-Color Stamping
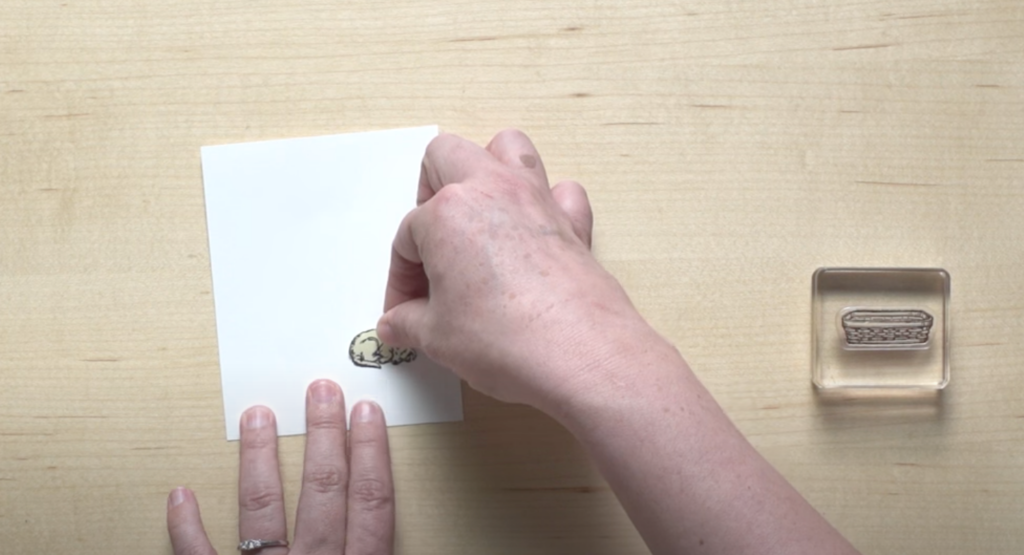
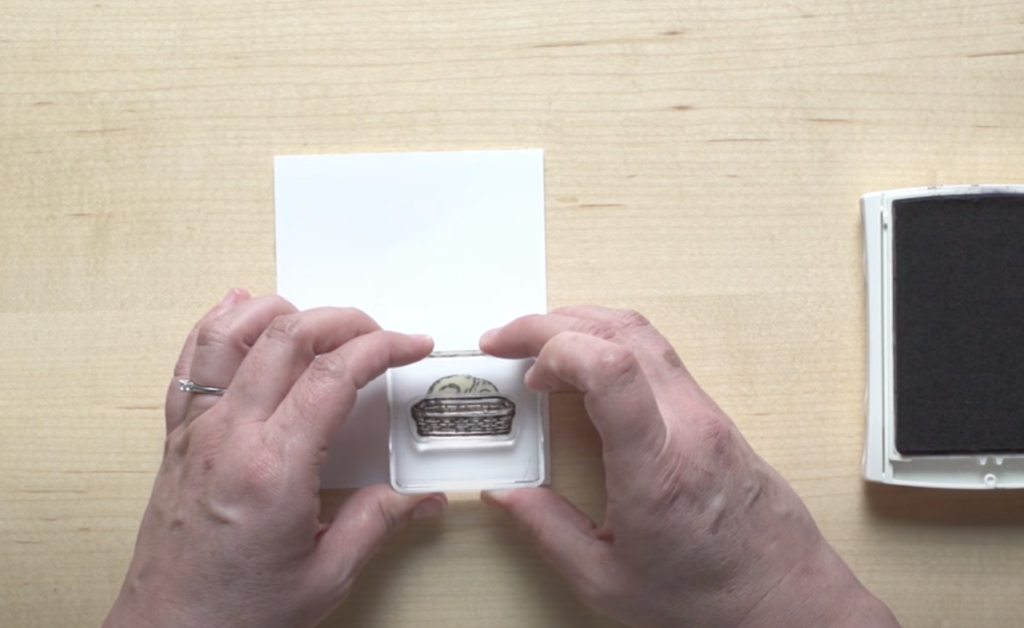
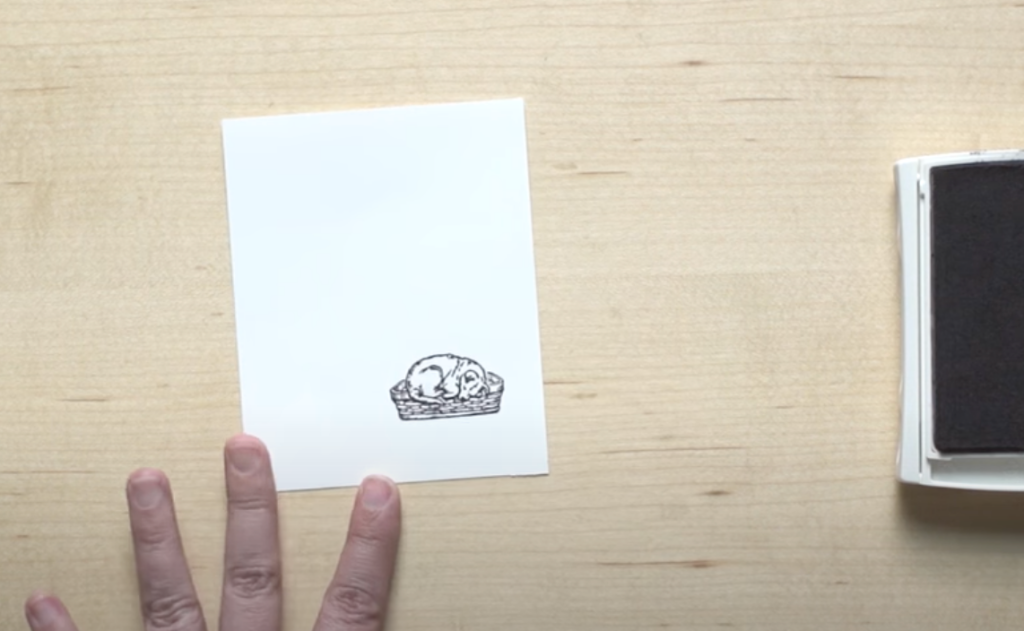
To stamp with a single color, you’ll need a stamp block, stamp, ink pad, and cardstock. We recommend starting with a simple photopolymer stamp set that contains both images and sentiments. This will give you a variety of options to begin stamping, and you’ll also be able to align your stamps more easily with clear photopolymer stamps.
There are a couple of inking techniques to note here based on the size of your stamp. When working with a small stamp, take the stamp to the ink and press it into a Stampin’ Up! Classic Stampin’ Pad™, and gently tap until the stamp is evenly coated. If you’re working with a larger stamp, place the stamp face up on the table and gently tap the ink pad over the stamp to coat it in ink.
Once you’ve applied ink to your stamp, firmly press your stamp onto a piece of scratch paper or grid paper. There’s no need to rock back and forth or push too hard when applying your stamp. A firm stamp will do! It may take a few tries before you achieve your desired result, so it’s key to practice on scratch paper first. Whenever you’re ready, line up your stamp on your final piece of cardstock and stamp away!
Two-Tone Stamping
Two-tone stamping is a technique that involves applying two ink colors to one stamp. It’s a great way to add more dimension and detail. The key here is to use sponge daubers to apply different inks to your stamp without mixing your ink colors.
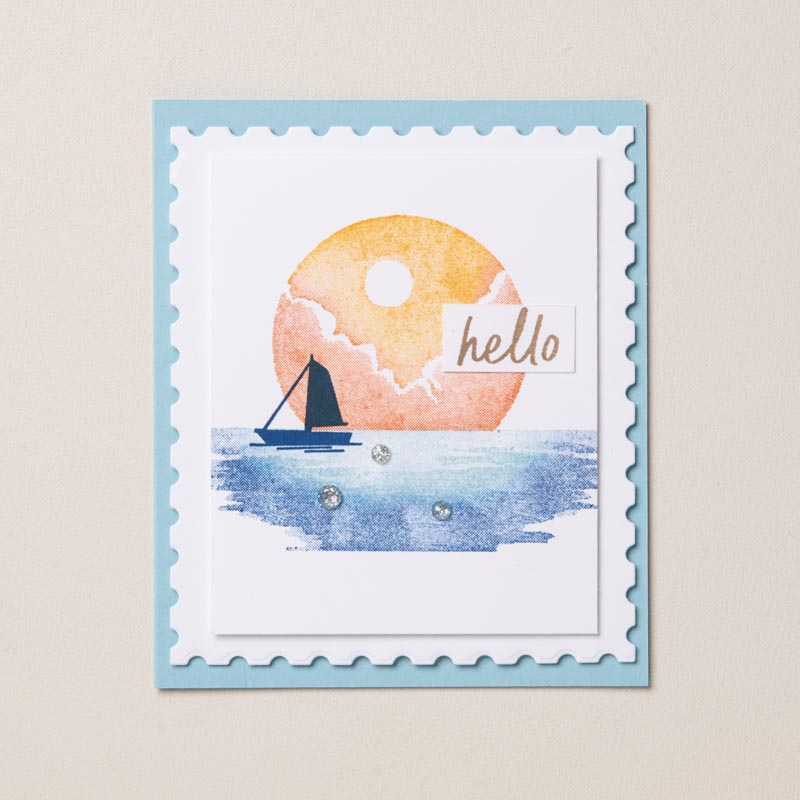
To start, place your stamp on the table facing upwards. Dip one sponge dauber into your first color and apply that color to select areas of your stamp. Repeat this step with your second color, and fill in the remaining spots on the stamp. For a gradient effect, you can focus one color on the center and another color on the outer edges. Select colors that blend well together, and be sure to clean your stamp between each application. You can choose to use warm colors, cool colors, different shades of the same color, or contrasting colors. Referring to a color wheel may be helpful to identify complementary colors to use for your stamps.
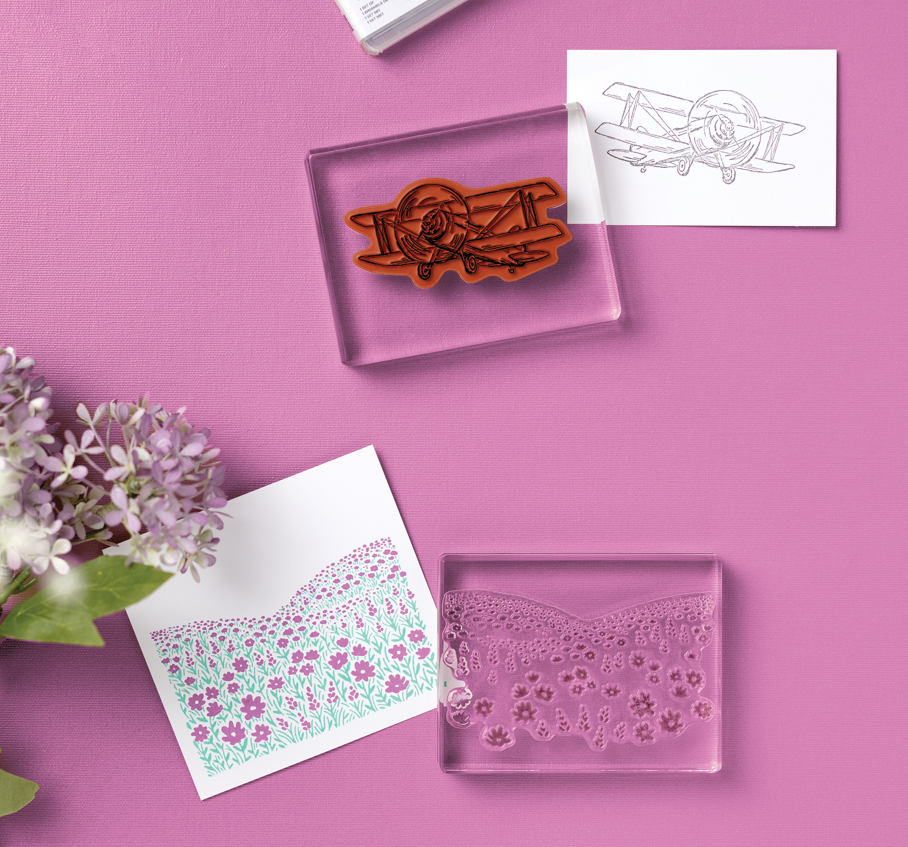
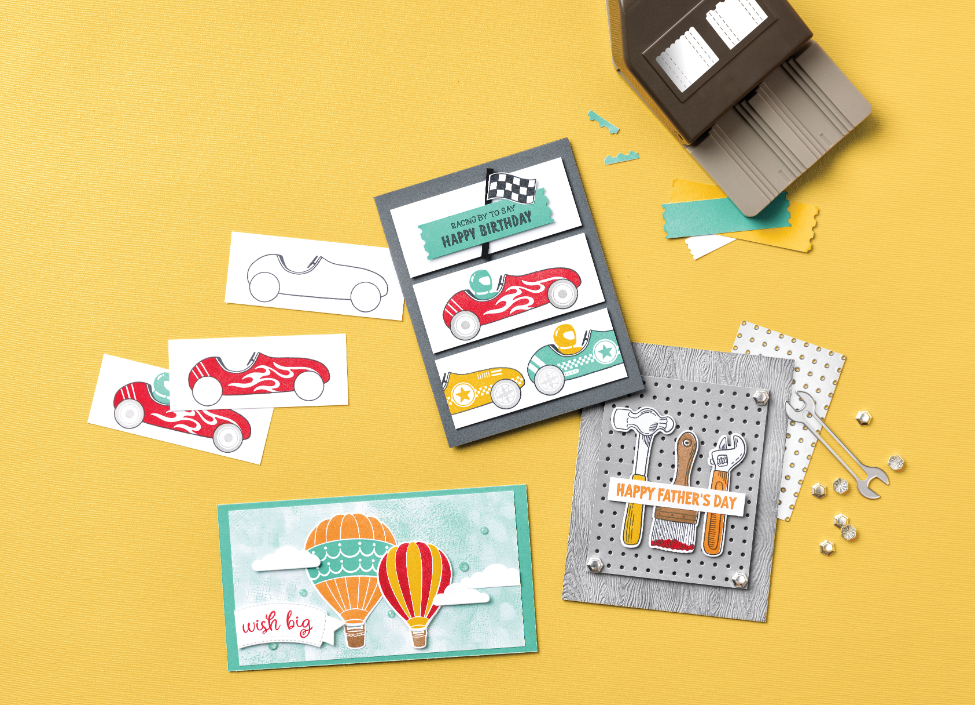
Two-Step Stampin’
Another way to give your designs extra detail is to use a two-step stamp. This is typically done with a special Two-Step Stampin’ set that comes with both a line art and a solid image. The line art defines the image and the solid image stamp fills in the color. The set is designed to work together, making it an easy way to add dimension while still allowing for plenty of creativity and customization. The Racing By Stamp Set shown below is a great example!
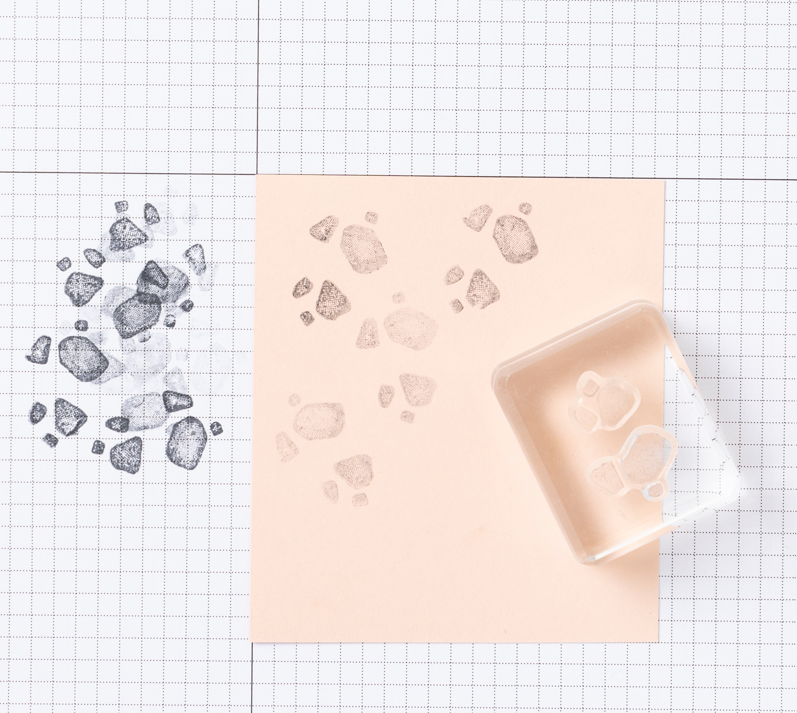
Stamping Off
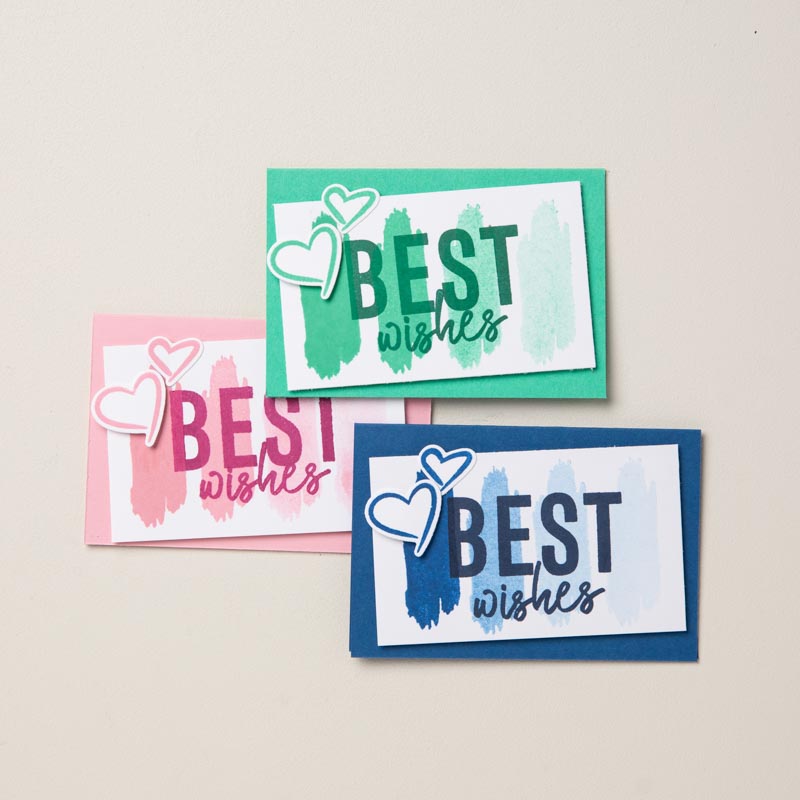
If you want your designs to move from dark to light, you can use a technique called stamping off. For this technique, which is sometimes called generational stamping, you apply ink to a stamp and press it on the paper a couple of times without reinking between uses. The intensity decreases each time the stamp is used, and the image takes on a lighter tone. In each example below, we only used one ink pad but got a variation of color using this stamping technique.
Advanced Stamping Techniques
As you become more comfortable with basic stamping techniques, here are some advanced techniques that you can explore.
Reversible Stamping
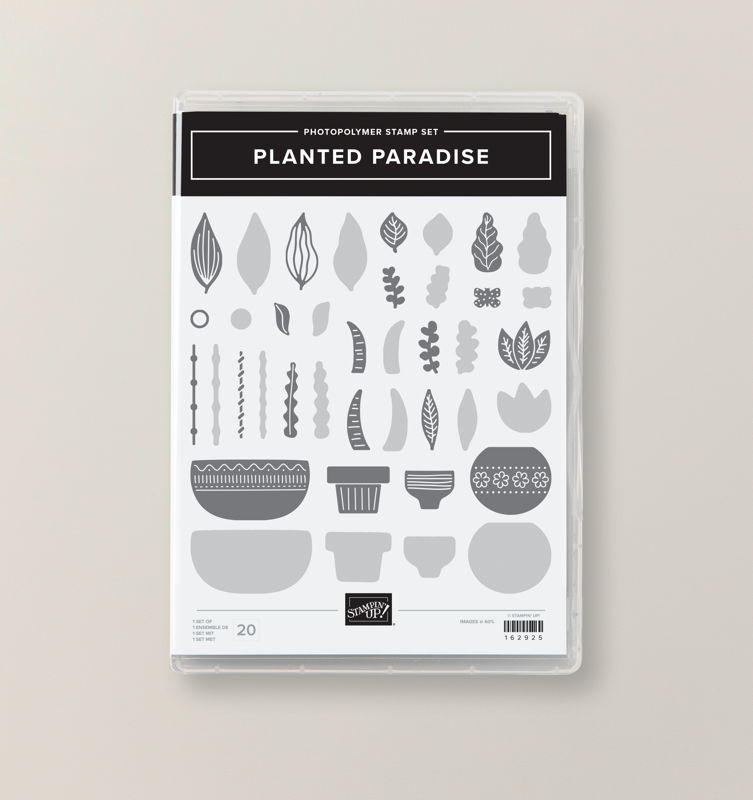
Reversible stamps are stamps that have images on both sides! Like the Planted Paradise Photopolymer Stamp Set shown below. Use one side by itself or layer it with the image on the other side. You can see through the stamps, making placement easy.
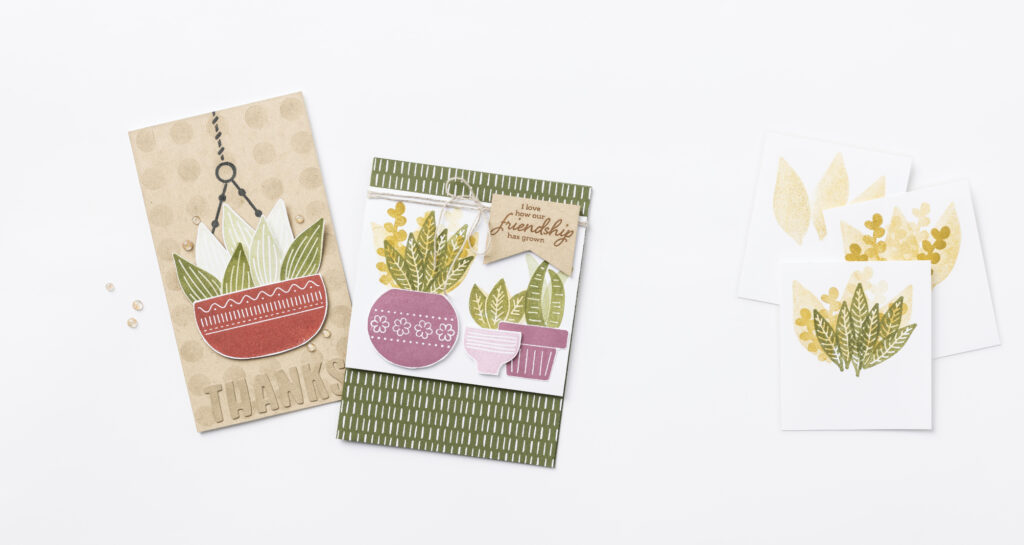
Stamping multiple coordinating images together is a great way to add shading details and depth to your crafts, resulting in a multi-dimensional appearance.
In the example below, one of our Artisan Design Team Members, Verena Shapiro, used both sides of Stampin’ Up!’s Planted Paradise Stamp Set to create more detail in this leaf.

For this multi-layered technique, accurate alignment is paramount. Using clear stamp blocks, photopolymer stamp sets, and grid paper are helpful supplies that will help you build multi-dimensional stamp designs. It’s also helpful to use a cohesive color palette when layering stamped images. This ensures that each layer complements the overall design.
Heat Embossing with Stamps
Heat embossing is a technique that uses VersaMark® ink, embossing powder, and an embossing heat tool. It’s a technique used to add a slightly raised and glossy finish to your stamp images and sentiments. Embossing only takes a few simple steps.
- Begin by wiping an Embossing Buddy™ across the page to remove static and prep your surface to ensure a clearer embossed image.
- Then apply VersaMark® ink to your stamp and apply that stamp to cardstock. VersaMark® ink is used for embossing because it stays wet longer, which allows more time for the embossing powder to stick.
- After you’ve stamped on paper, dust the embossing powder over the stamp, being sure to cover the entire design. Dust off any excess powder and funnel it back into the container for reuse. The Embossing Additions Tool Kit comes with an Embossing Buddy™ and Powder Tray that will help make embossing easy.
- Lastly, use the tweezers from the Embossing Additions Tool Kit to hold your paper as you use the heat tool to melt the powder and create a glossy finish or matte finish. Slowly move the heat tool in a circular motion above the image so the powder melts evenly.
For more on embossing techniques, watch this video from our CEO, Sara Douglass.
Stamping with Masking Paper
When you’re combining different stamps, you may run into the issue of having stamps overlap in a way that looks messy and busy. Masking is a technique that solves this by working from the foreground to the background, and it maintains perspective and depth in your stamping.
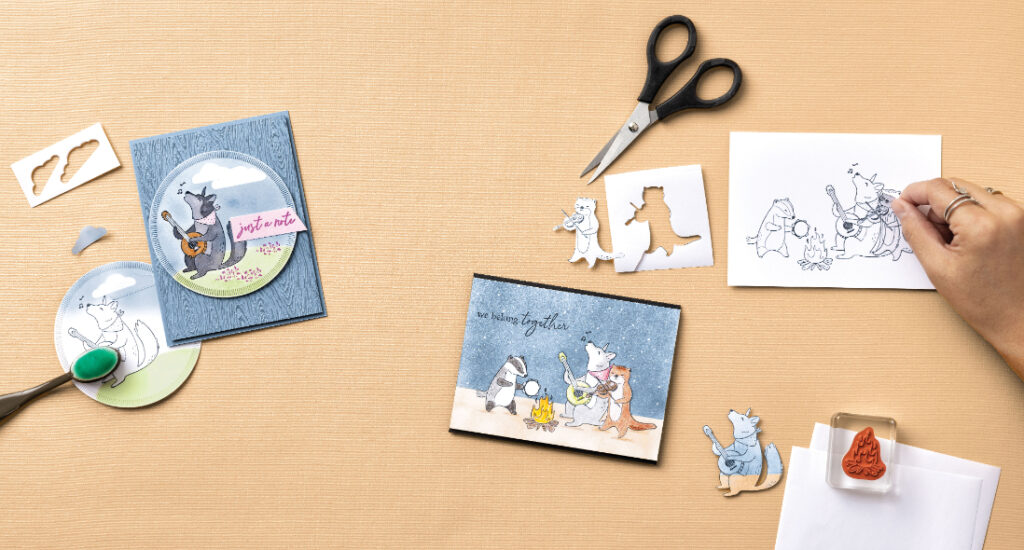
Start by placing the stamp image in the foreground on your piece of paper.
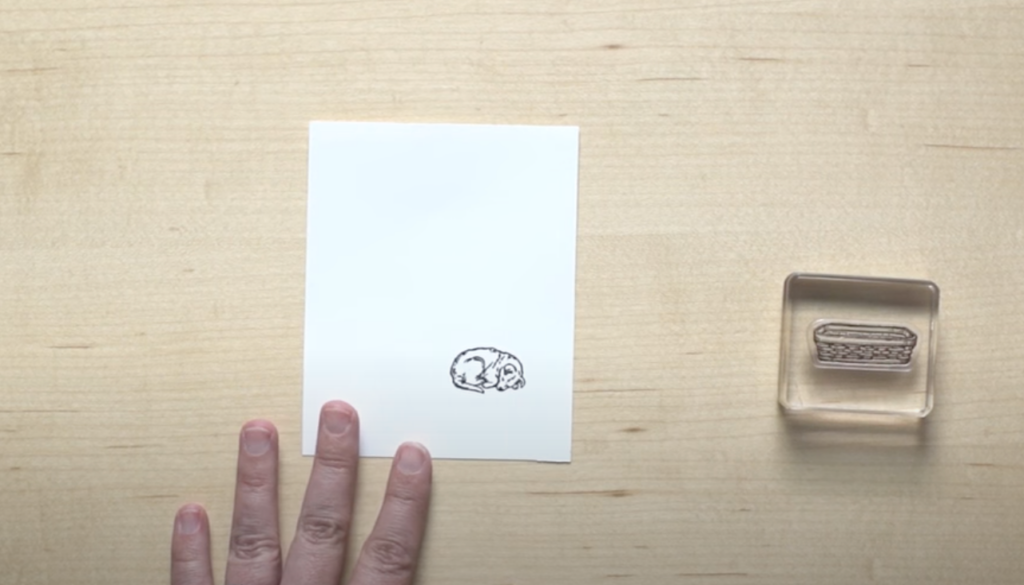
Next, you’ll need to create a mask for the stamp image in the foreground. Create a copy of this stamp on masking paper or a sticky note. Cut it out carefully as close to the border of the stamp as possible.
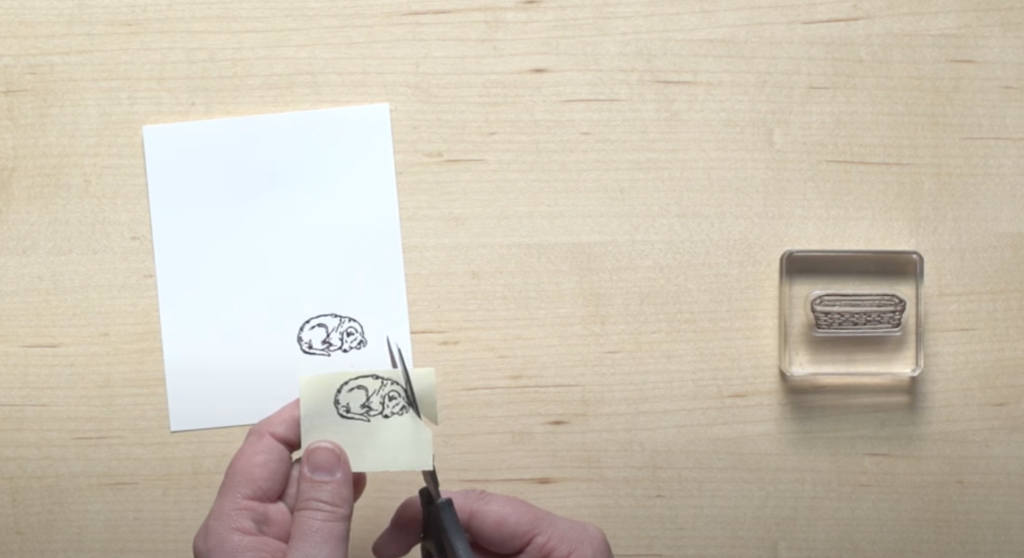
Place your newly created stamp mask over the stamp on the piece of paper that you started with.
Then, take the stamp for the element in the background, line it up carefully against the stamp mask, and stamp on the paper.
Finally, remove the stamp mask, and there you have it — a clean combination of two stamps.
Planning ahead and knowing the order of layers in your design is key to mastering the masking technique. Take some time to lay out and organize the stamps you’ll need in the order that you’ll use them to keep track. Remember, you’ll be working from images in the foreground first and working your way to the background.
Tips and Tricks for Successful Stamping
Making mistakes is part of the stamping process. Even the most experienced stamper will run into a mistake sometimes, so don’t be too hard on yourself. There’s almost always a creative solution! Here are some tips and tricks to help you out.
Solving Common Stamping Problems
Smudged ink, uneven stamp results, and unwanted mistakes on your final paper are a few common stamping problems. We’ll walk through simple solutions for each one.
Smudged ink often results from inking your stamp too much or movement after placing the stamp on paper. To avoid applying too much ink to your stamp, make sure you’re using a stamp block that holds the stamp well without excessive space on the block. More empty space leaves more opportunity for ink to attach to the stamp block, which will then transfer onto your paper.
Once you have the correct proportion between your stamp block and stamp, gently tap your stamp into the ink pad. Avoid pushing into the ink pad too hard to prevent the ink from transferring to the edges of your stamp block. For stamps that require more coverage, add a slight twisting motion as you gently place your stamp on the ink pad. Give your stamp a few final taps in the ink to ensure an even coat.
To avoid unevenly stamped images and sentiments, it’s important to hold your stamp block steady as you apply it to the paper. Rocking back and forth could cause the stamp block to lift and lose its original alignment, creating an unwanted duplicate image. Take time to practice on scratch paper to get a sense of the right amount of ink and pressure to apply to your stamp.
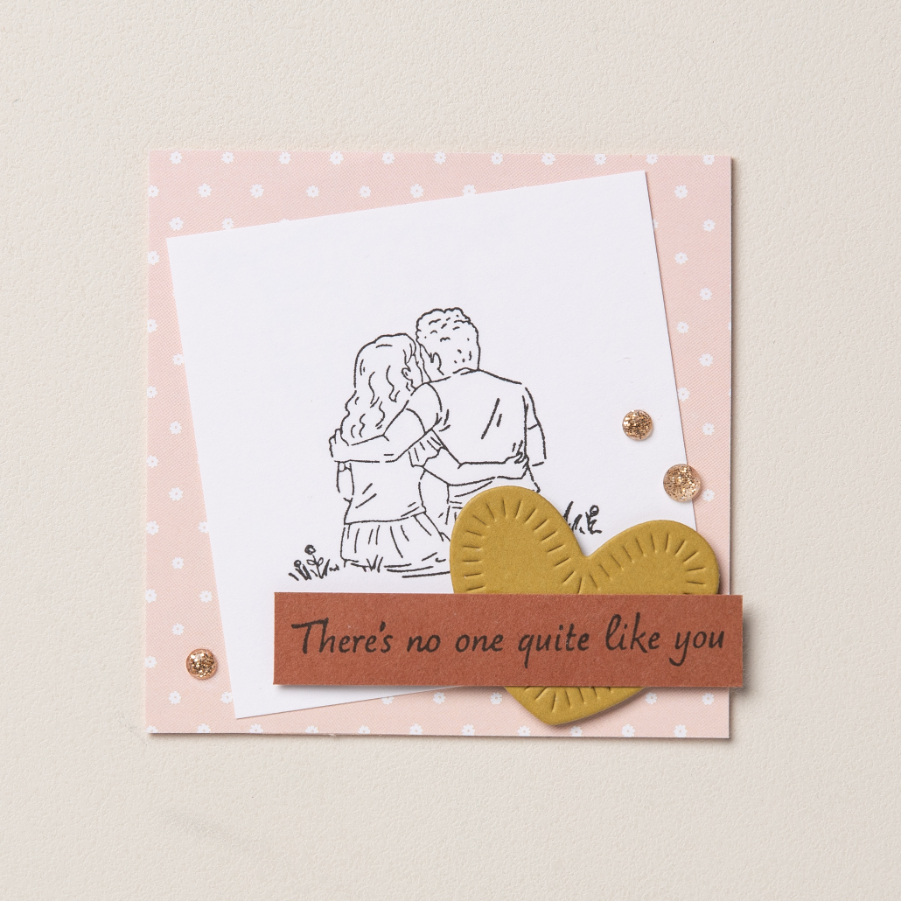
Sometimes, you may face a frustrating mistake on the very last step of your craft project. Instead of starting from scratch, you can salvage your craft with embellishments. Paper cut-outs and other layering elements are great for covering irreversible mistakes while also adding a new creative element to your paper. Punches are a great way to cut out paper embellishments when you need them in a pinch.
Maximizing Your Stamps’ Potential
Even though stamps usually come in a themed set, you aren’t limited to using them in one particular way. One option to explore is combining a few small stamps on one stamp block to create a new image. This could be used for a patterned background or as the focal point of your design.
You can also highlight different parts of your stamps in your crafts by selectively inking portions of the stamp. Create new textures and borders, or simply add in a unique detail. You don’t always need a new stamp set to achieve a new look. The possibilities are endless, and part of the fun of stamping is the freedom to explore!
Stay Inspired with the Stampin’ Up! Community
Now that we’ve covered stamping basics, easy techniques, advanced techniques, and creative solutions, it’s time to stamp! There’s nothing quite like making a thoughtful gift by hand. Creativity and community are at the heart of Stampin’ Up!, and we hope you’ll find joy in the process. Join the Stampin’ Up! family to get new ideas and make new friends. We’re so glad you’re here, and we can’t wait to create with you!