Precision in Papercrafting: How to Choose and Use Paper Cutters and Trimmers

Why Precision Matters in Papercrafting
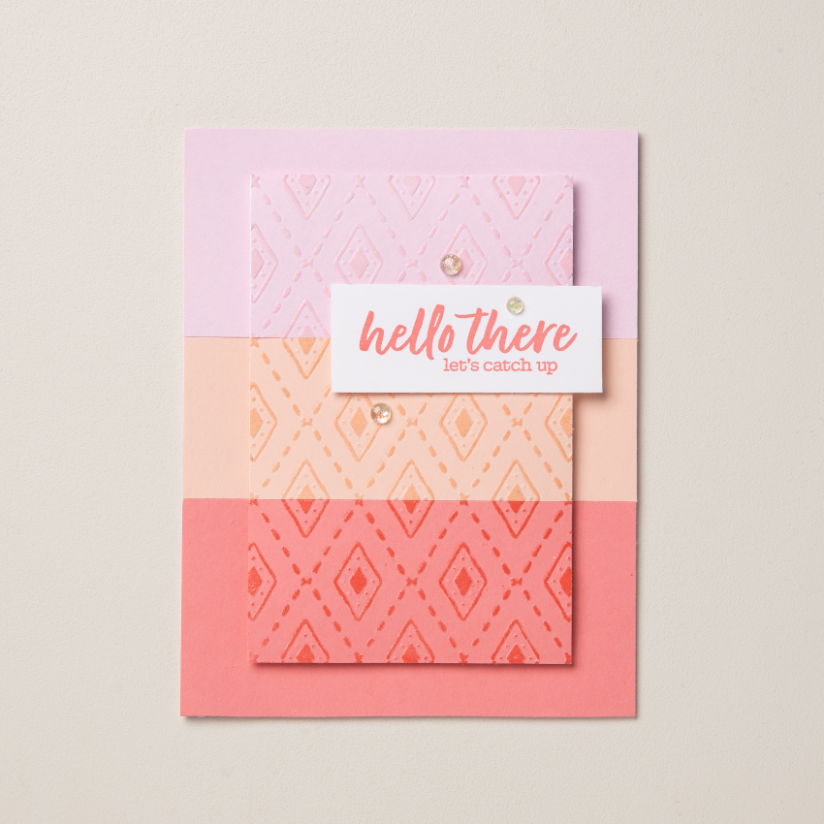
When it comes to papercrafts like scrapbooks, paper boxes, envelopes, and cards, it’s all in the details. Every detail adds a unique touch to a crafting project, and precise paper cutting and measurements make a noticeable difference in your final result.
A paper trimmer is one of the most helpful crafting tools, and it is designed to help you easily cut, score, and measure paper quickly and precisely. Without a paper trimmer, it’s easy to run into common mistakes such as crooked edges, misaligned folds, and uneven pieces of paper. This not only becomes frustrating, but paper can also become wasted in the process. We’ll walk you through how to find the right paper trimmer and how to use it to get crisp, even cuts every time.
Choosing the Right Paper Trimmer
There are a variety of paper trimmers on the market, so it’s important to know which features to look for when you’re searching for a high-quality option that will add value to your crafting process and projects.
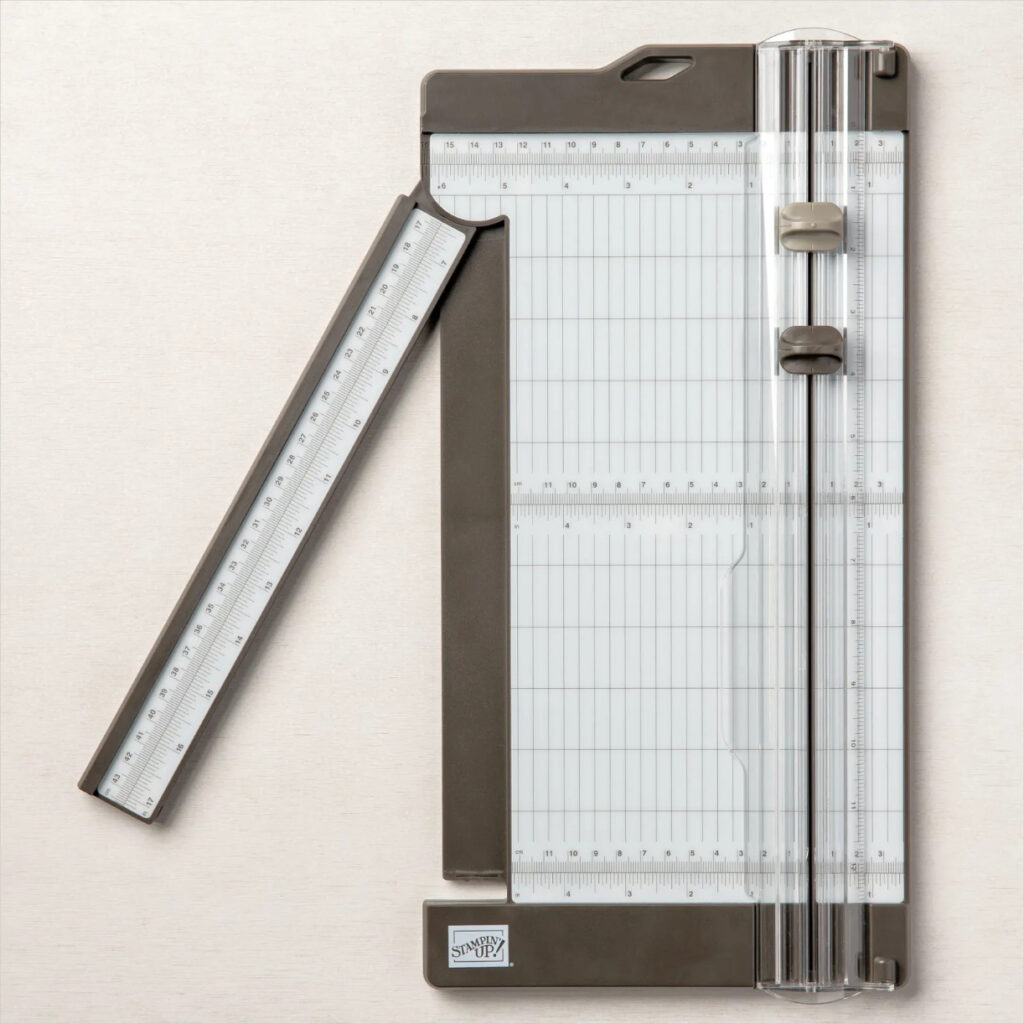
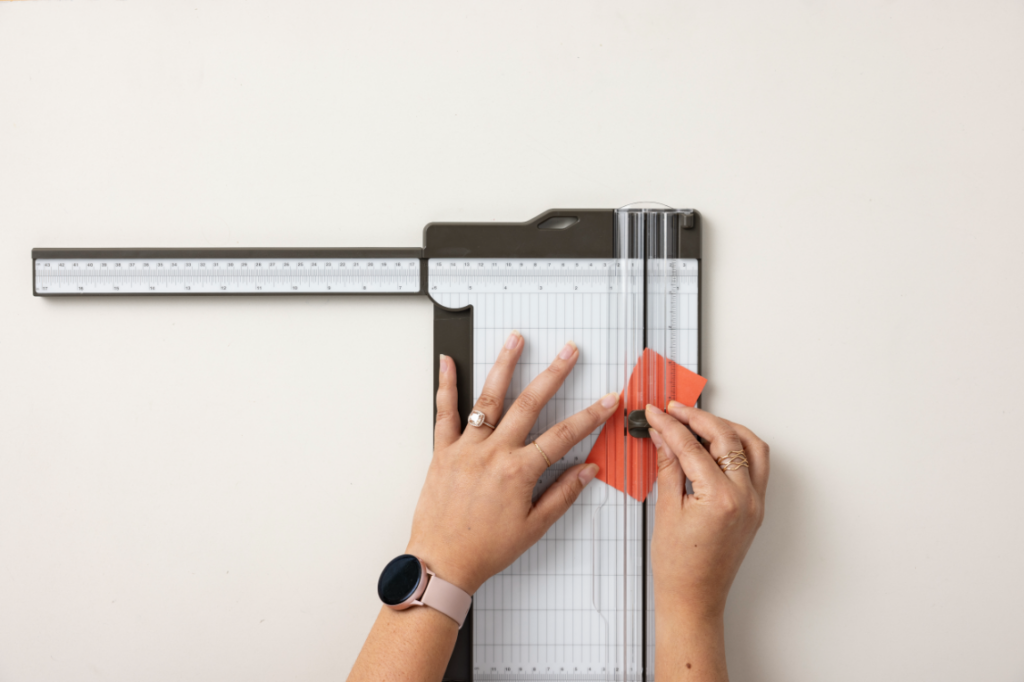
One fundamental thing to consider is the paper sizes that the trimmer can accommodate. Stampin’ Up!’s Paper Trimmer features a spacious 12-3/8″ x 7-3/4″ (31.5 x 19.7 cm) cutting base with an extendable 17″ (43 cm) ruler to fit larger pieces of scrapbook paper. It also has metric and imperial measurements along the base, including a midpoint ruler for measuring and cutting smaller pieces of paper. Having a versatile paper trimmer that fits a wide range of paper sizes and types is key to getting the most use out of it as you create different papercrafts.
Stampin’ Up!’s paper trimmer includes a cutting blade and a scoring blade for creating crafts like envelopes and gift boxes. Each blade is removable, making it easy to switch between cutting and scoring. The durable blade is designed to cut crisp lines and can be easily replaced with a new blade as you use it over time.
As you shop for a paper trimmer, consider what crafts you intend to use it for and how frequently you’ll be using it. Keeping those things in mind will help you find the best paper trimmer for your specific needs. Overall, a high-quality, versatile, and durable paper trimmer goes a long way in papercrafting.
Tips for Precise Cuts Every Time
Once you decide on which paper trimmer to use, it’s time to get crafting. We’ve outlined a couple of key tips that will help you get the most precise, clean cuts each time.
Setting your paper and trimmer up for success
Before you start cutting, be sure to set your paper trimmer on a flat and even surface. Next, place your paper on the trimmer, line it up along your desired measurement, and make sure that the edge of the paper is flush against the raised edge at the top of the paper trimmer.
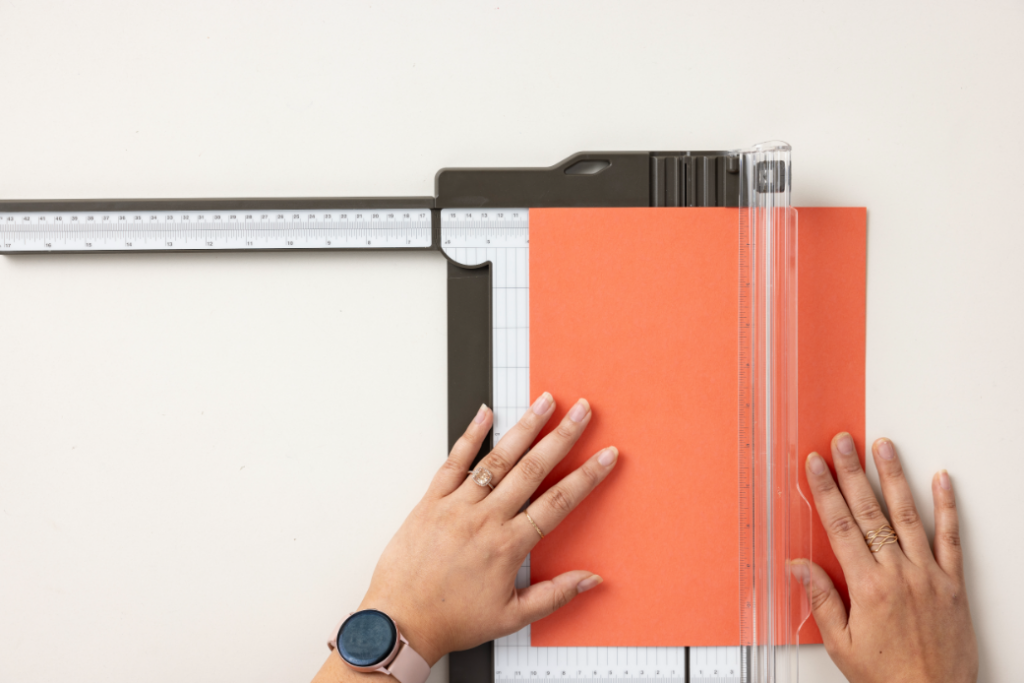
Before you cut the paper, make sure your blade is positioned at the bottom of the trimmer so that you can cut in an upward direction. This ensures that the paper remains flush against the top edge of the paper trimmer instead of slipping out of alignment as you move along the paper with the blade.
Sinking the blade
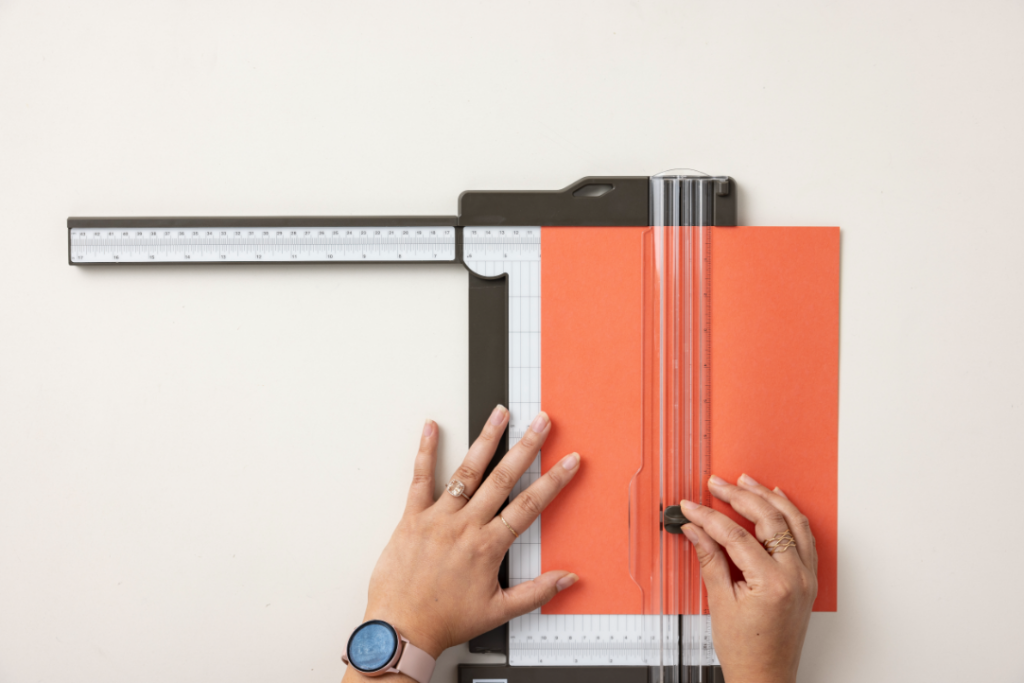
When you want to use the paper trimmer to cut paper at an angle, it’s helpful to place the blade in the middle of your paper and begin cutting from the center. This technique is known as sinking the blade. It helps keep your paper firmly in place, resulting in more precision as you cut. Simply bring the blade down on the center of your paper, hold the center ruler down, and slide the blade up and down.
This technique also works well when you want to cut paper that is thinner and lighter because it prevents the edges of the paper from curling up as you cut into it with the blade.
Streamline Your Crafting with the Perfect Paper Trimmer
A reliable paper trimmer is a must-have staple for any crafter, whether you’re a beginner or an expert. With a wide surface, sharp blade, and both imperial and metric measurements, Stampin’ Up!’s Paper Trimmer helps you bring your papercraft ideas to life. Enjoy a smooth crafting experience and even smoother paper cutting. You’ll be impressed with how much a quality paper trimmer adds to your final project.
Connect with a Demonstrator
Check out some of our other cutting and scoring tools on our website, and connect with a Demonstrator if you have more questions or need some advice. We can’t wait to see what you create!
Not all products may be available. Please contact a demonstrator for additional options.