Creative Uses for Tag Topper Punch in Papercrafts
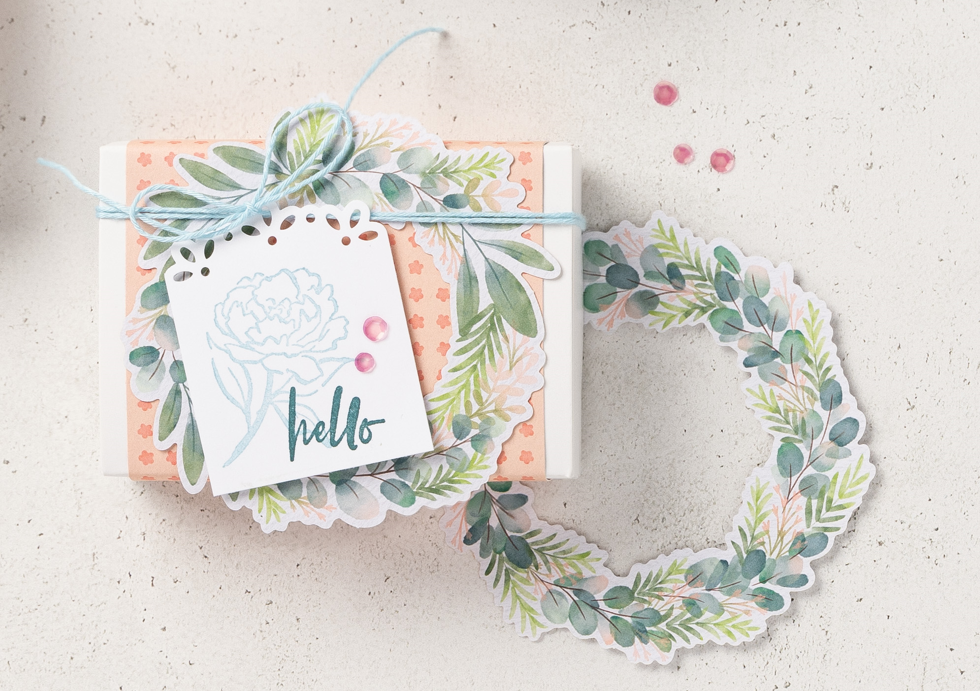
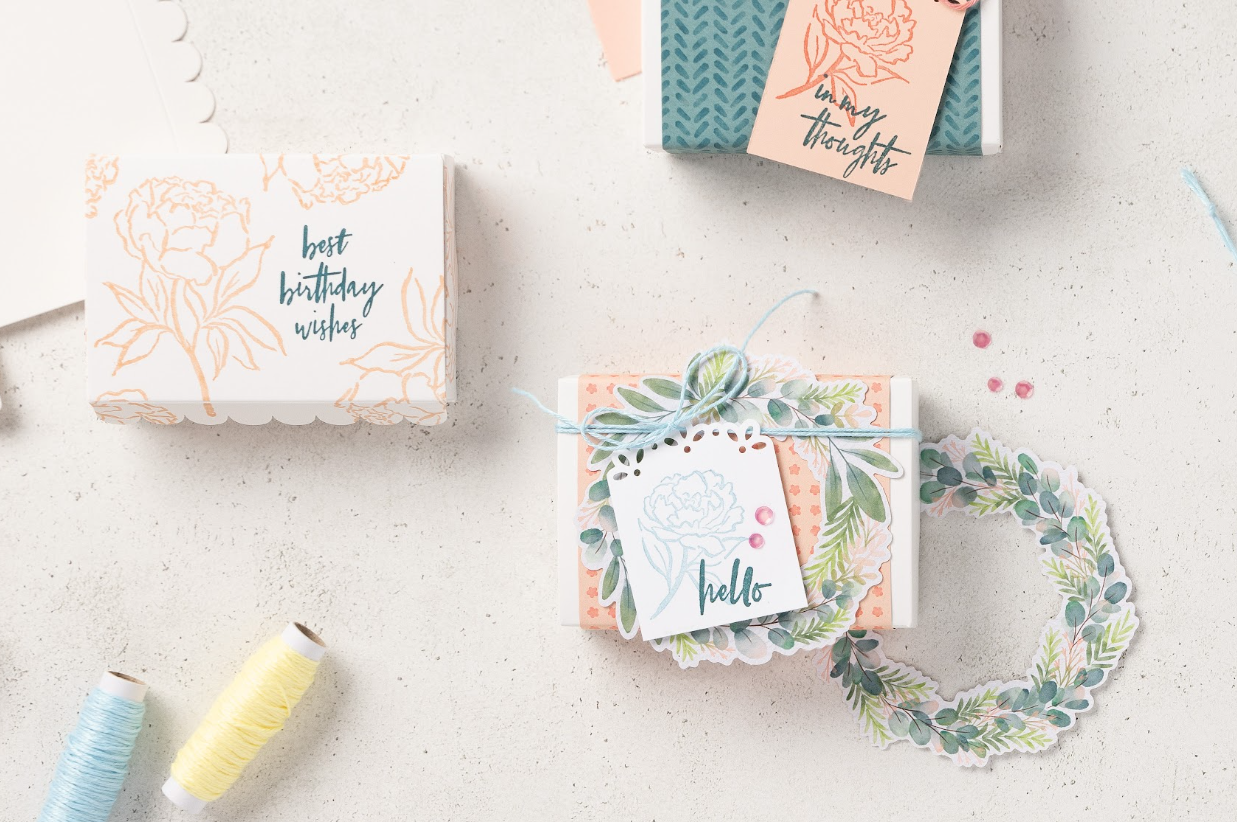
Tag topper punches are a great way to easily cut out both simple and intricate designs on the edge of narrow pieces of paper, usually ranging between one to two inches wide. As the name indicates, tag topper punches are used to create gift tags with beautiful edges complete with a hole you can use to attach string or ribbon. Tag topper punches are quite versatile, and they can also be used in a variety of crafts like cards, scrapbooking pages, and more.
How to Use a Tag Topper Punch
When using a tag topper punch, there are just a few important things to keep in mind to get the best results.
In order to ensure that you end up with a complete design at the top of your paper, it’s important to measure and cut out the right width of paper before using the punch. For example, Stampin’ Up!’s Sparkling Snowflakes Tag Topper Punch is made to punch designs on the edge of 2″ (5.1 cm) wide pieces of paper. Paper that is too wide won’t be able to fit into the punch, but as long as you center your paper carefully, using pieces of paper that are less than 2″ (5.1 cm) wide is an option for a slightly different look.
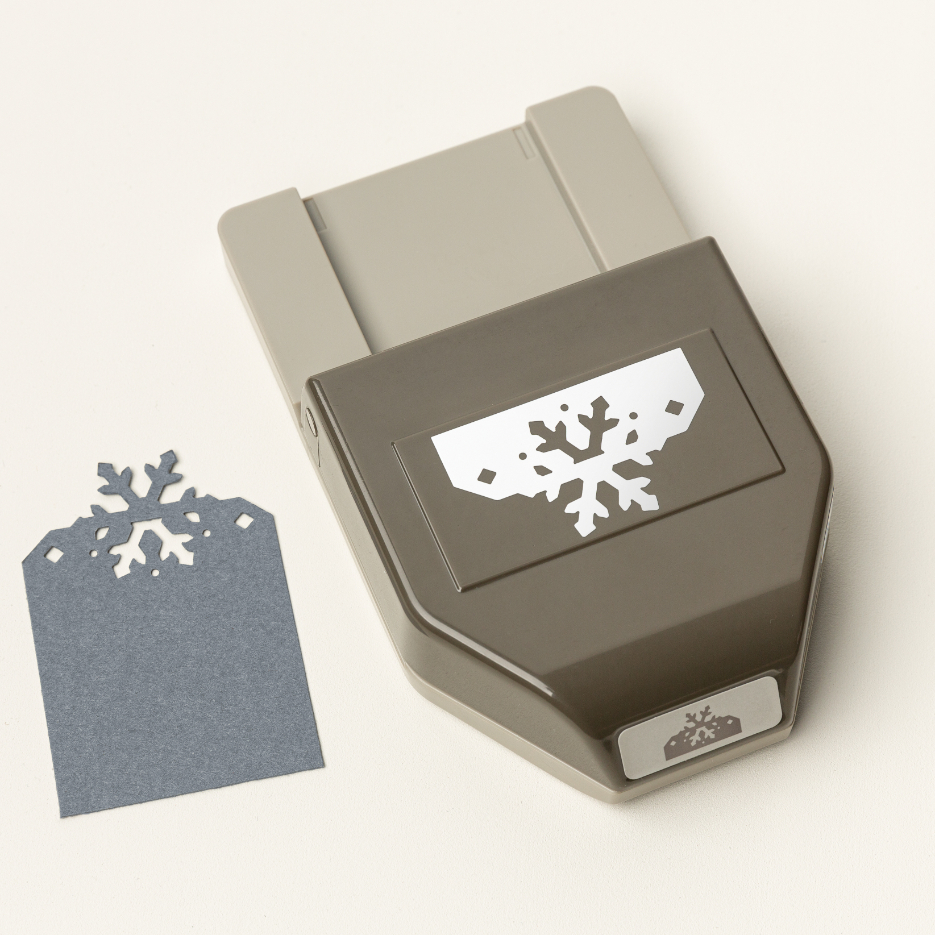
While the width of your paper needs to be quite specific to fit nicely in the punch, the length of your paper can be as long or short as you’d like. Once you’ve measured out the length and width, simply insert the paper into the punch and push down on the end to apply the cut.
Simple Tips for Amazing Results
Here are a few more simple tips to help you get the best use out of your tag topper punch:
- Check the back of the punch to ensure that your paper is aligned correctly before cutting into the paper
- Hold your paper firmly in place as you punch to avoid crooked cuts
- Use cardstock with your punch to create a variety of papercrafts that will hold their shape well
Creative Craft Projects with Tag Topper Punches
Now that we’ve covered the basics let’s explore different crafts you can create using tag topper punches.
Tags
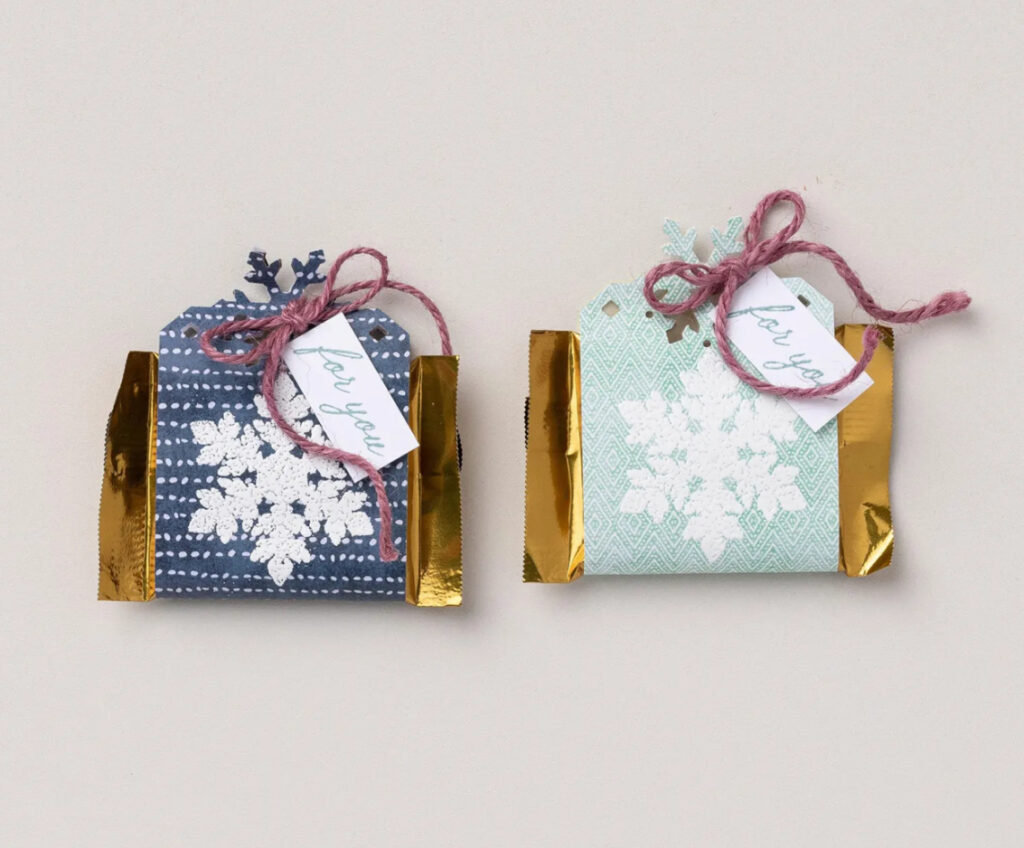
Using tag topper punches is great for creating DIY gift tags. You can get creative with how long you’d like your tag to be, how you’d like to decorate it, what message to write on it, and how to attach your tag to your gift or craft. You can even use it as a creative way to wrap a small item, like a piece of candy.
Cards
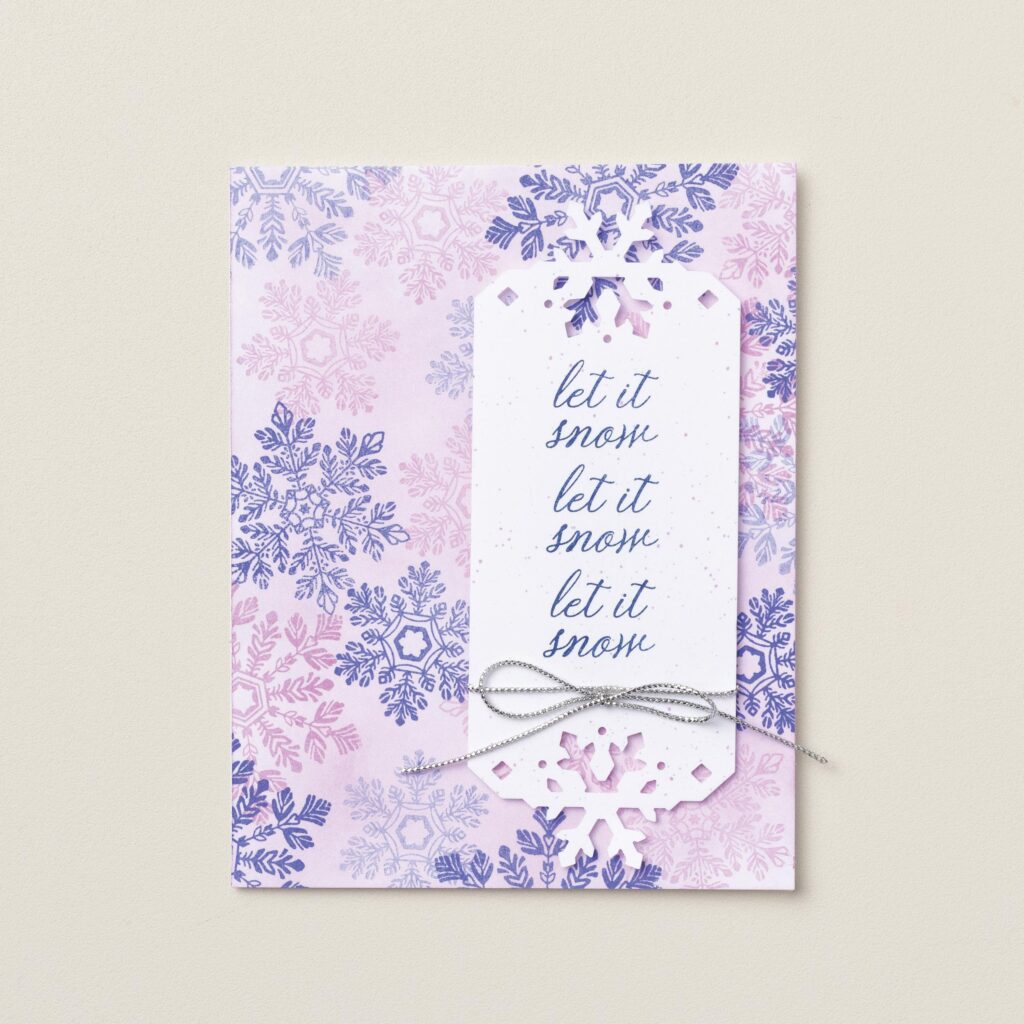
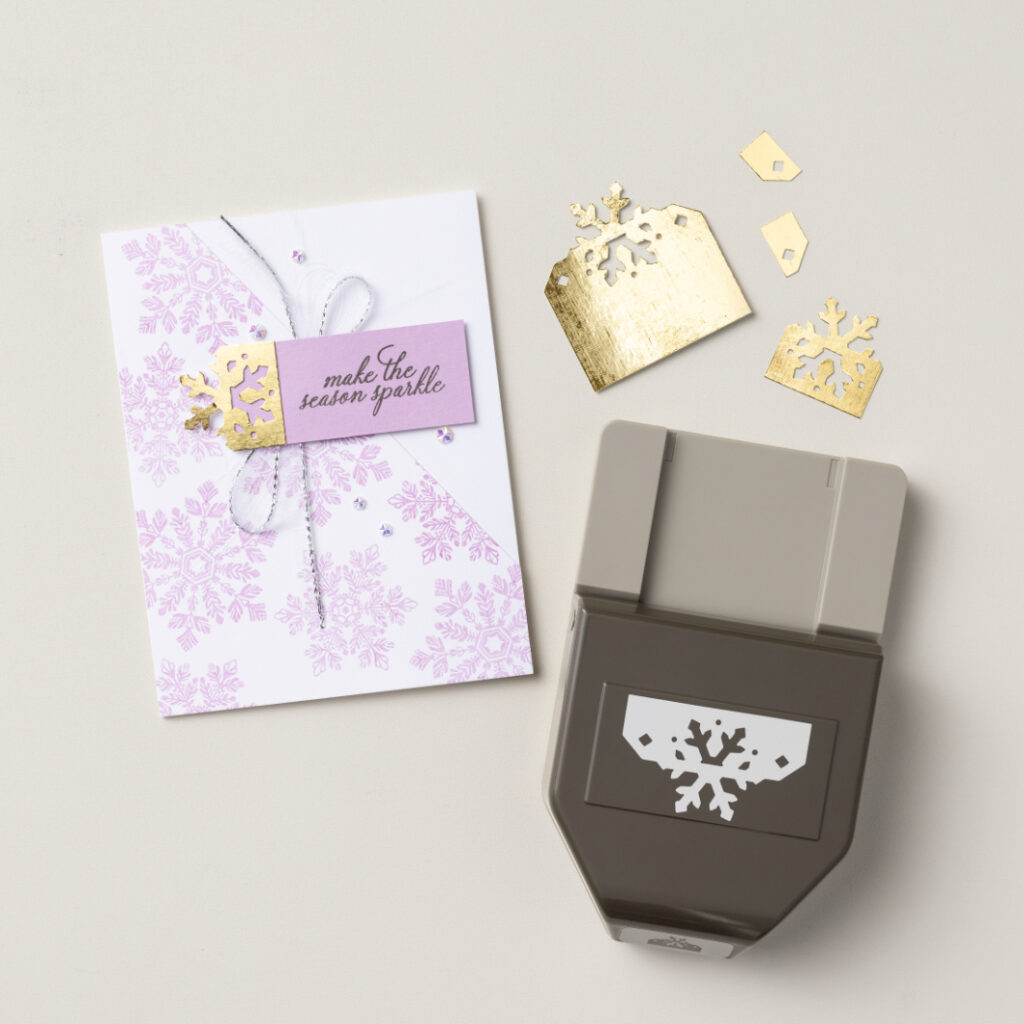
Tag topper punches are also great for creating card embellishments and layers. You can opt to punch both ends of your cardstock to create an interesting focal point on your card, or you can keep things simple by only punching one end. Using tag topper punches is a simple way to add dimension to your cards without taking too much time.
Scrapbooking
You can also use tag topper punches to make interesting backgrounds for your photos in a scrapbook spread. You can even slide your tags into pockets to create a fun, interactive page. Create emphasis on a page title by writing on a tag, or use a tag as a designated space to write about a memory you’re documenting.
Techniques and Design Ideas
Tag topper punches provide patterns that can be easily cut into your cardstock, but that’s really only the beginning. To take your papercraft to the next level, you can use a variety of crafting supplies, such as patterned paper, colored cardstock, and stamps, to add interesting dimension and texture.
With so many creative possibilities, it’s important to understand some basic techniques of layering and texturing to bring multiple elements together in a cohesive way.
Layering and Texturing
One technique you can apply while using tag topper punches is nesting shapes. To create nesting shapes, cut out one wide and one slightly more narrow piece of cardstock with a tag topper punch. By layering the narrow piece on top of the wider piece, you create a bit more eye-catching dimension. With this technique, you can add as many or as few layers as you’d like. Just be sure to measure out the width of each piece of cardstock in consistent increments to create evenly spaced layers.
Another technique you can use is known as staggering layers. For this technique, you’ll want to keep the length of your paper relatively short since each piece will be layering on top of each other like shingles on a roof. Using the tag topper punch, cut five to ten pieces of cardstock. Once you’ve decided where you’d like to place them on your craft, start by building layers from the bottom and layer the rest on top as you work your way up. The result is a beautiful background element that accents your papercraft nicely. Feel free to add more layers as you see fit!
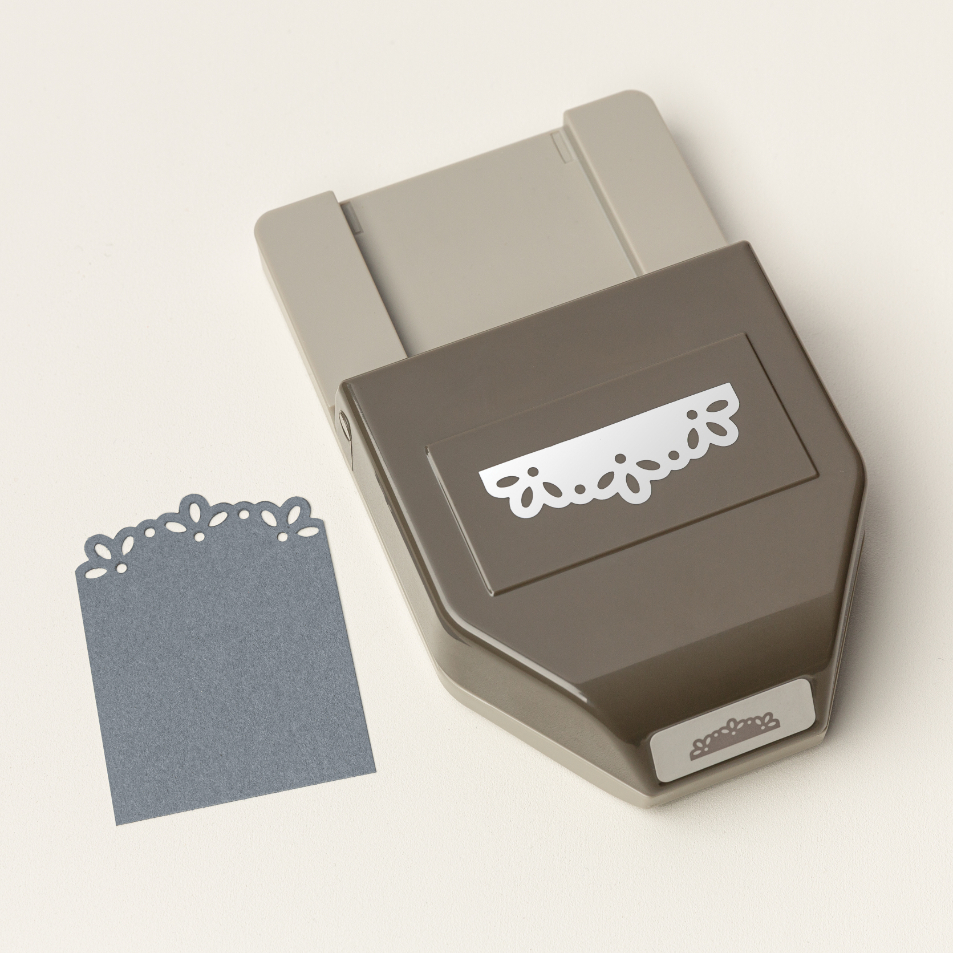
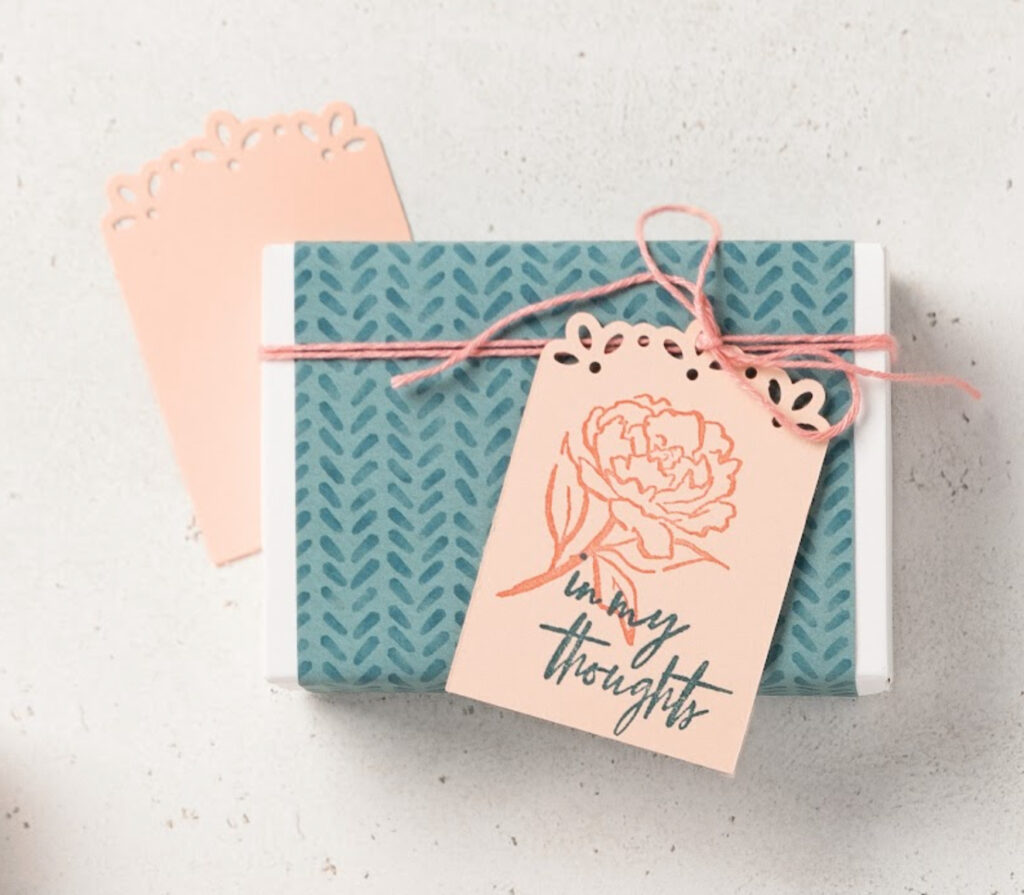
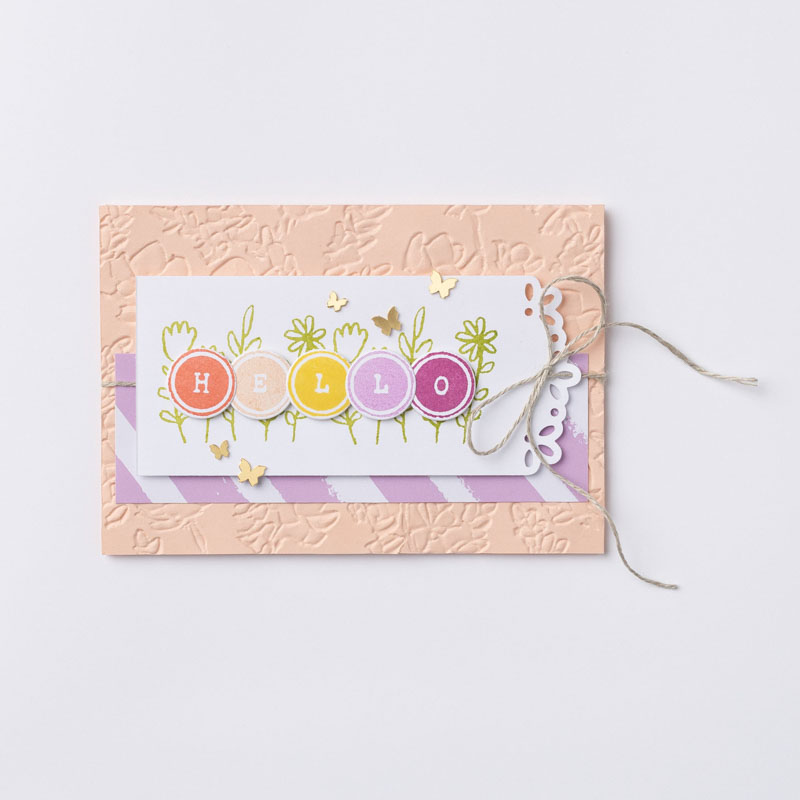
To add texture to your papercrafts while using a tag topper punch, you can use specialty paper, ribbon, and twine. Specialty paper has unique details like the foil finish on Stampin’ Up!’s Tartan Foil Specialty Designer Series Paper that adds a little extra shine to your craft. Additionally, you can use the hole incorporated in tag topper punches to tie a nice bow using ribbon or twine. Here’s an example using Stampin’ Up!’s Elegant Edge Tag Topper Punch.
Inspiration and Resources
As you can see, tag topper punches offer a lot of creative flexibility when making paper crafts, which is part of what makes them such a fun tool! If you’re looking for more ideas, check out Stampin’ Up!’s Instagram and Pinterest pages. We’re always updating our feed with new projects and helpful tips.
Add Our Tag Topper Punches to Your Collection
Due to their simplicity, versatility, and durability, tag topper punches are a staple item to keep in your crafting toolbox. Whether you’re personalizing a gift with a DIY tag, adding embellishments to a card, or looking for ways to add accents to your scrapbook pages, you’ll be able to achieve that and more with a tag topper punch. Check out Stampin’ Up!’s tag topper punches along with our collection of other unique punches.
Want to connect with a crafting community and learn more? Connect with a Stampin’ Up! demonstrator today! We’re excited to see what you create!
Not all products may be available. Please contact a demonstrator for additional options.
