Innovative Ways to Use Ink Pads in Paper Craft


Ink pads play a big role in bringing stamped images to life in paper crafting, but did you know that there is so much more you can do to make your handmade cards, scrapbook pages, and other paper crafts truly dynamic, fun, and professional—all with a simple ink pad? Keep reading to learn how to use ink pads to create beautiful watercolor and ombre effects, as well as paper-distressing techniques and more!
Ink Pads and Their Purpose
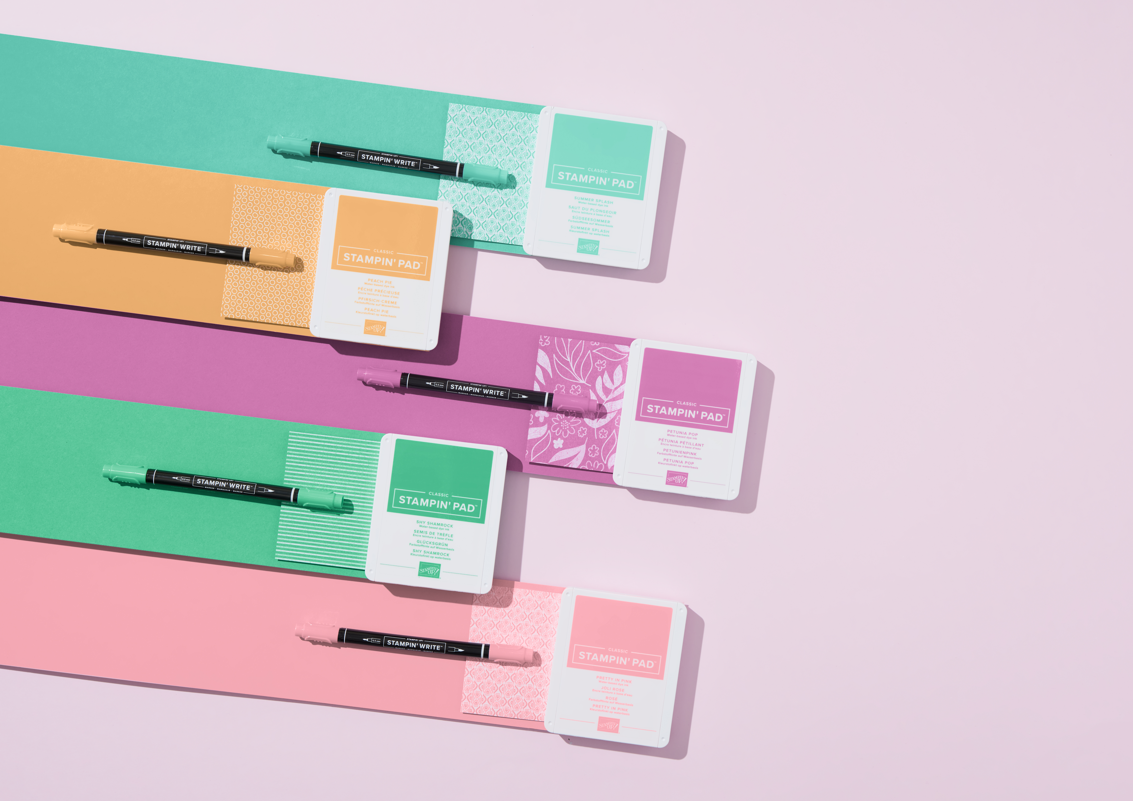
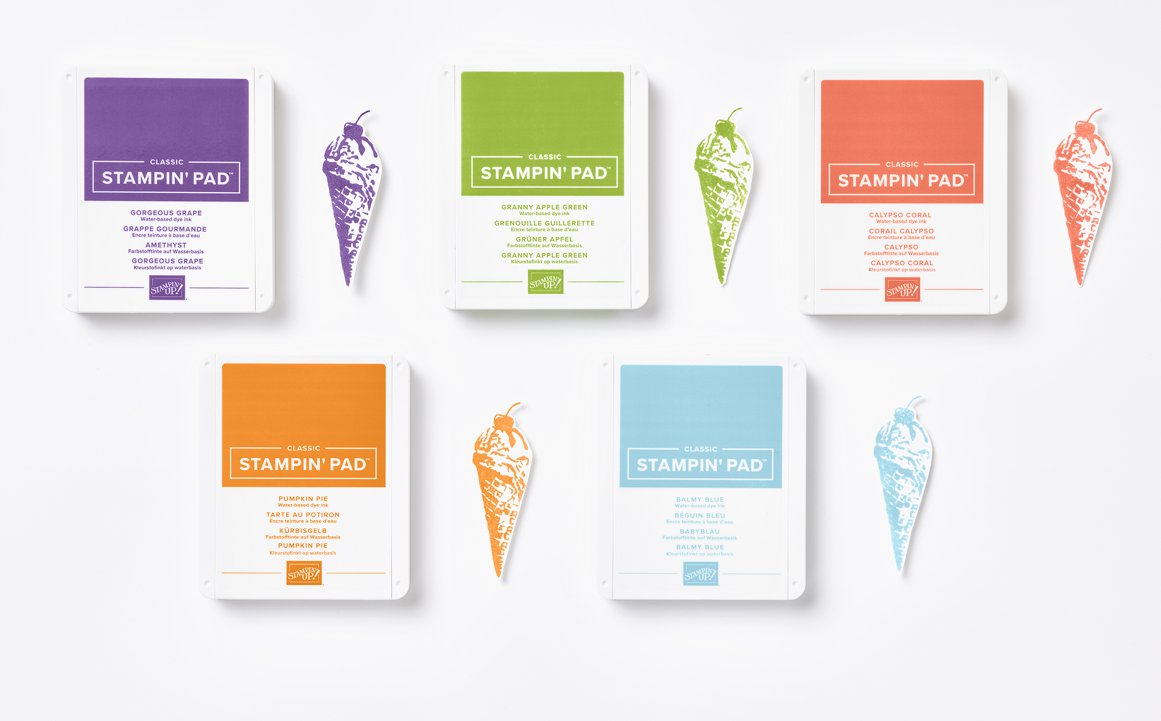
Ink pads are a way of containing liquid ink, making it easier (and less messy!) to use. Ink pads are primarily used for stamping and are a staple of any craft cabinet, as we all know. The Stampin’ Up! Classic Stampin’ Pad is the best ink pad to use for handmade papercrafts. Our ink pads contain water-based dye ink—in all of our vibrant signature colors—that makes for a truly superior stamping and ink-using experience.

Plus, our ink pads’ flip-top design means your pad remains inked during storage, and you can simply refill the ink pad when it eventually runs out.
You can also find options for quality permanent ink pads—great for non-porous crafting surfaces and as a foundation for watercolor work—as well as color-coordinating alcohol-based markers and watermarking and embossing ink from Stampin’ Up!
Using high-quality ink and ink pads while crafting is critical to the success of your handmade creations! Using substandard inks can result in smudging, color running, unusably dried-out pads, and a generally frustrating crafting experience.
Creative Stamping Techniques
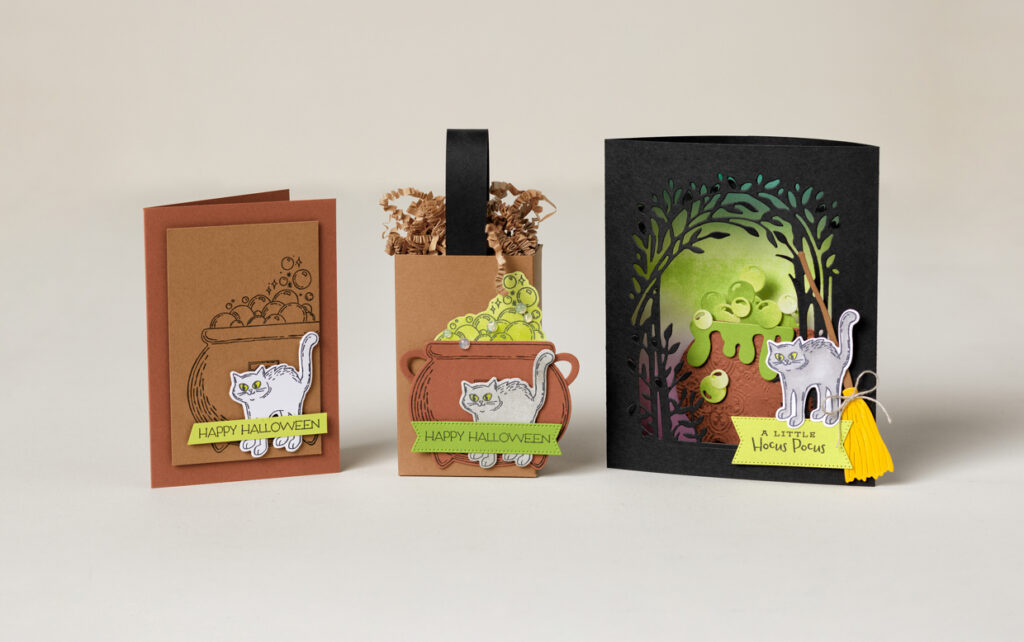
Understanding the versatility of and increasing your skills with a stamp pad is a fun way to add variety and even professionalism to your papercraft creations. But more than that, it’s a way to spark creativity and ensure the absolute uniqueness of your handmade cards, gift tags and boxes, scrapbook pages, and more!
Let’s start with a few beginner tips, including the basics of how to use stamps with ink pads, and then get into some more innovative techniques.
Basic Stamping Tips
Starting at the beginning with a good ink pad and stamp practices is key to future success with more adventurous stamping techniques. Here are a few best practices to employ each time you stamp.
Be Prepared
It’s not just a good idea for the scouts in your life! Get your setup ready with your favorite ink pads, stamps, blotting sheets, and cleaning supplies. This can be as simple as a damp paper towel or labor-saving as a Stampin’ Mist and Stampin’ Scrub duo.
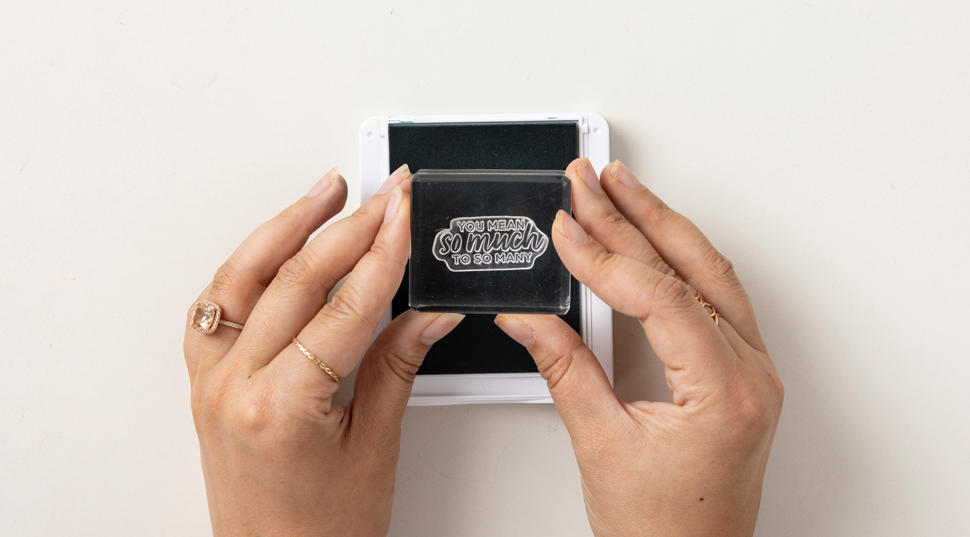
Stamp Steady
Evenly applying ink to your stamps and then evenly applying that stamp to paper is critical to stamping success. Holding your stamp at the corners can help you apply even pressure. And remember—no rocking! This can lead to uneven images and smudging.
Practice Makes Progress
The more you practice with your stamps and ink, the more intuitive the process will become! Practice on your blotter sheet to figure out pressure levels with different types of stamps and stamp placement.
Keep It Clean
Clean and store your stamps and ink pads properly and they’ll last longer than you can imagine! Make sure stamps are ink-free before putting them away, and don’t forget to close ink pads all the way to prevent drying.
Advanced Stamping Methods
Advancing your stamping techniques beyond just one black stamp on white paper opens up a joyous world of creation. Here are a few of our favorite advanced stamping methods to try on your next papercraft project.
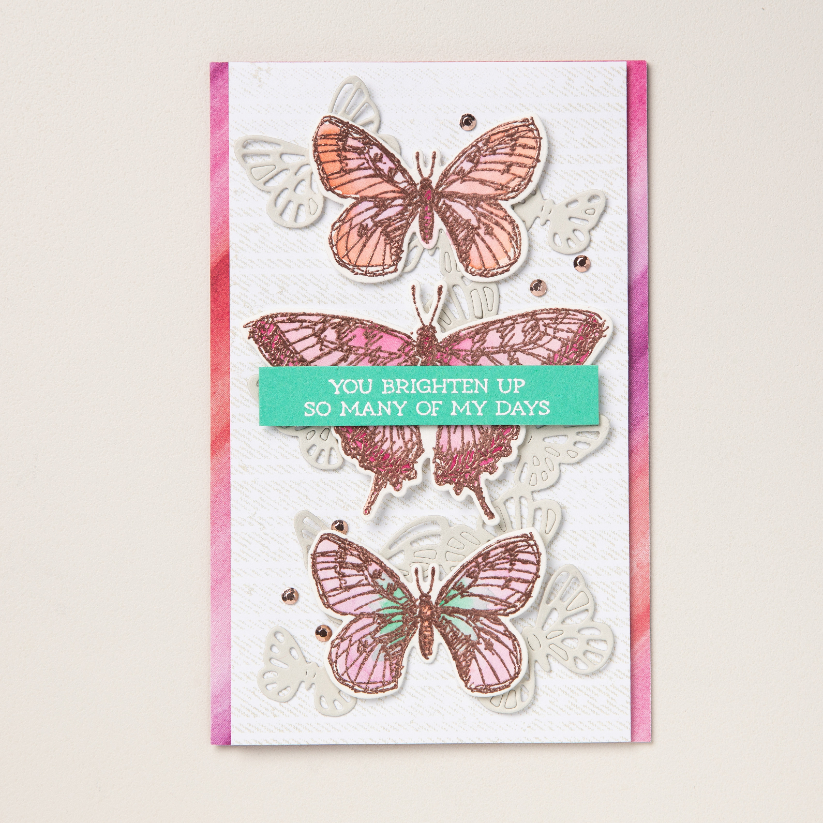
Multi-Colored Stamping
This requires at least two colors of ink pads or markers. You can create an ombre effect by strategically placing ink on your stamp using sponge daubers or color to your stamped image by blending right on the paper. This makes it easier to ink a specific part of your image with a particular color and blend it as creatively as you want to!
Check out this video for a helpful tutorial!
Stamp Masking
Stamp masking enhances the dimensionality and realism of the scene you’re designing. Create a simple mask with a sticky note and use it to cover any part of the stamp you don’t want to show as you stamp subsequent images or want to be stamped in another color. This post provides a more detailed tutorial on masking.
Resist Stamping
Resist stamping brings in another layer of stamping called embossing. Here, you can use heat-activated powder with a special ink to bring dimension to the lines of your stamped image, which will resist any ink color added to the rest of your papercraft design.
Color Blending and Other Effects with Ink Pads
Ink pads are an oft-untapped resource in creative paper crafting, but when we think outside the box and get more inventive, using an ink pad can be a way to add depth, dimension, visual interest, and truly unique design to all of your personal projects.
Blending Colors
Blending colors with your ink pads is easy with blending brushes. By combining inks in varying amounts and intensities using a set of quality blending brushes of different sizes you can create custom paper to use as backgrounds, die cuts, or any other part of your paper creations.
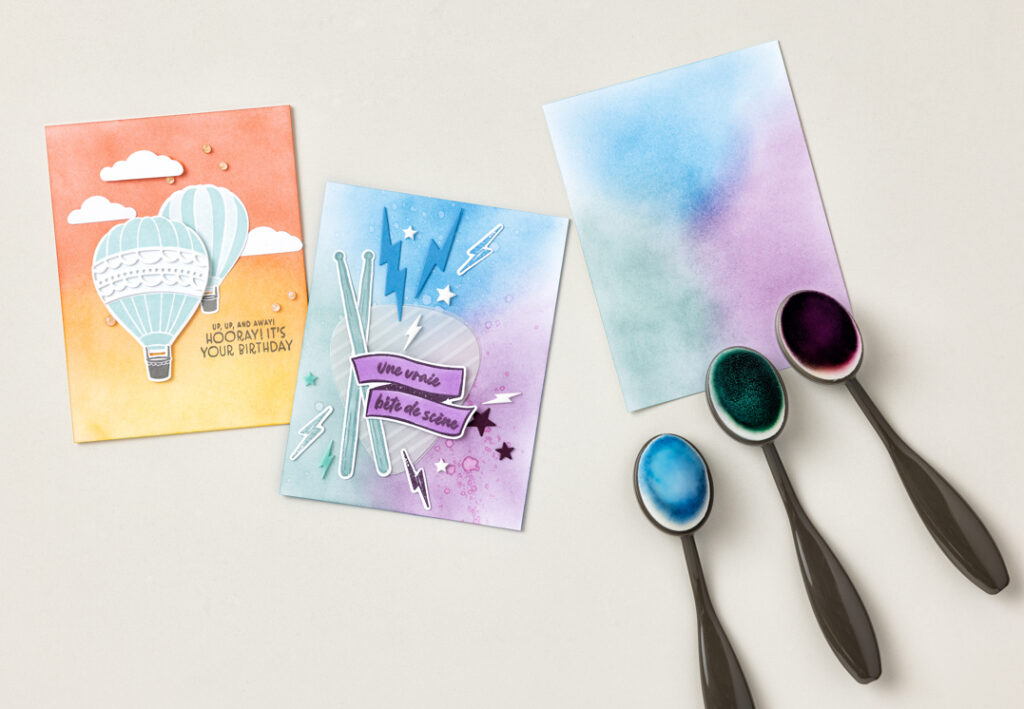
Simply take your blending brush and rub it over your ink pad of choice, then transfer the color to plain or even patterned paper to create something truly custom. You can blend colors by overlapping them to varying degrees and producing a sort of ombre or mimicking a cloudy watercolor effect by embracing a bit more white space amidst your colors for truly endless possibilities.
Special Effects
A couple of other fun techniques to play around with when using your ink pads are actual watercoloring and paper distressing.
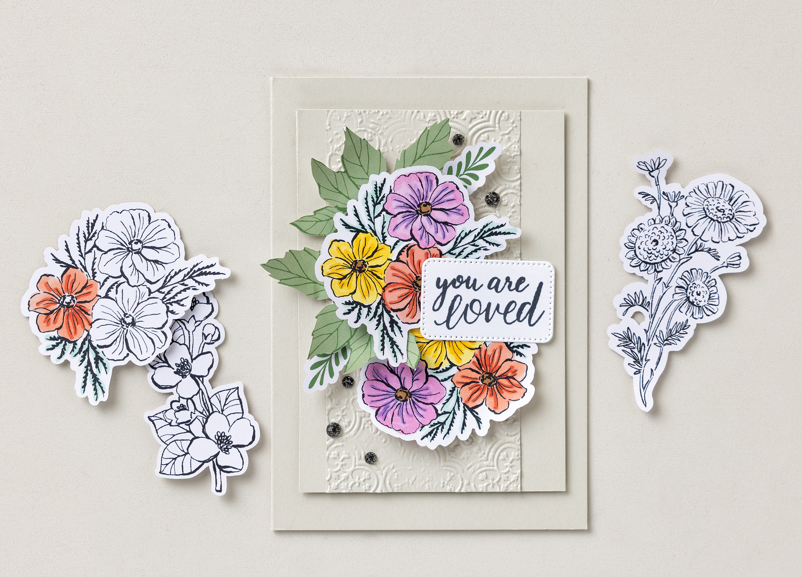
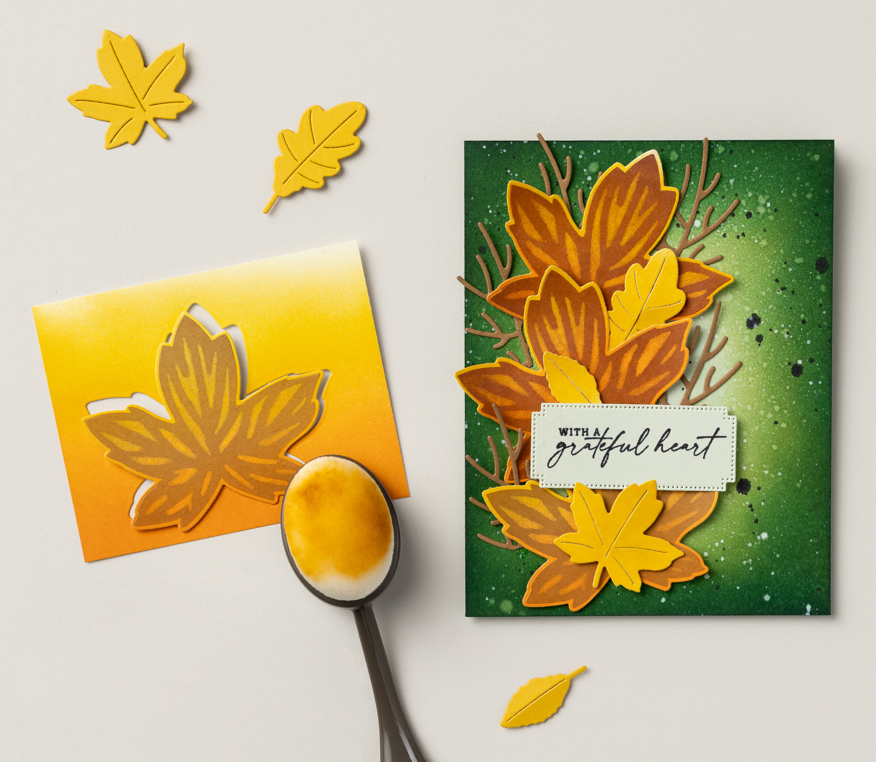
You can achieve something very similar to watercoloring with your ink pads by stamping some color straight from the pad onto one of your empty acrylic stamp blocks and combining it with a bit of water on a paintbrush. You can fill in already stamped outlines or create an image all your own using this advanced technique. You can add water droplets or create snowy backgrounds by flicking a sprinkle of water at your inked paper and letting it soak out the color as it dries!
Distressing paper is another interesting and easy way to bring character and charm to your paper crafting with ink pads. Try wiping the edges of your papers (well-trimmed or rough-edged, whichever matches your aesthetic) directly onto an inkpad to add depth and focus to your creation.
Innovate Your Creativity with Stampin’ Up! Ink Pads
It’s time to see beyond the stamp when it comes to crafting with ink pads. Bring new colors and crafts to life with the fun and innovative techniques we’ve talked about, and be sure to tag us on Instagram with your unique papercraft creations!
Looking for inspiration or a little guidance on your next project? Connect with a Stampin’ Up! Demonstrator today!